AITIAO DY-HL30T
AITIAO DY-HL30T 30W Voice Playback Module User Manual
Model: DY-HL30T
1. はじめに
The AITIAO DY-HL30T is a versatile 30W mono voice playback module designed for various audio broadcast and DIY electronic applications. It supports MP3 and WAV decoding formats, features 9 trigger interfaces, and offers 8 I/O trigger modes. This module is equipped with a 30W Class D power amplifier, allowing it to directly drive 4-8ohm speakers. It also supports TF card storage for audio files and includes indicators for power and playback status.
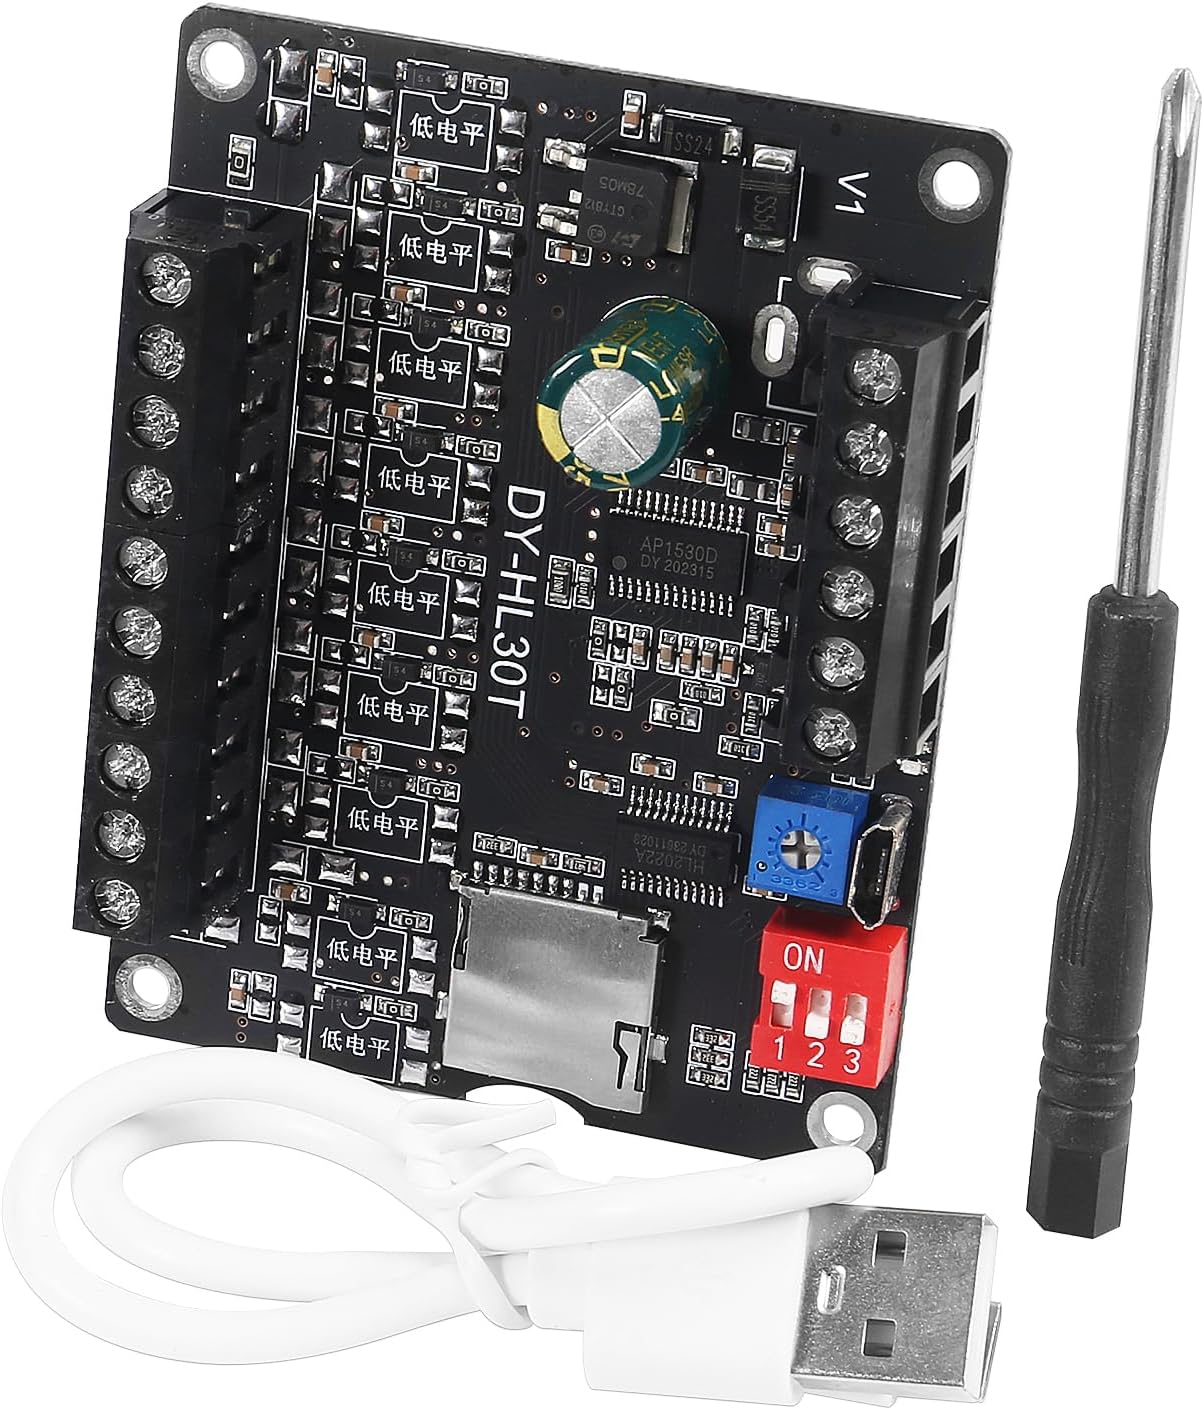
Figure 1: AITIAO DY-HL30T Voice Playback Module with included accessories (USB cable, screwdriver).
2 製品の特徴
- ワイドVoltage 電源: Operates on DC 9-24V.
- オーディオデコード: Supports MP3 and WAV formats with samp最大 48KHz のリング レート。
- Trigger Interfaces: 9-channel one-on-one trigger interface, capable of triggering up to 9 distinct audio files.
- トリガーモード: 8 configurable trigger working modes via DIP switch.
- Amplifier: 統合型30WクラスD電源 amplifier, directly drives 4-8ohm, 10-30W speakers.
- ストレージ: Supports TF card (up to 32GB) for audio file storage (must be FAT32 format).
- 接続性: Micro USB socket for connecting to a PC to download music files.
- 外部接続: Can connect external warning lights (output voltage matches input).
- 音量コントロール: Adjustable via potentiometer and volume button.
- 指標: Two indicator lights (green for power, red for playback).

図2:以上view of the module's multi-functional capabilities including TF card support, volume adjustment, indicator lights, and USB interface.
3. パッケージ内容
- AITIAO DY-HL30T 30W Voice Playback Module
- USBデータケーブル
- ドライバー
4. 仕様
| パラメータ | 価値 |
|---|---|
| モデル | DY-HL30T |
| 入力ボリュームtage | DC 9-24V |
| 出力電力 | 30W(モノラル) |
| スピーカーインピーダンス | 4-8オーム |
| サポートされているオーディオ形式 | MP3、WAV |
| TFカードサポート | 最大32GB(FAT32形式) |
| Trigger Interfaces | 9 (Low-level trigger) |
| トリガーモード | 8 (DIP switch configurable) |
| モジュールの寸法 | 76mm x 58mm(約2.99 x 2.28インチ) |
| 重さ | 約0.32オンス |

Figure 3: Detailed dimensions of the DY-HL30T module.
5. セットアップと接続
5.1 電源
Connect a DC 9-24V power source to the designated input terminals on the module. Ensure correct polarity (positive to +, negative to -).
5.2スピーカー接続
Connect a 4-8ohm, 10-30W speaker to the speaker output terminals. The module has a built-in 30W Class D amplifier。
5.3 TFカードの挿入
Insert a TF card (up to 32GB, formatted to FAT32) into the TF card slot. Ensure audio files are properly named and placed as described in Section 6.2.
5.4 Trigger Interface Connections
The module features 9 trigger interfaces (S1-S9) and a common ground (GND). These are low-level trigger inputs. Connect external buttons or switches between the desired trigger interface (S1-S9) and GND to activate playback.
5.5 External Warning Light Connection
An external warning light or alarm can be connected to the 'Light/Alarm Output' terminals. The output voltage for this connection is the same as the input working voltage.

Figure 4: Detailed wire connection diagram for power, speaker, lamp, and trigger inputs.
6. 操作手順
6.1 Setting Trigger Modes
The module features an 8-position DIP switch (labeled 1, 2, 3) to select different trigger working modes. After changing the DIP switch settings, the module must be powered off and then powered on again for the new mode to take effect.
Common trigger modes include:
- Low level triggers play
- Pulse-triggered playback
- Insert playback
- Play/stop toggle
- Switch between up and down music
- Automatic playback on power-on (MP3 mode)
- ループプレイ
- Single stop playing
- First trigger first play
- No interruption triggers play
- Buzzer-beater trigger play
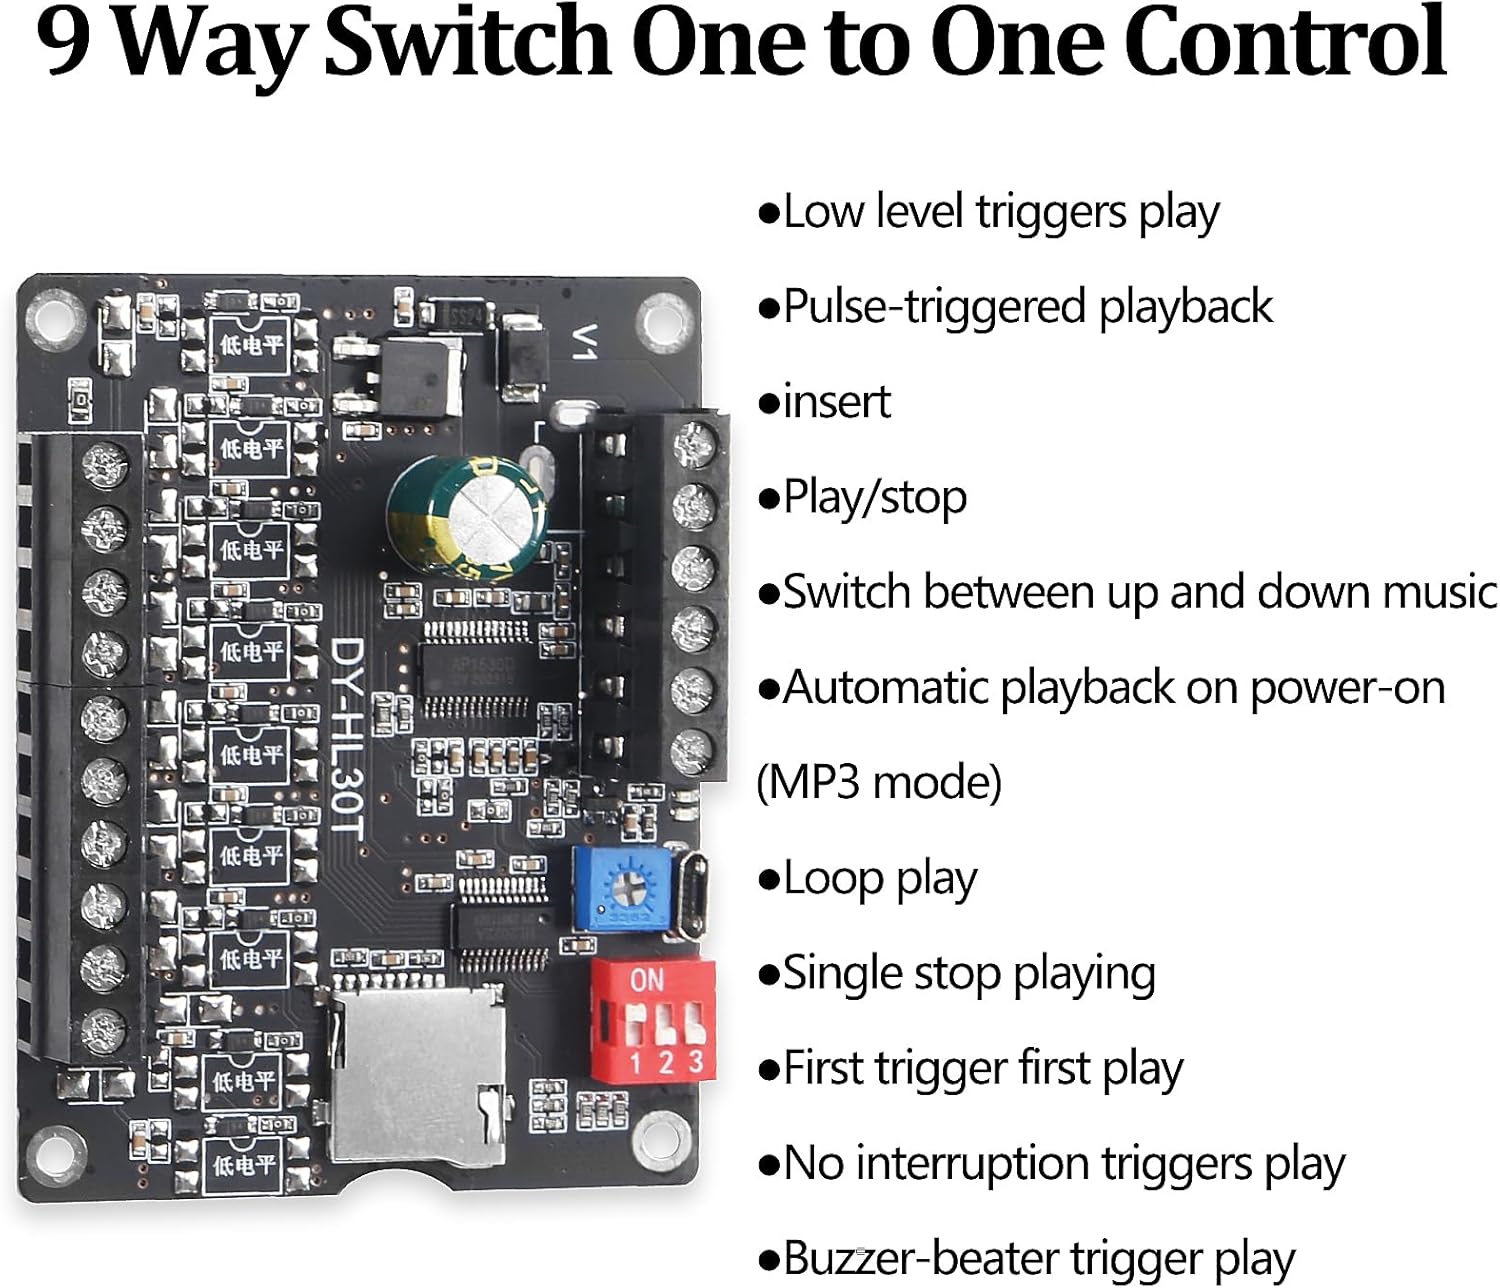
Figure 5: Illustration of trigger modes and the DIP switch for selection.
6.2 オーディオ File 管理
オーディオ files must be stored on a TF card formatted to FAT32. Connect the module to a PC via the Micro USB socket. The module will be recognized as a removable disk (U disk), allowing direct transfer of audio files.
Important Naming Convention:
- 音楽 file names must be 5-digit numbers, e.g.,
00001.mp3,00002.mp3, up to00009.mp3. - Each input port (S1-S9) controls a specific music file例えばample, S3 will control
00003.mp3. - For 'Inter-Cut Trigger' mode, background music should be in the root directory, and insert music must be placed in a folder named
CHABO. For other play modes, theCHABOfolder is not required.

Figure 6: Connecting the module to a computer to manage audio fileTF カード上の s。
6.3 音量調整
The module features a potentiometer and a volume button for adjusting the playback volume. Rotate the potentiometer or press the button to set the desired volume level.
6.4 表示灯
- 緑色のインジケータ: Illuminates when the module is powered ON.
- 赤のインジケーター: Illuminates when an audio file is actively playing.
7. アプリケーション
The AITIAO DY-HL30T module is suitable for a variety of applications, including but not limited to:
- Modification, repair, or replacement of existing speaker systems.
- Amplifier equipment for training or activity sites.
- Integration into car Bluetooth devices.
- DIY Bluetooth speaker projects.
- As an alarm device for homes, supermarkets, or warehouses, allowing customizable alarm sounds.
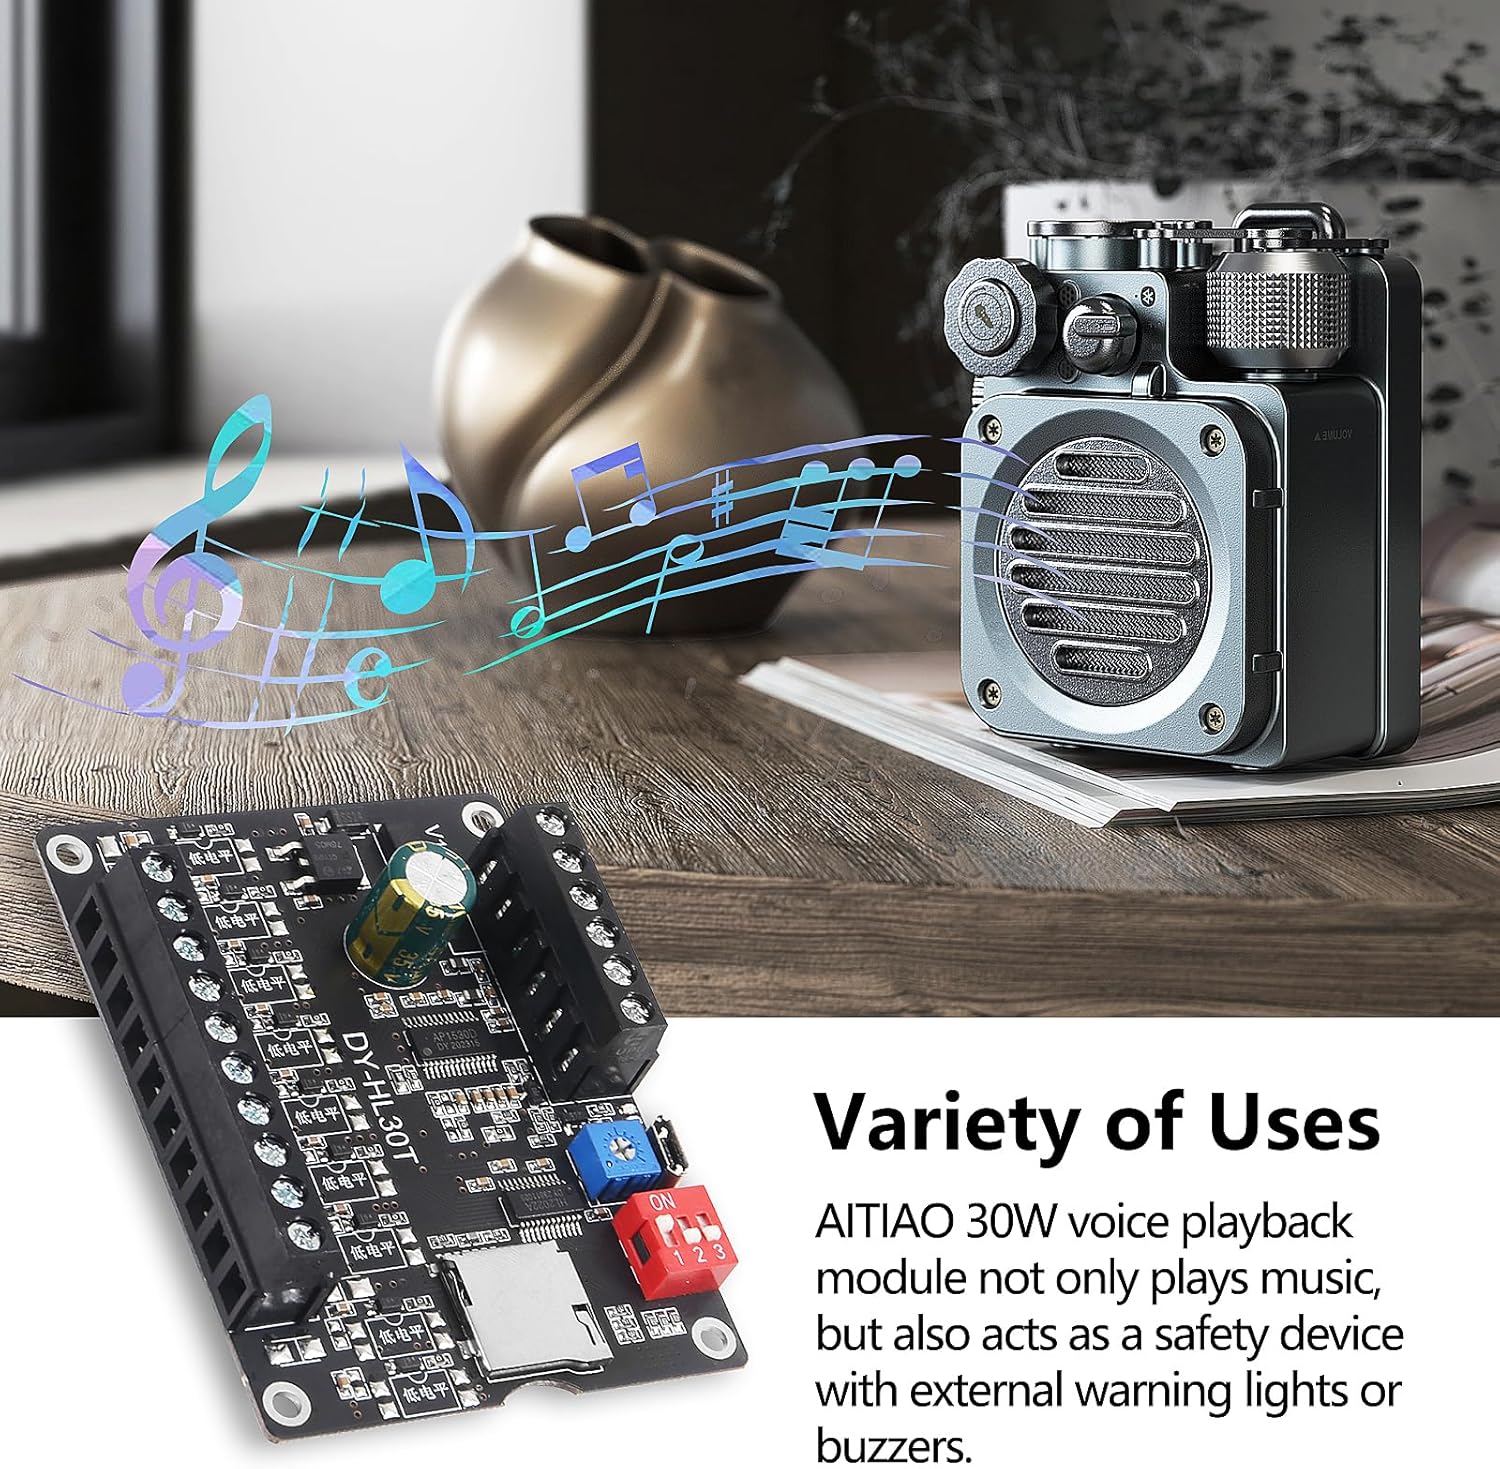
図7:例amples of diverse applications for the voice playback module.
8。 トラブルシューティング
- 電源インジケータなし: Check the DC 9-24V power supply connection and ensure correct polarity.
- サウンド出力なし: Verify speaker connections, ensure the speaker impedance is 4-8ohm, and check the volume level. Confirm audio files are correctly named and stored on the TF card.
- Module Not Recognized by PC: Ensure the Micro USB cable is securely connected and the TF card is properly inserted. Try a different USB port or cable.
- Incorrect Playback: Review the selected DIP switch trigger mode and ensure it matches your intended operation. Verify audio file naming conventions and folder structure (especially for 'Inter-Cut Trigger' mode).
- TF カード エラー: Ensure the TF card is formatted to FAT32. If issues persist, try a different TF card.
9. お手入れとメンテナンス
- モジュールは湿気や極端な温度を避け、乾燥した環境に保管してください。
- Avoid exposing the module to static electricity or strong electromagnetic fields.
- Do not attempt to disassemble or modify the module beyond the specified connections.
- Clean the module with a soft, dry cloth. Do not use liquid cleaners.
10. 保証とサポート
For warranty information and technical support, please refer to the documentation provided with your purchase or contact the manufacturer directly through their official channels. Keep your purchase receipt for warranty claims.
Ask a question about this manual
Ask about setup, troubleshooting, compatibility, parts, safety, or missing instructions. Manuals+ will review the question and use this page’s manual context to help answer it.