1.製品オーバーview および機能
The DEWALT Powerstack DCB1102E2 18 Volt Battery Kit features innovative pouch cell technology, designed to enhance productivity and tool performance. This kit includes two 1.7 Ah Powerstack batteries and one DCB1102 charger.
- 強化されたパワー: Powerstack batteries provide significantly higher power output in certain applications due to a more efficient current flow and lower internal resistance compared to conventional round cell batteries.
- コンパクトなデザイン: These batteries are 25% smaller than traditional 2.0Ah batteries, offering a more compact and lightweight solution for your tools.
- 長寿命: Enjoy a 2x longer service life and a higher number of charging cycles thanks to efficient temperature control and better heat dissipation from the large, flat outer shape of the pouch cells.
- 耐久性: Built with a robust battery housing and shock-proof soldered cells, ensuring reliability for demanding everyday use.
- 容量表示: Each battery includes an LED indicator for convenient capacity display.
- Rubber Overmold Protection: The batteries feature rubber overmold on the base for added protection against drops and impacts.
2. パッケージ内容
Your DEWALT Powerstack DCB1102E2 18V Battery Kit includes:
- 2 x DEWALT Powerstack 18V/1.7 Ah Batteries (DCBP034)
- 1 x DEWALT Charger (DCB1102)

Figure 1: DEWALT Powerstack DCB1102E2 18V Battery Kit in its original packaging.
3. 安全に関する注意事項
WARNING: To reduce the risk of injury, users must read the entire instruction manual before operating this product. Always use proper eye and respiratory protection when working with power tools.
- Use only DEWALT batteries and chargers with DEWALT tools.
- 損傷したバッテリーは充電しないでください。
- バッテリーを焼却しないでください。
- バッテリーを水や極端な温度にさらさないでください。
- 電池は直射日光や熱源を避け、涼しく乾燥した場所に保管してください。
- 電池はお子様の手の届かないところに保管してください。
4. セットアップ
4.1 バッテリーの充電
- DCB1102 充電器を標準の電源コンセントに差し込みます。
- Slide the DEWALT Powerstack battery onto the charger until it clicks into place.
- Observe the charger's indicator lights:
- パック充電: 赤色のライトが点滅します。
- パック充電済み: 赤色の点灯ライト。
- ホット/コールド遅延: Blinking red light with a temperature icon. The charger will wait until the battery reaches an appropriate temperature before charging.
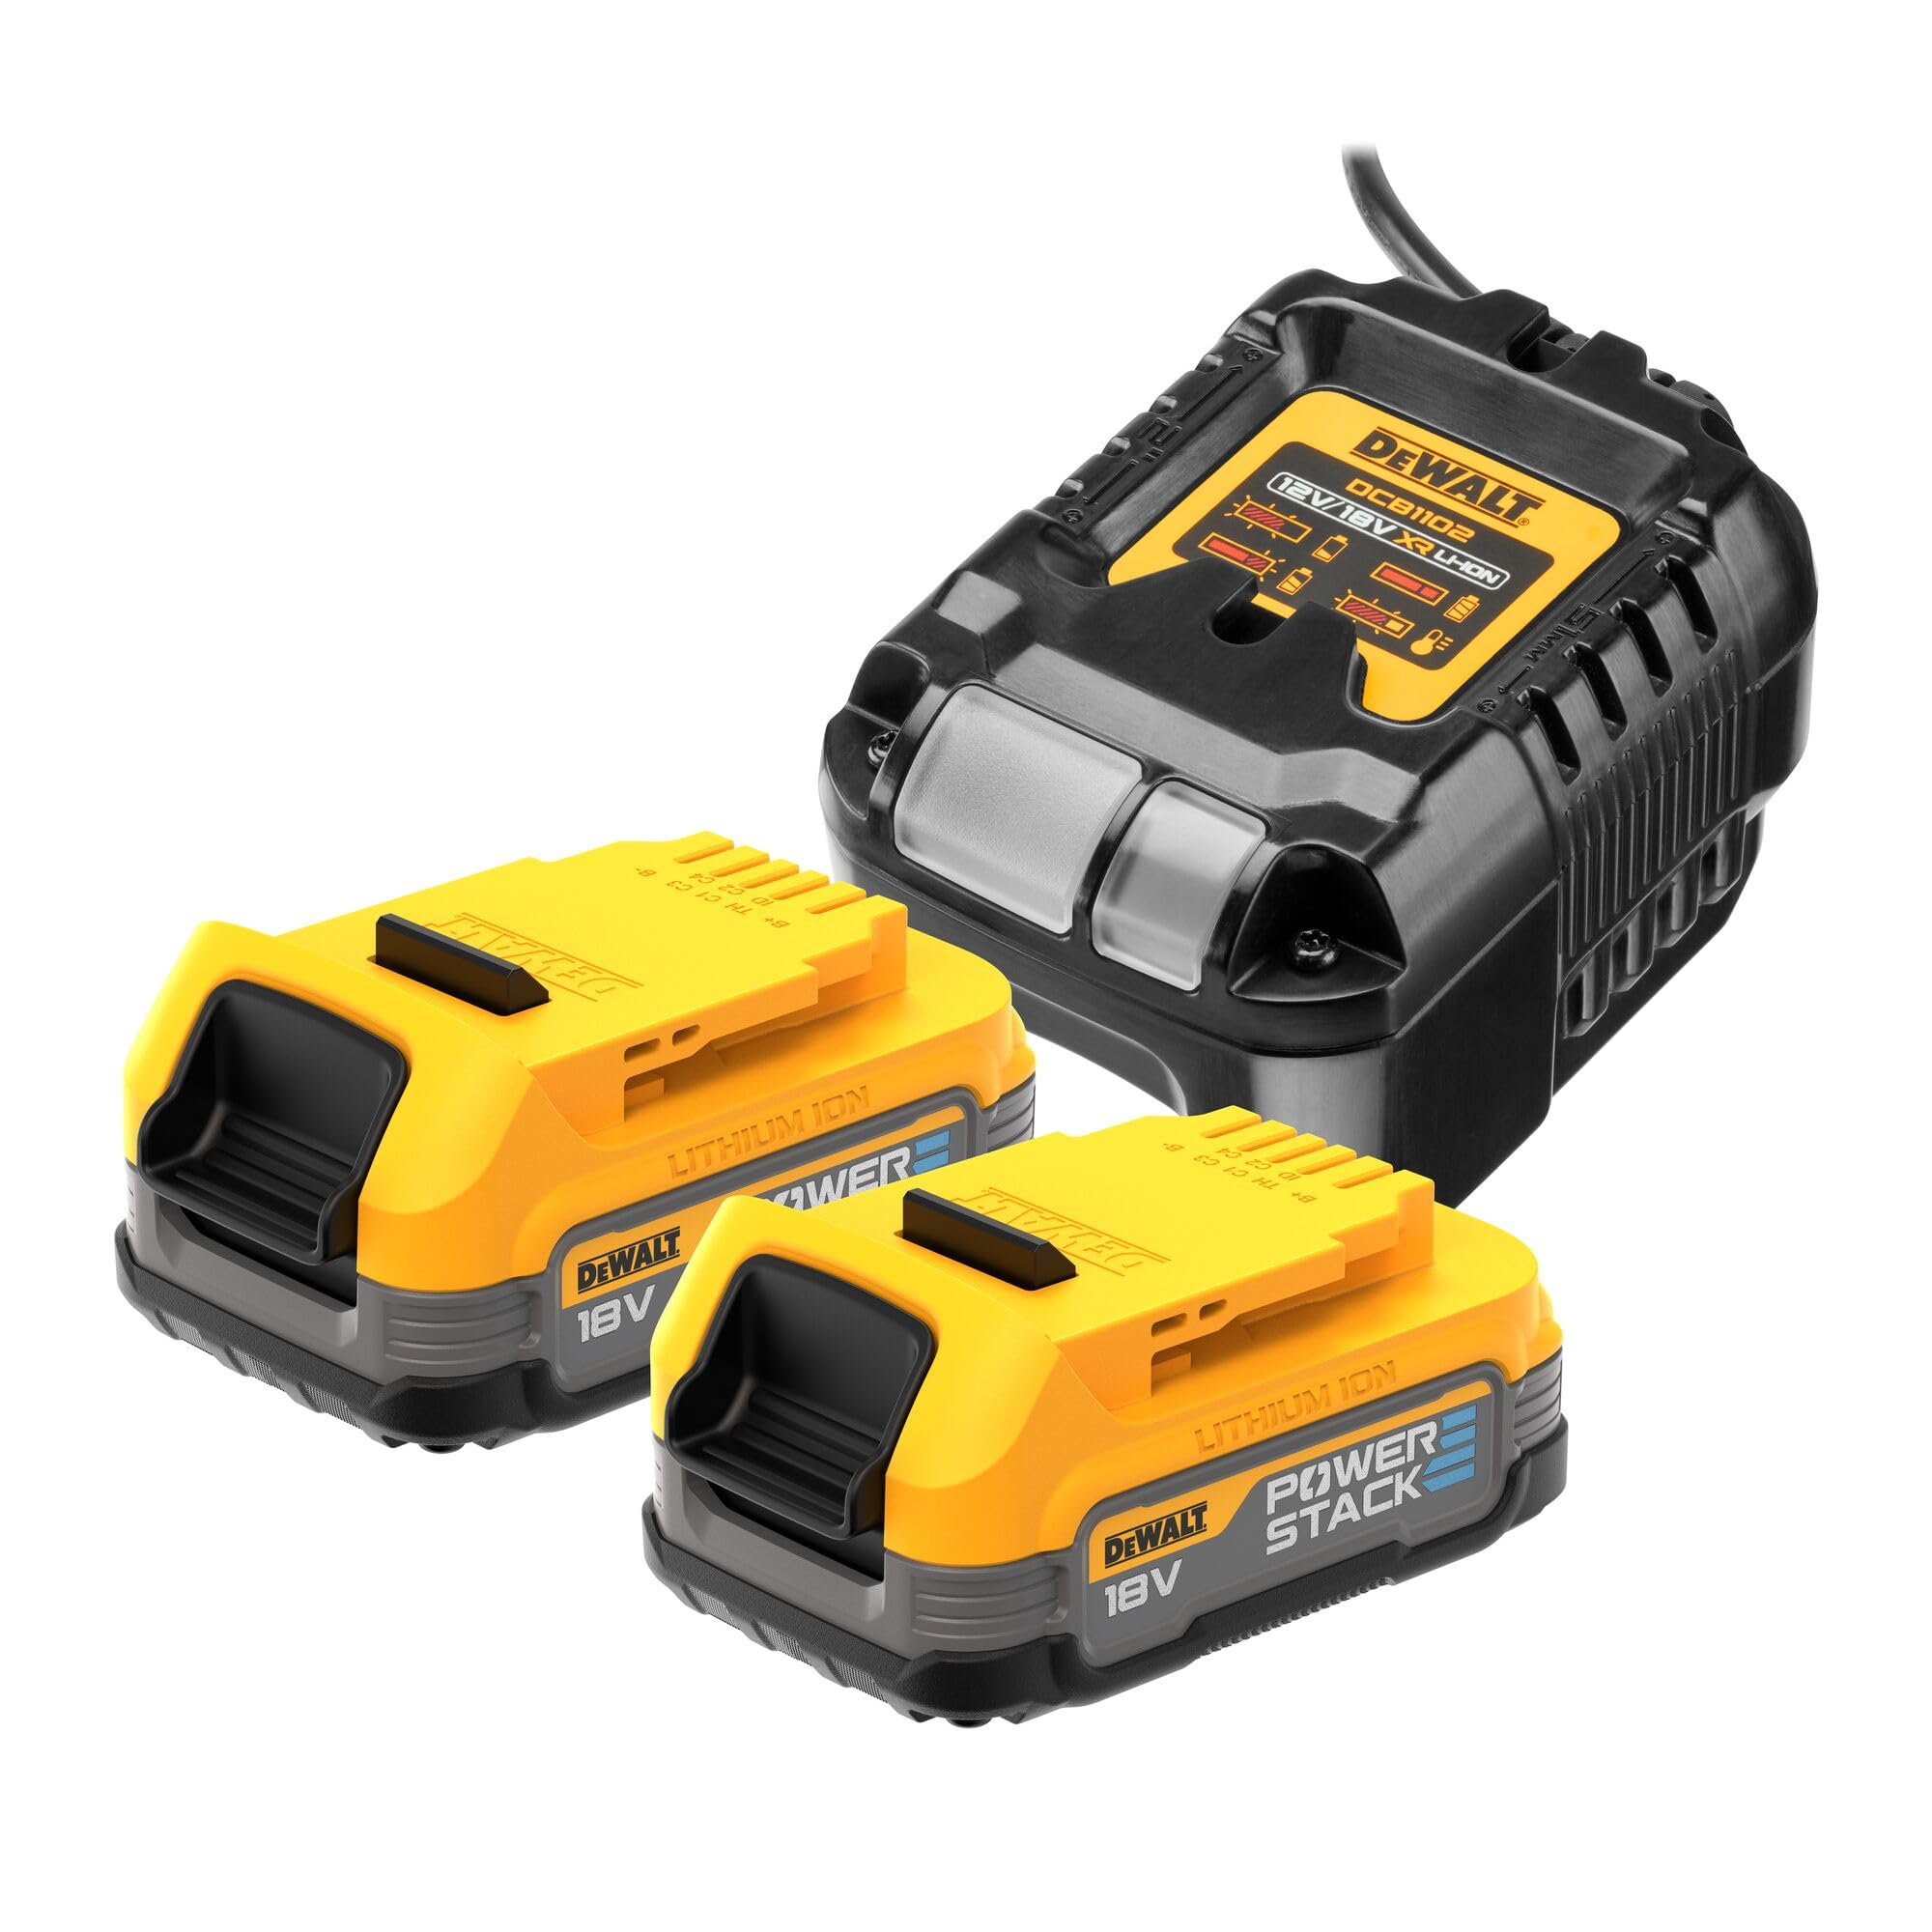
Figure 2: The DEWALT DCB1102 charger with its status indicator lights.
4.2 ツールへのバッテリーの挿入
- Align the battery with the battery port on your compatible DEWALT 18V XR tool.
- バッテリーをカチッと音がするまでしっかりとツールに差し込んでください。操作中に誤って外れないように、バッテリーが完全に固定されていることを確認してください。

Figure 3: A DEWALT Powerstack 18V battery, ready for insertion into a tool.
5. Operating the Battery and Tools
5.1 バッテリーの充電レベルの確認
Press the button on the front of the Powerstack battery to activate the LED charge indicator. The number of illuminated LEDs indicates the approximate charge level:
- 3つのLED: 完全に充電されました。
- 2つのLED: Approximately 60-65% charged.
- 1つのLED: Approximately 30-35% charged.
- LEDなし: Fully discharged, requires charging.
5.2 Using with Compatible Tools
The DEWALT Powerstack 18V batteries are compatible with all DEWALT 18V XR battery machines. Insert the charged battery into your tool as described in Section 4.2. The advanced pouch cell technology provides increased power and efficiency for demanding tasks.
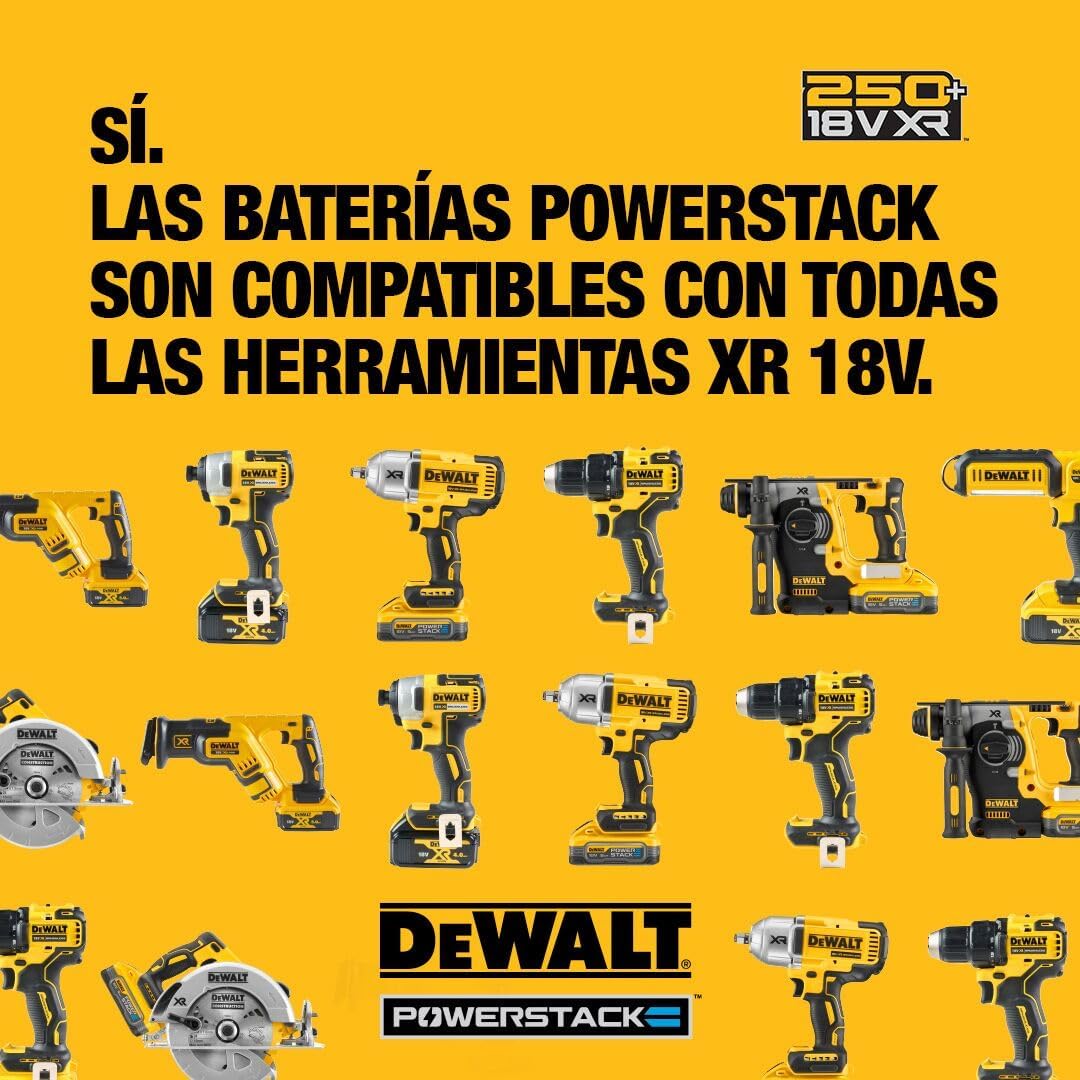
Figure 4: The DEWALT Powerstack battery is compatible with a wide range of DEWALT 18V XR tools.
6. メンテナンス
6.1 ストレージ
- Store batteries in a cool, dry place, away from direct sunlight and moisture.
- Avoid storing batteries in temperatures above 40°C (105°F) or below 0°C (32°F).
- For long-term storage, it is recommended to store batteries with a partial charge (e.g., 2-3 LEDs illuminated).
6.2 クリーニング
- Wipe the battery and charger with a clean, damp cloth. Do not use solvents or harsh chemicals.
- バッテリー端子を清潔に保ち、ゴミが付着しないようにしてください。
7。 トラブルシューティング
7.1 バッテリーが充電されない
- Ensure the charger is properly plugged into a working electrical outlet.
- Check if the battery is fully seated on the charger.
- If the charger indicates a
Ask a question about this manual
Ask about setup, troubleshooting, compatibility, parts, safety, or missing instructions. Manuals+ will review the question and use this page’s manual context to help answer it.