1. はじめに
The beyerdynamic MC 930 is a versatile true condenser microphone designed for a wide range of audio recording applications. Manufactured in Heilbronn, Germany, it offers high sensitivity, superb transient response, and features switchable pre-attenuation and a low-cut filter for enhanced flexibility in both studio and live sound environments.
This manual provides essential information for the proper setup, operation, and maintenance of your MC 930 microphone to ensure optimal performance and longevity.
2. 安全に関する注意事項
- Read all instructions carefully before using the microphone.
- Do not expose the microphone to moisture, rain, or extreme temperatures.
- マイクを落としたり、強い衝撃を与えたりしないでください。
- Only use the microphone with compatible audio equipment that provides 11-52 V phantom power.
- マイクを開けたり改造したりしないでください。修理は必ず資格のある専門家にご依頼ください。
- Keep the microphone and its accessories out of reach of children.
3. パッケージ内容
パッケージにすべてのアイテムが揃っていることを確認します。
- MC 930 Condenser Microphone
- マイクClamp (MA-CL 21)
- キャリングケース
- 風防
- Microphone Cable (XLR)
- Measurement Curve Document
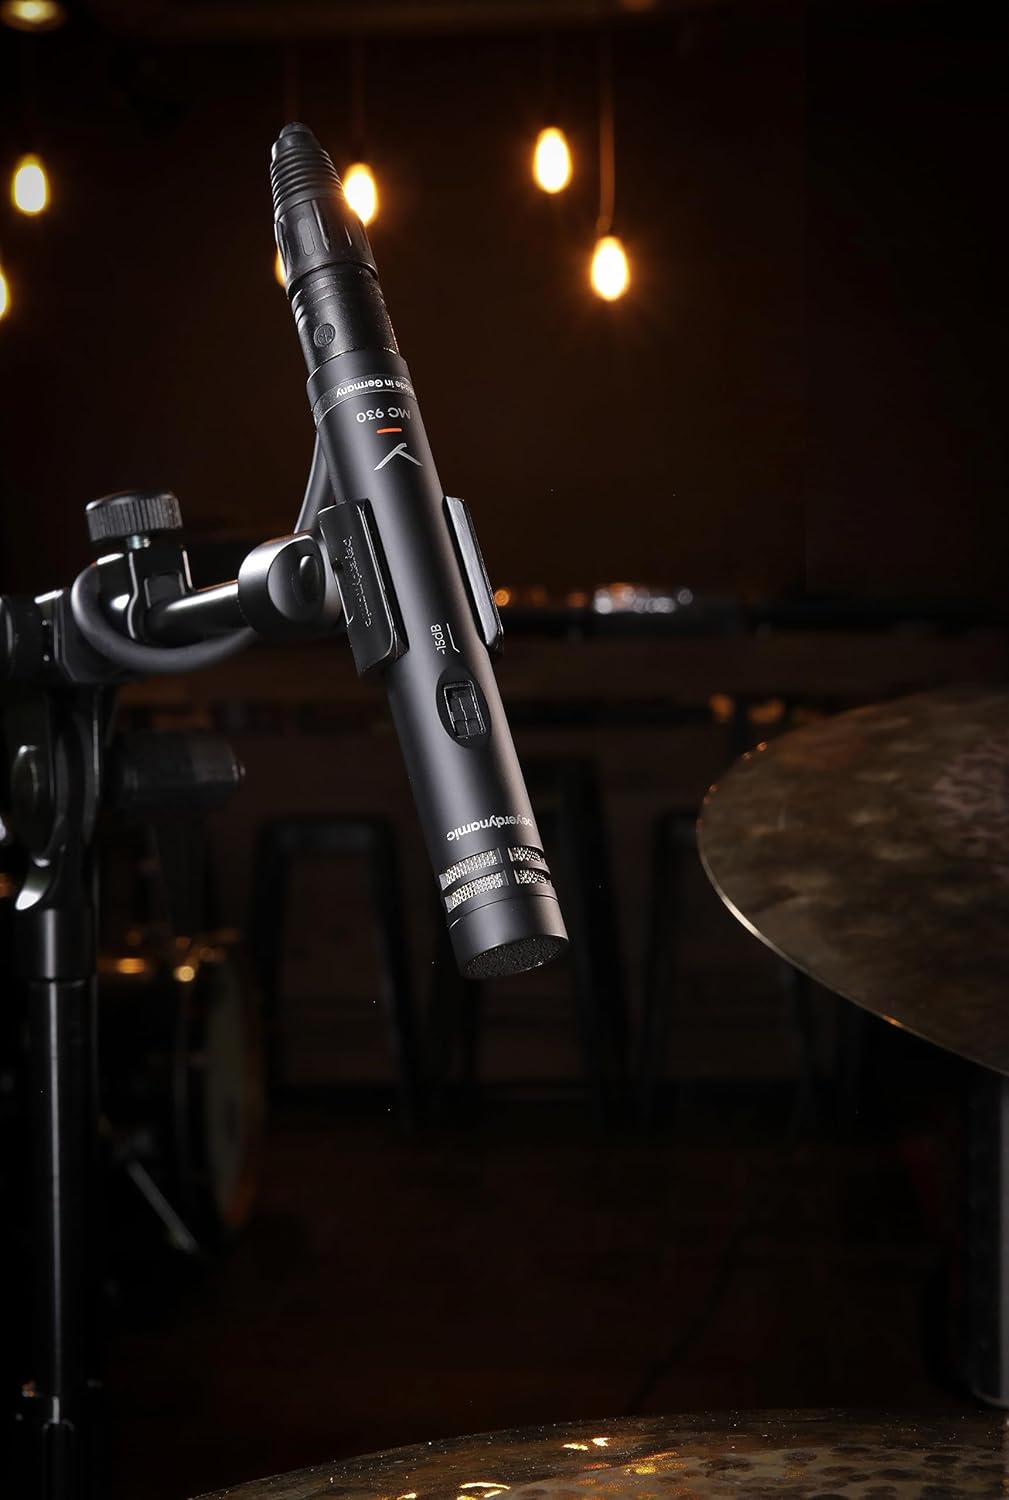
Image: The beyerdynamic MC 930 microphone mounted on a stand, ready for use.
4. セットアップ
4.1 マイクの取り付け
- Attach the supplied microphone clamp (MA-CL 21) to a standard microphone stand.
- Carefully screw the MC 930 microphone into the clampしっかりと締め付けられていることを確認してください。ただし、締めすぎないようにしてください。
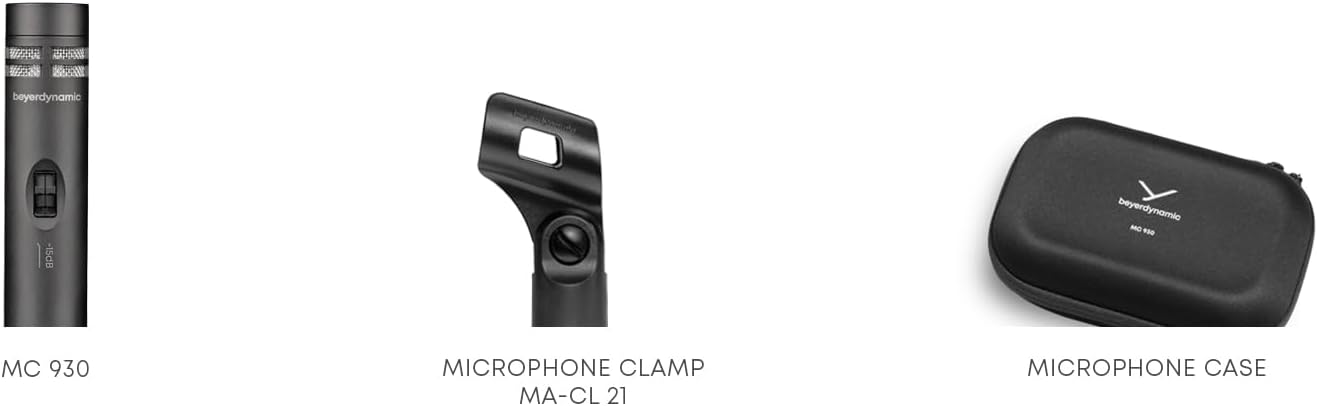
画像: クローズアップ view of the MA-CL 21 microphone clamp, used for securing the MC 930 to a stand.
4.2 オーディオ機器への接続
- Connect the supplied XLR microphone cable to the XLR output at the base of the MC 930.
- Connect the other end of the XLR cable to an input on your audio mixer, audio interface, or preamplifier。
- Ensure your audio equipment provides 11-52Vファンタム電源. The MC 930 requires phantom power to operate. Activate phantom power on the connected input channel.
4.3 Pre-attenuation and Low-Cut Filter
The MC 930 features two small switches on its body:
- Pre-attenuation Switch (-15 dB): This switch reduces the microphone's output level by 15 dB. Use this setting when recording very loud sound sources (e.g., drums, loud guitar amplifiers) to prevent input clipping on your mixer or interface.
- Low-Cut Filter Switch (80 Hz): This switch activates a high-pass filter at 80 Hz. Use this to reduce unwanted low-frequency noise such as rumble from air conditioning, stage vibrations, or proximity effect when close-miking.
Adjust these switches according to your recording environment and sound source.
5. マイクの操作
5.1 極性パターン
The MC 930 features a unidirectional (cardioid) polar pattern. This means it is most sensitive to sounds coming from the front and rejects sounds from the sides and rear. This characteristic is ideal for isolating a sound source and minimizing background noise or feedback in live settings.
5.2 推奨される用途
The MC 930 is suitable for a variety of applications, including:
- Instrument Miking: Acoustic guitars, overheads for drums, percussion, strings, woodwinds, and brass instruments.
- ボーカル録音: Speech and singing, especially in controlled studio environments.
- ビデオ録画: Capturing clear audio for video productions.
- ライブサウンド: Reinforcement of instruments and vocals on stage.
5.3 最適な配置
Experiment with microphone placement to achieve the desired sound. Generally, placing the microphone closer to the sound source will increase direct sound and reduce room ambience. Utilize the cardioid pattern by pointing the front of the microphone towards the desired sound and away from unwanted noise sources.
6. メンテナンス
6.1 クリーニング
To clean the microphone, gently wipe the exterior with a soft, dry, lint-free cloth. Do not use liquid cleaners, solvents, or abrasive materials, as these can damage the finish or internal components. Avoid getting moisture into the microphone capsule or switches.
6.2 ストレージ
When not in use, store the MC 930 in its supplied carrying case to protect it from dust, moisture, and physical damage. Store in a cool, dry place.
7。 トラブルシューティング
If you encounter issues with your MC 930 microphone, refer to the following common problems and solutions:
- サウンド出力なし:
- Ensure phantom power (11-52 V) is activated on the connected input channel.
- Check all XLR cable connections for proper seating. Try a different XLR cable.
- Verify the input gain on your mixer/interface is turned up.
- Test the microphone on a different input channel or with different audio equipment.
- 歪んだ音や途切れた音:
- Activate the -15 dB pre-attenuation switch on the microphone.
- ミキサー/インターフェースの入力ゲインを下げます。
- マイクと音源間の距離を広げます。
- Excessive Low-Frequency Noise/Rumble:
- Activate the 80 Hz low-cut filter switch on the microphone.
- マイクが振動から隔離されていることを確認します (たとえば、可能な場合はショックマウントを使用するか、スタンドを安定した面に設置します)。
- ハム音またはブーンという音:
- Check for ground loops. Ensure all audio equipment is properly grounded.
- Ensure XLR cables are balanced and in good condition. Avoid running audio cables parallel to power cables.
- Test in a different electrical outlet or location to rule out external interference.
If problems persist after trying these steps, contact beyerdynamic customer support or an authorized service center.
8. 技術仕様
| 特徴 | 仕様 |
|---|---|
| モデル名 | MC930 |
| ブランド | バイエルダイナミック |
| マイクフォームファクター | スタジオコンデンサー |
| 極性パターン | 一方向(カーディオイド) |
| 電源 | 11–52 V phantom power |
| 周波数応答 | 20 Hz - 20 KHz |
| オーディオ感度 | 15デシベル |
| 信号対ノイズ比 | 76デシベル |
| 接続技術 | 有線 |
| コネクタタイプ | XLR |
| アイテム重量 | 1.14ポンド(0.52kg) |
| 製品寸法(長さ x 幅 x 高さ) | 9.3 x 6.55 x 3.45 インチ (23.6 x 16.6 x 8.8 cm) |
| 材料 | 耐久性のある素材 |
| 含まれるコンポーネント | Microphone, Carrying case, Windscreen, Microphone cable, Measurement curve |
9. 保証とサポート
For detailed information regarding the warranty period and terms for your beyerdynamic MC 930 microphone, please refer to the warranty card included with your product or visit the official beyerdynamic website. For technical support, service, or spare parts, please contact beyerdynamic customer service directly through their official channels.
メーカー: バイエルダイナミック
さらにサポートが必要な場合は、次のサイトをご覧ください。 www.beyerdynamic.com