1. はじめに
Thank you for choosing the Greluma 12V 24V Car Battery and Alternator Tester. This device is designed to provide a simple and accurate way to assess the health of your vehicle's battery and charging system. It is suitable for both amateur and professional use, helping to diagnose potential issues before they become major problems. This manual will guide you through the proper use and maintenance of your tester.
2.製品オーバーview
2.1 主な特徴
- バッテリーテスト機能: Determines if the battery needs replacement or just recharging.
- 12V/24V Compatibility: Supports regular flooded, AGM flat plate, AGM spiral, and GEL batteries for various vehicles including cars, SUVs, motorcycles, and more.
- 7つのLEDインジケーター: Provides clear visual feedback on battery and alternator status (Green: Good/Full, Orange: Medium, Red: Low).
- 耐久性に優れたデザイン: Features reverse polarity protection to prevent damage from incorrect connections, and pure copper wires/clips for excellent conductivity.
2.2 パッケージ内容
- 1 x Greluma 12V 24V Car Battery and Alternator Tester
- ユーザーマニュアル (本書) x 1
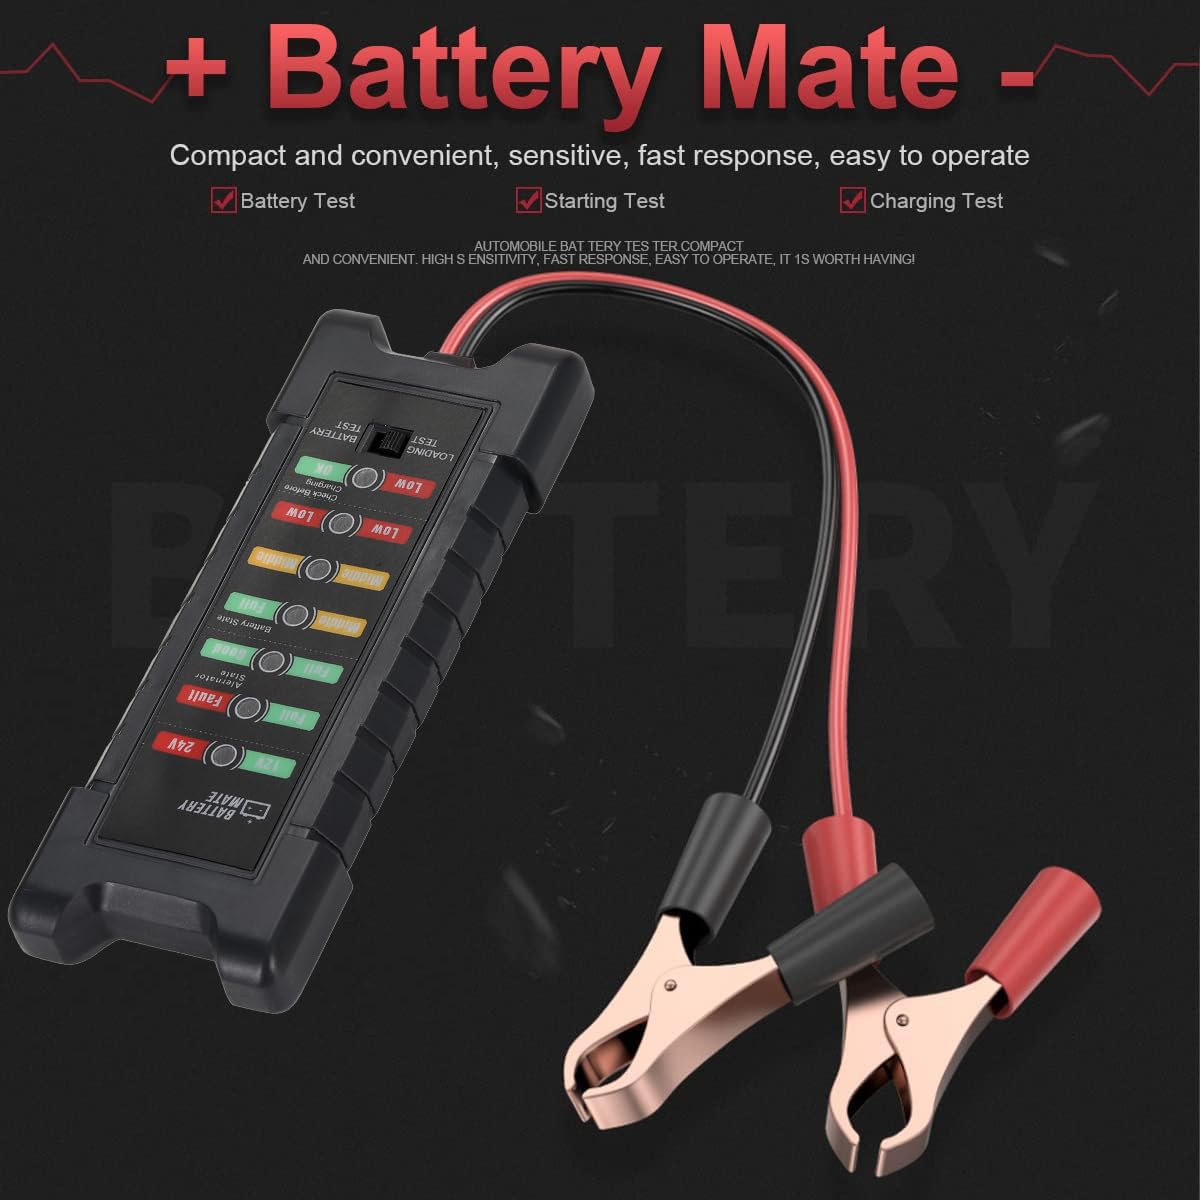
Figure 2.2.1: Greluma 12V 24V Car Battery Tester with connection clamps.
3. 安全情報
- 車両のバッテリーを扱うときは、必ず目の保護具を着用してください。
- 作業エリアの換気を良くしてください。
- テスターを熱、火花、裸火から遠ざけてください。
- バッテリー端子や端子に触れないでください。amps with wet hands.
- バッテリー端子をショートさせないでください。
- The device has reverse polarity protection, but always connect the red clamp 正(+)端子と黒のclにamp マイナス(-)端子に接続します。
- お子様の手の届かない場所に保管してください。
4. セットアップ
- 車両のイグニッションがオフになっており、すべてのアクセサリがオフになっていることを確認します。
- 車両のバッテリーの位置を確認します。
- 接続する 赤 正(+)clamp テスターの端子をバッテリーのプラス(+)端子に接続します。
- 接続する 黒 負(-)clamp テスターの端子をバッテリーのマイナス(-)端子に接続します。
- 接続すると、テスターは自動的に電源が入ります。

Figure 4.1: Correct connection of the tester to a car battery.
5. 操作手順
The Greluma tester offers two main test modes: Battery Test and Charging Test. Use the 'Function Switch' button on the device to toggle between these modes.
5.1 Battery Test (Battery State)
- Ensure the tester is connected to the battery as described in Section 4.
- Press the 'Function Switch' button until the 'BATTERY TEST' indicator is lit.
- Observe the LED indicators under 'Battery State' to determine the battery's condition.
- For 12V batteries, refer to the 12V indicators. For 24V batteries, refer to the 24V indicators.
5.2 Charging Test (Alternator State)
- Ensure the tester is connected to the battery as described in Section 4.
- 車のエンジンを始動し、アイドリング状態にします。
- Press the 'Function Switch' button until the 'LOADING TEST' indicator is lit.
- Observe the LED indicators under 'Alternator State' to determine the charging system's condition.
- For 12V systems, refer to the 12V indicators. For 24V systems, refer to the 24V indicators.
6. LEDインジケータの理解
The tester uses a series of LED lights to clearly indicate the status of your battery and charging system. The indicators are color-coded for easy interpretation:
- Green (Full/Good): Indicates optimal condition. For battery test, the battery is in good condition with good load capacity. For charging test, the alternator is functioning correctly with good voltage.
- Orange (Middle): Indicates moderate condition. For battery test, the battery is in moderate condition with average load capacity. For charging test, the battery is moderately charged.
- Red (Low/Fault): Indicates poor condition or a fault. For battery test, the battery is in bad condition with low load capacity. For charging test, it indicates an abnormal condition, high voltage, or that the battery needs checking before charging.

Figure 6.1: Detailed explanation of LED indicators for 12V/24V loading and charging tests.
7. メンテナンス
- 使用後は毎回テスターを拭いてamps with a clean, dry cloth.
- デバイスは直射日光や極端な温度を避け、乾燥した場所に保管してください。
- Do not immerse the tester in water or any other liquid.
- ケーブルとクランプを定期的に点検するamp損傷の兆候がないか確認してください。損傷がある場合は使用しないでください。
8。 トラブルシューティング
- テスターの電源が入らない: clを確認してくださいamps are correctly connected to the battery terminals (red to positive, black to negative). Check for a secure connection. Ensure the battery has sufficient voltage to power the tester (minimum 12V).
- 不正確な読み取り: Ensure battery terminals are clean and free of corrosion. Ensure clamps have a good, solid connection. The battery should be at a stable temperature for accurate testing.
- LEDs are dim or flickering: This may indicate a low battery voltage or a poor connection. Recheck connections or consider charging the battery before retesting.
9. 仕様
| ブランド | グレルマ |
| モデル番号 | ZL681LUM |
| 互換性のあるボリュームtage | 12V / 24V |
| 電源 | Cable Powered (from battery) |
| 準拠仕様 | CE |
| 寸法(長さ×幅×高さ) | 14.9 x 5.7 x 3.9 cm(約5.87 x 2.24 x 1.54インチ) |
| 重さ | 80グラム(約2.82オンス) |
| 原産国 | 中国 |

Figure 9.1: Product dimensions of the Greluma battery tester.
10. 保証とサポート
Greluma products are designed for reliability and performance. If you encounter any issues or have questions regarding your 12V 24V Car Battery and Alternator Tester, please contact our customer support. Refer to your purchase documentation for specific warranty terms and contact information.
For technical assistance, please reach out to the seller via the Amazon messaging system. Our professional technical team aims to resolve issues within 24 hours.