
1. はじめに
This manual provides detailed instructions for the installation, operation, and maintenance of your FOSA 3-Channel Dash Cam (Model: fosaghq46pg18k). Please read this manual thoroughly before using the device to ensure proper functionality and safety.
2. パッケージ内容
以下にリストされているすべてのアイテムがパッケージに含まれていることを確認してください。
- 1 x Car Driving Recorder (Main Unit)
- 1 xリアカメラ
- 1 xサクションカップマウント
- 電源コード(車載充電器)×1
- ネジ2本
- ステッカー1枚
- (Memory Card not included, maximum support 32GB)

Image: All included components of the FOSA 3-Channel Dash Cam.
3.製品オーバーview
The FOSA 3-Channel Dash Cam features a 2.4-inch LCD display, a 170-degree wide-angle lens, and supports 3-channel recording (front, interior, rear). It includes a G-Sensor for emergency recording and infrared night vision for clear recording in low-light conditions.

画像: サイド view of the dash cam unit, highlighting ports and controls.
本体の特徴:
- 画面: 2.4インチ液晶画面
- レンズ: 170° A+ class high-resolution ultra-wide-angle lens
- カメラ解像度: Front, middle, rear recording capabilities
- ボタン: OK, M (Menu), Power, Up, Down
- ポート: DC IN (Power), Memory Card Slot
リアカメラ:

画像: コンパクトなリアカメラユニット。
The rear camera provides additional coverage for the back of your vehicle, enhancing overall monitoring.
4. セットアップ手順
Follow these steps to set up your FOSA Dash Cam:
4.1. Install the Suction Cup Mount
- Attach the suction cup mount to the top of the main dash cam unit. Ensure it is securely fastened.
- フロントガラスの希望する部分を清掃します。
- 吸盤をフロントガラスにしっかりと押し付け、レバーをひねって固定します。
- Adjust the angle of the dash cam for optimal front view 録音。
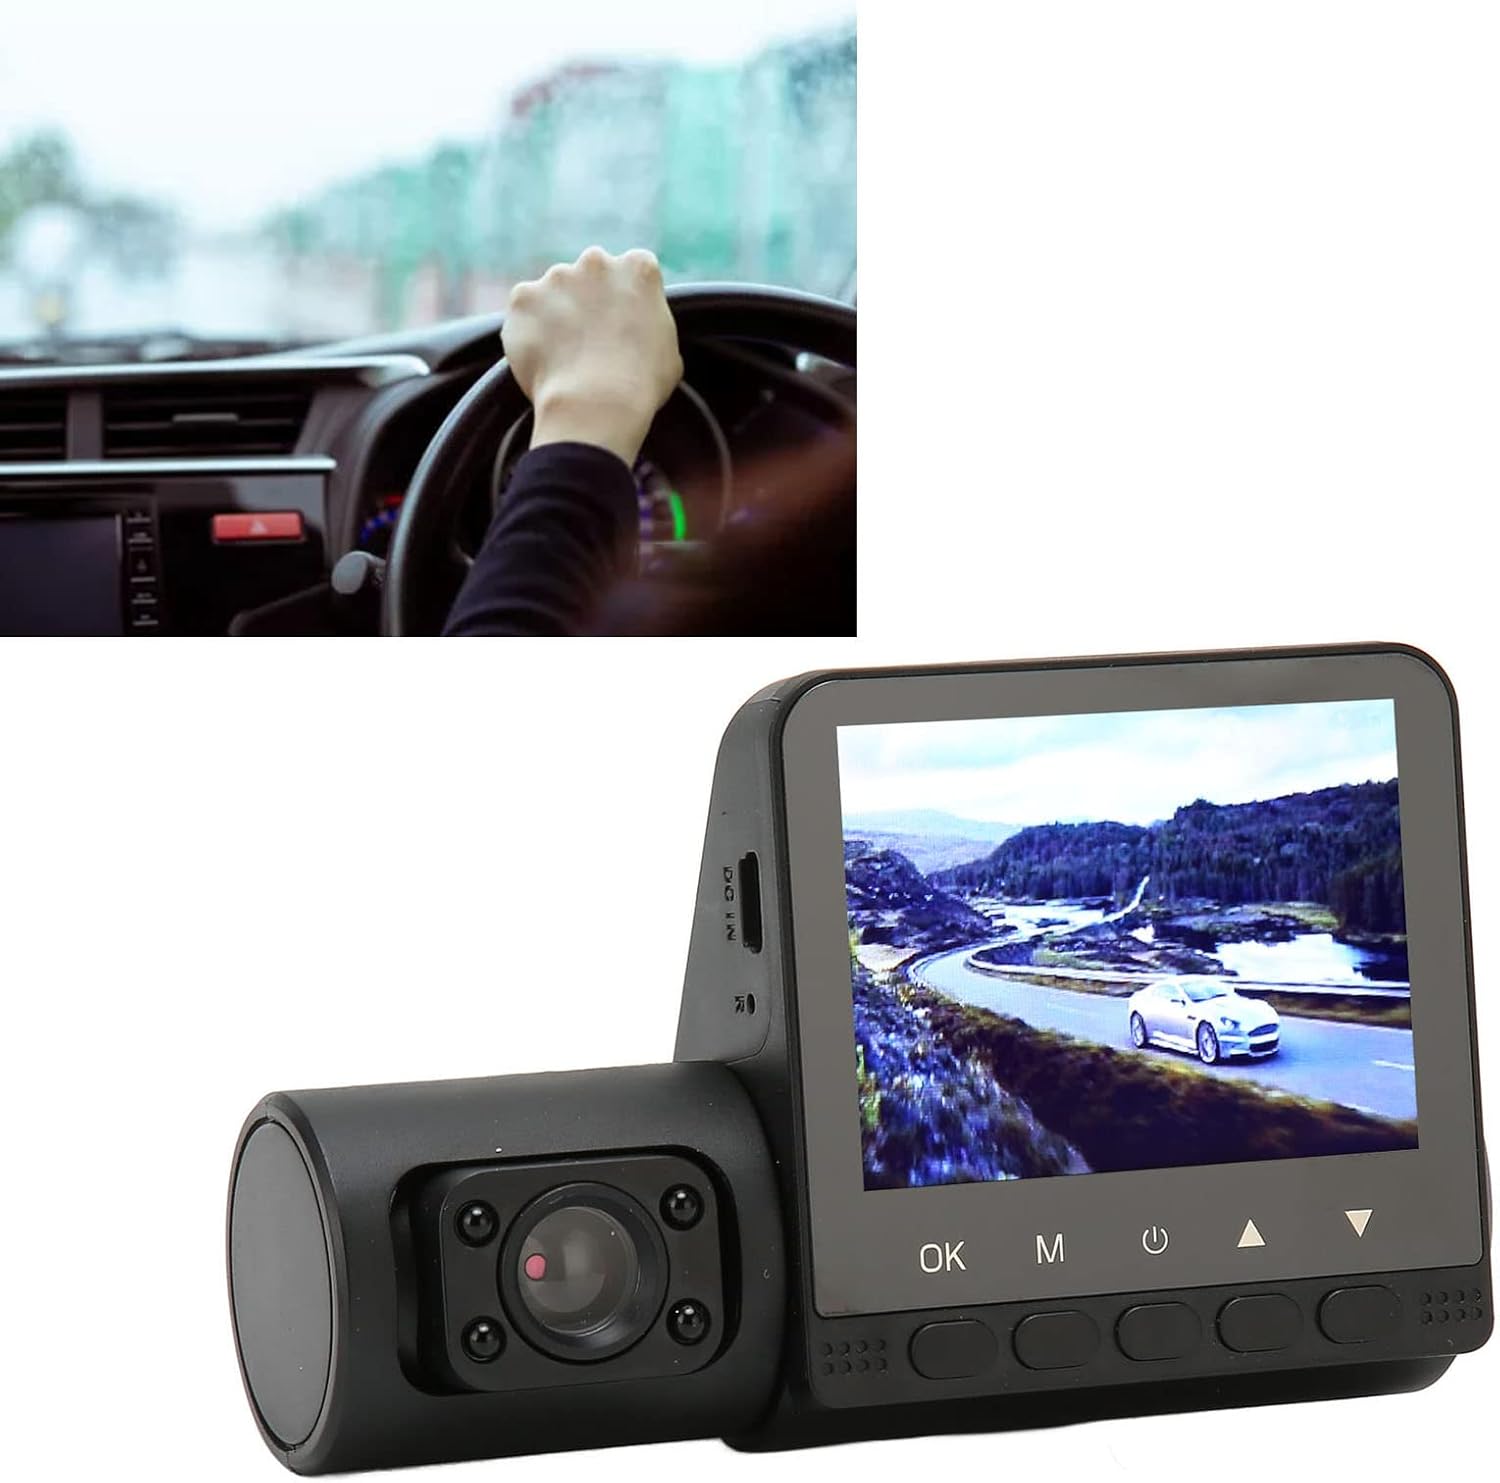
Image: Dash cam mounted on a car dashboard.
4.2.メモリーカードを挿入します
Insert a compatible memory card (up to 32GB, not included) into the memory card slot on the dash cam. Ensure the card is inserted correctly until it clicks into place.
4.3. 電源を入れる
- Connect the power cord (car charger) to the DC IN port on the dash cam.
- Plug the other end of the power cord into your vehicle's 12-24V power outlet (cigarette lighter socket).
- The dash cam will automatically power on when the vehicle ignition is turned on.
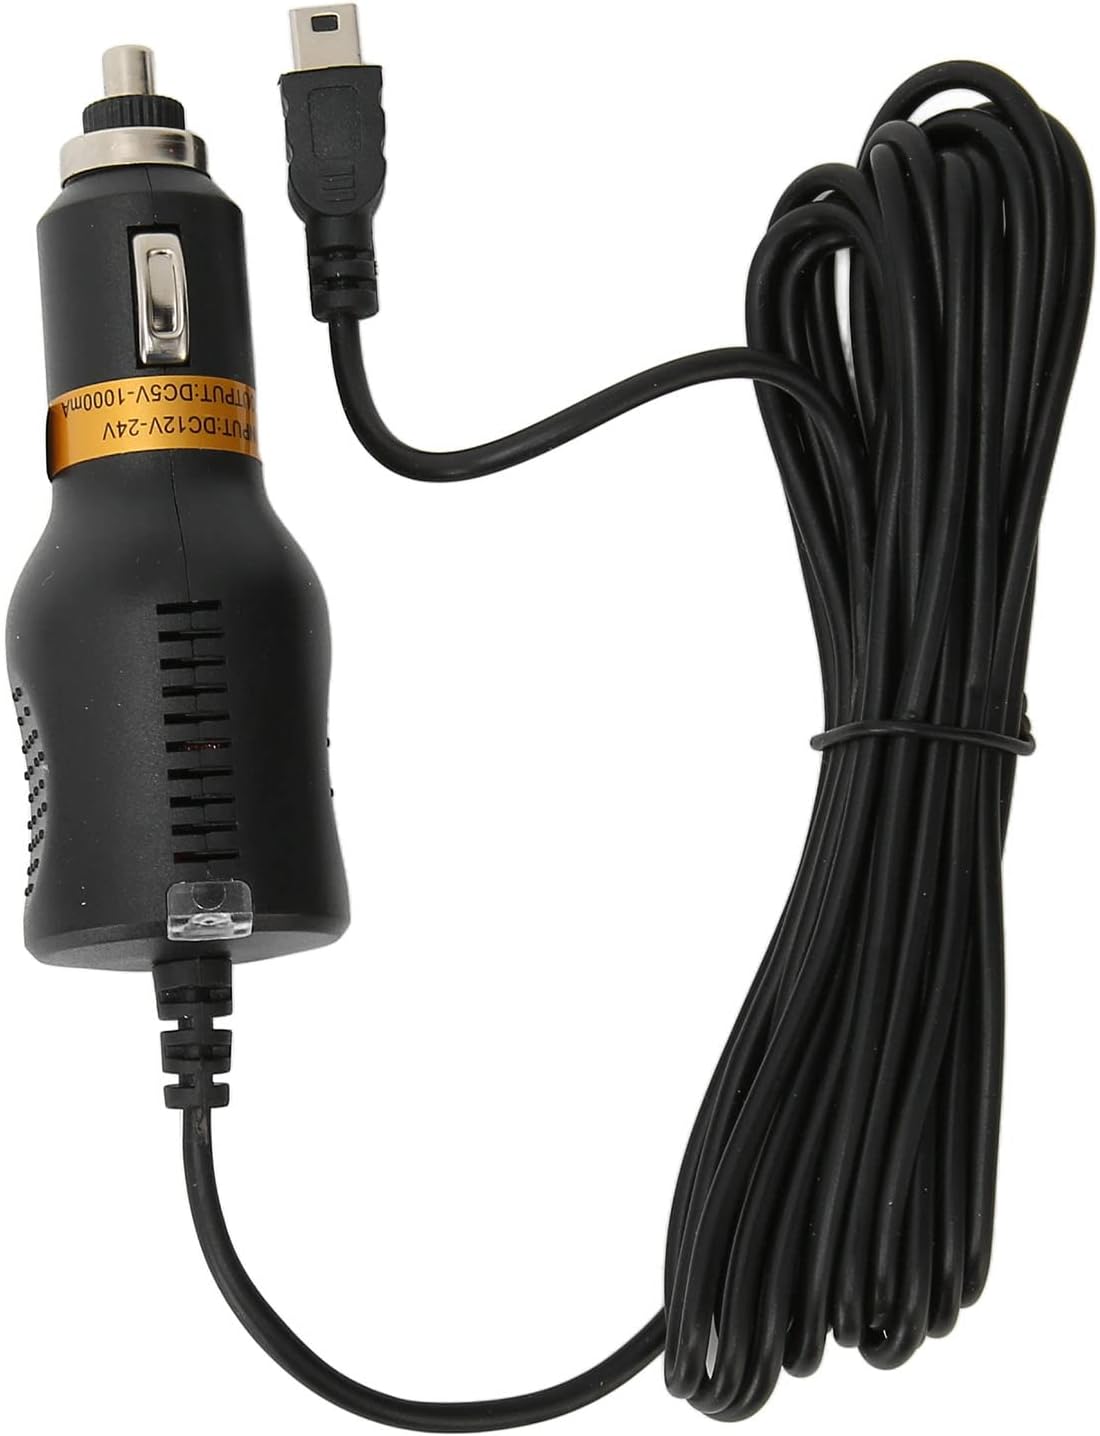
Image: Car charger and power cable.
4.4. Connect Rear Camera (Optional)
If using the rear camera, connect its cable to the designated port on the main dash cam unit. Route the cable neatly to the rear of your vehicle and mount the rear camera in a suitable position, typically on the rear windshield or license plate area.
4.5. Initial Setup and Language
Upon first power-on, you may need to set the language and time. Use the navigation buttons (Up/Down) and the OK button to select "English" and confirm your settings.
Video: This video demonstrates the unboxing, assembly of the dash cam with its mount, connecting the power, and navigating the menu to change language settings. It provides a visual guide for initial setup.
5. 操作手順
5.1. 電源のオン/オフ
- 自動: The dash cam will automatically power on when your vehicle starts and power off when the ignition is turned off.
- マニュアル: 電源ボタンを長押しして、デバイスの電源を手動でオンまたはオフにします。
5.2. 録音モード
The dash cam supports continuous loop recording. Once powered on, it will automatically begin recording.
- 通常録画: Continuous recording in segments.
- 緊急録画(Gセンサー): In the event of a sudden impact or collision, the built-in G-Sensor will automatically lock the current video segment, preventing it from being overwritten by cyclic recording.
- モーション検出: When enabled in the settings, the dash cam will automatically start recording if motion is detected in front of the vehicle while parked.
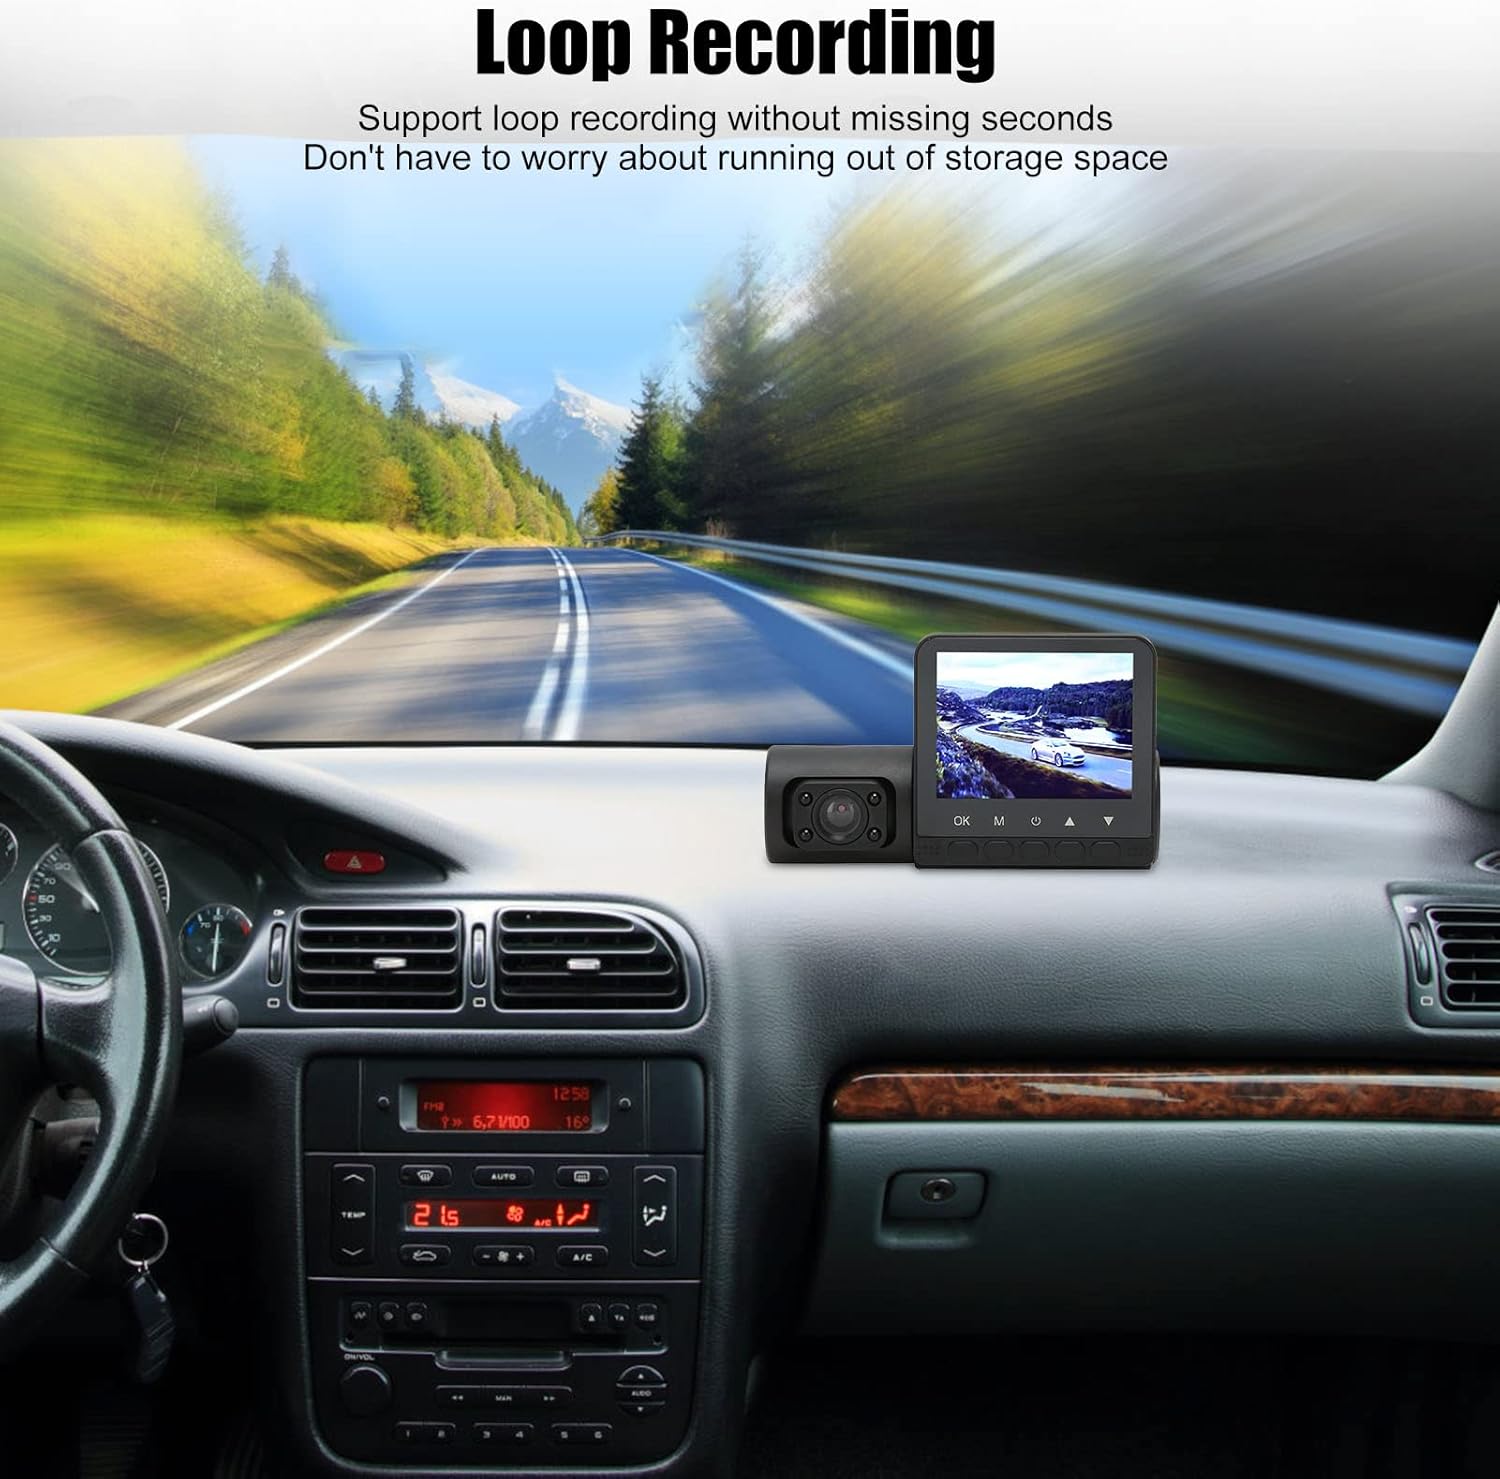
Image: Dash cam screen showing loop recording feature.
5.3. メニューナビゲーション
Use the following buttons to navigate the dash cam's menu and settings:
- OKボタン: Confirms selection or starts/stops recording.
- M(メニュー)ボタン: Enters the menu or switches between recording/playback modes.
- 上/下ボタン: メニュー オプションを移動したり、設定を調整したりします。
5.4.再生モード
に view 録画されたビデオ:
- Press the M button to switch to playback mode.
- Use the Up/Down buttons to browse through recorded files.
- 選択したビデオを再生するには、[OK] ボタンを押します。
6. 主な特徴
- Gセンサー: 突然の揺れや衝突を自動的に検出し、現在のfooをロックしますtage to prevent overwriting, ensuring critical evidence is preserved.
- ナイトビジョン: Equipped with infrared night vision technology, allowing for clear video recording even in low-light or nighttime conditions.

Image: Dash cam demonstrating night vision capability.
- 巡回録音: Records continuously, overwriting the oldest unlocked files when the memory card is full. This ensures uninterrupted recording without manual management.
- モーション検出: When activated, the camera will automatically start recording if it detects movement in its field of view, providing surveillance when your vehicle is parked.
- 自動制御: Supports automatic power-on with vehicle ignition and power-off upon engine shutdown, simplifying operation.
7. 仕様
| 特徴 | 詳細 |
|---|---|
| アイテムタイプ | 3チャンネルドライブレコーダー |
| 材料 | アブソリュート |
| 表示サイズ | 2.4インチ |
| カメラ解像度 | フロント、ミドル、リア |
| レンズ角度 | 170° A+ class high resolution ultra wide angle |
| カメラのピクセル | 5MP |
| 写真フォーマット | JPEG |
| ビデオフォーマットの記録 | 264 形式 |
| オーディオ | オーストラリア |
| Gセンサー | Built-in (emergency save) |
| Cyclic Recording | Seamless cyclic recording |
| 自動電源オン/オフ | Supported (ignition-linked) |
| モーション検出 | サポート |
| 時刻同期 | Supported (Y/M/D/H/M) |
| メモリカードのサポート | 最大32GB(別売) |
| マイクロフォン | サポート |
| 内蔵スピーカー | サポート |
| 赤外線ナイトビジョン | サポート |
| バッテリー | 180mAhリチウム電池内蔵 |
| 電源インターフェース | DC12-24V |
8。 トラブルシューティング
If you encounter issues with your dash cam, please refer to the following common solutions:
- ダッシュカムの電源が入らない:
- Ensure the power cord is securely connected to both the dash cam and the vehicle's power outlet.
- Check if the vehicle's power outlet is functioning correctly.
- 車両のイグニッションがオンになっていることを確認します。
- 録音の問題:
- Ensure a compatible memory card is inserted and formatted.
- Check if the memory card is full; cyclic recording should prevent this, but locked files can accumulate.
- Try formatting the memory card through the dash cam's settings menu.
- ビデオ品質が悪い:
- Clean the camera lenses (front, interior, rear) to remove dust or smudges.
- Ensure the dash cam is securely mounted and not vibrating excessively.
- メニューでビデオ解像度の設定を確認してください。
- Gセンサーが敏感すぎる/敏感さが足りない:
- ダッシュ カメラのメニューで G センサーの感度設定を調整します。
9. メンテナンス
- クリーニング: Regularly clean the camera lenses and the display screen with a soft, dry cloth. Avoid abrasive cleaners.
- メモリーカード: Periodically format your memory card (e.g., once a month) to maintain optimal performance and prevent data corruption. Back up any important file■フォーマットする前。
- ストレージ: 長期間使用しない場合は、ダッシュ カメラを直射日光を避けて涼しく乾燥した場所に保管してください。
10. 保証とサポート
For warranty information or technical support, please refer to the documentation provided with your purchase or contact the seller directly. Keep your proof of purchase for warranty claims.