
1. はじめに
This manual provides detailed instructions for the installation, operation, and maintenance of your Weiser Tavaris x Breton Front Door Lock and Handle Set. This handleset is designed for exterior doors, offering both keyed entry and enhanced security. It features a sleek, modern design with a Satin Nickel finish, complementing various home aesthetics.
The handleset includes a matching deadbolt with a 1-inch throw for robust security. It can be locked or unlocked using a key from the outside or a key/turnpiece from the inside. The product is ANSI/BHMA Grade 2 Certified, ensuring durability and performance.

Image 1.1: Weiser Tavaris x Breton Handleset, showcasing the exterior handle and deadbolt in Satin Nickel finish.
2. パッケージ内容
インストールを開始する前に、パッケージにすべてのコンポーネントが含まれていることを確認してください。
- 外装ドアハンドル
- インテリアレバー
- デッドボルトアセンブリ
- Latches (for both handle and deadbolt)
- Strikes (for both handle and deadbolt)
- Fasteners and Accessories
- 2つのキー
- スマートキーツール
- 取扱説明書(本書)

Image 2.1: All included components of the handleset, including the exterior handle, interior lever, deadbolt, latches, strikes, keys, and SmartKey tool.
3. インストール
The Weiser Tavaris x Breton handleset is designed for easy installation, typically requiring only a screwdriver. The adjustable latch mechanism accommodates all standard door preparations.
3.1インストール前のチェック
- Ensure your door thickness and backset measurements are compatible with the handleset.
- Confirm the door is properly prepared with standard bore holes.
3.2 ステップバイステップのインストールview
- デッドボルトラッチをドアの端に取り付けます。
- Install the deadbolt cylinder and thumbturn assembly.
- Install the lower latch (spring latch) into the door edge.
- Attach the exterior handleset to the door.
- 内部レバーアセンブリを取り付けます。
- 付属のファスナーを使用してすべてのコンポーネントを固定します。
- Install the strike plates on the door frame.
For detailed visual instructions, refer to the full installation guide included in your package or visit the official Weiser support webサイト。

Image 3.1: The handleset installed on a door, illustrating the exterior pull handle and deadbolt, and the interior lever and turnpiece.
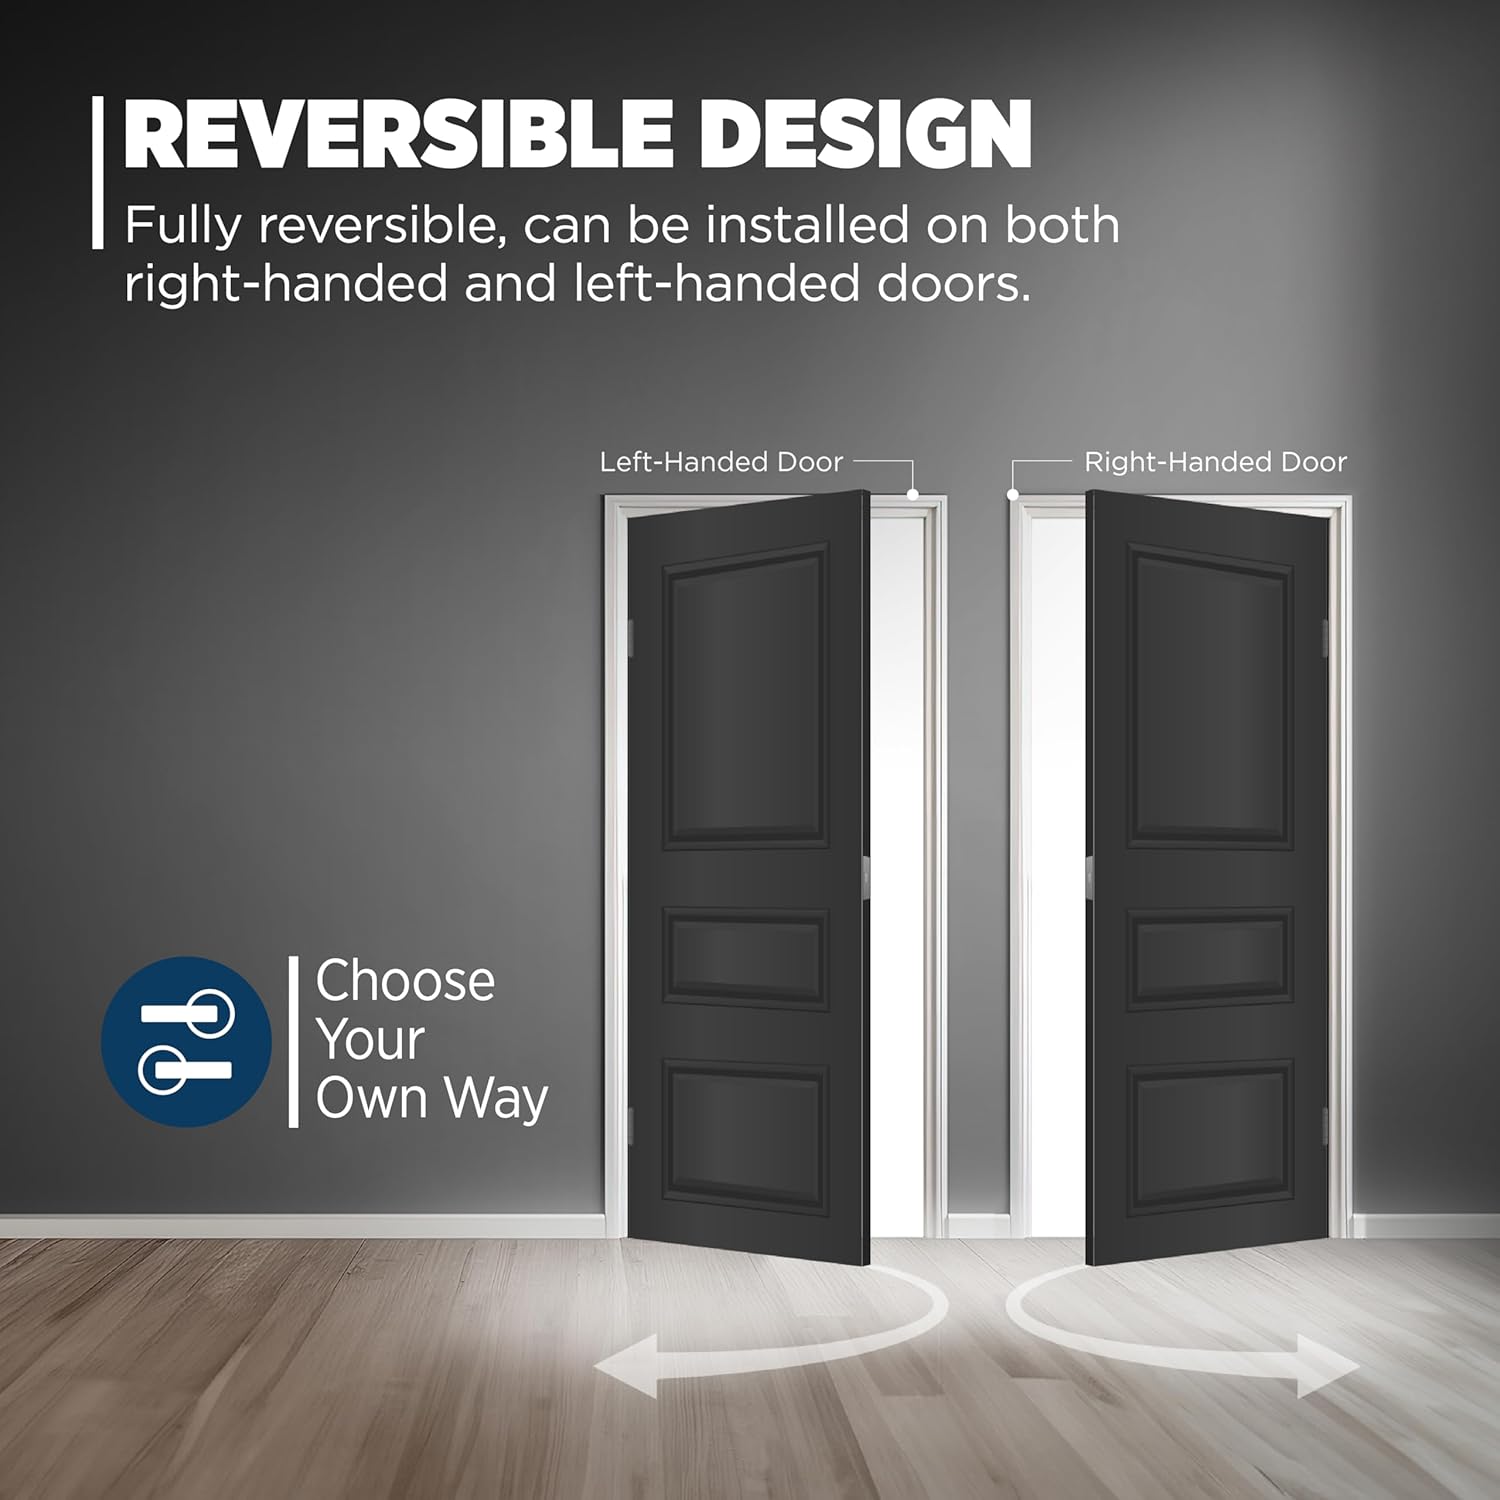
Image 3.2: This handleset features a fully reversible design, allowing installation on both left-handed and right-handed doors.
4. 操作
4.1 ロックとロック解除
- 外部から: Insert the key into the deadbolt cylinder and turn to lock or unlock.
- インテリアから: Use the turnpiece on the deadbolt to lock or unlock.
- The lower handle operates a spring latch and does not provide security locking.
4.2 SmartKey Security Technology
Your Weiser handleset is equipped with SmartKey Security, a re-key technology that allows you to re-key your lock yourself in seconds. This feature protects against advanced break-in techniques and provides convenience by allowing you to match your lock to an existing key.
Re-keying Instructions:
- 機能しているキーをシリンダーに挿入し、時計回りに 90 度回します。
- スマートキーツールをスマートキーの穴にしっかりと差し込みます。スマートキーツールを取り外します。
- 機能しているキーを取り外します。
- Insert your new key fully and firmly into the cylinder. Turn the new key 180 degrees counter-clockwise.
- Your lock is now re-keyed. Test the new key to ensure proper operation.

Image 4.1: Diagram illustrating the SmartKey re-keying process and highlighting security features such as kick-in, bump, pick, drill, and saw resistance.
5. メンテナンス
Weiser ハンドルセットの寿命を延ばし、スムーズに操作できるようにするには、次のメンテナンス ガイドラインに従ってください。
- クリーニング: ハンドルセットを柔らかくて清潔な布で拭いてください。amp 布で拭いてください。研磨剤入りの洗剤、溶剤、または刺激の強い化学薬品は、仕上げを傷める可能性があるため、使用しないでください。
- 潤滑: Periodically apply a silicone-based lubricant to the latch and deadbolt mechanisms to maintain smooth operation. Do not use oil-based lubricants.
- 留め具: すべての取り付けネジと留め具がしっかりと締まっているか定期的に確認してください。締めすぎないようにしてください。
6。 トラブルシューティング
ハンドルセットで問題が発生した場合は、次の一般的なトラブルシューティングのヒントを参照してください。
| 問題 | 考えられる原因 | 解決 |
|---|---|---|
| Key does not turn smoothly or is difficult to insert. | Dirt or debris in the cylinder; worn key; improper re-keying. | Clean the cylinder with compressed air. Try a new key. Re-key the lock following SmartKey instructions. |
| デッドボルトが完全に伸縮しません。 | Misalignment of strike plate; obstruction in door frame; loose fasteners. | Check strike plate alignment and adjust if necessary. Clear any obstructions. Tighten all fasteners. |
| Interior lever is loose or wobbly. | 取り付けネジが緩んでいます。 | Tighten the screws securing the interior lever assembly. |
If the issue persists after attempting these solutions, please contact Weiser Customer Support.
7. 仕様
- 材料: Metal or alloy
- 色: サテンニッケル
- スタイル: Tavaris x Breton
- 製品寸法: 45.5L x 6.7Wセンチメートル
- 商品の重量: 3.9 ポンド
- 外装仕上げ: サテンニッケル(ブラッシュ仕上げ)
- ハンドルタイプ: プルハンドル
- 具体的な用途: 外装ドア
- ロックタイプ: キーロック
- 手の向き: Ambidextrous (Universal Handling)
- 特別な機能: ANSI/BHMA Grade 2 Certified, Adjustable Latch, SmartKey Technology
- モデル番号: 9GLA94710-039
- GTIN/UPC: 059184444445
8. 保証とサポート
8.1 製造元の保証
This Weiser product is backed by a Limited Lifetime Warranty. For specific terms and conditions, please refer to the warranty information provided with your product or visit the official Weiser webサイト。
8.2 カスタマーサポート
For further assistance, technical support, or warranty claims, please contact Weiser Customer Support through their official webサイトまたは製品パッケージに記載されている連絡先情報を参照してください。
9.製品オーバーview ビデオ
包括的な説明については、この公式ビデオをご覧ください。view of Weiser products, highlighting key features and benefits, including SmartKey technology and various styles.
Video 9.1: An official Weiser brand video showcasing the range of products, including smart locks and handlesets, emphasizing security, technology, and convenience. This video demonstrates the SmartKey re-keying process and various design options.