
1. はじめに
This manual provides detailed instructions for the setup, operation, and maintenance of your ThreeH H-AC61Blue Walking Pedometer. Please read this manual thoroughly before using the device to ensure optimal performance and accurate tracking of your activity.
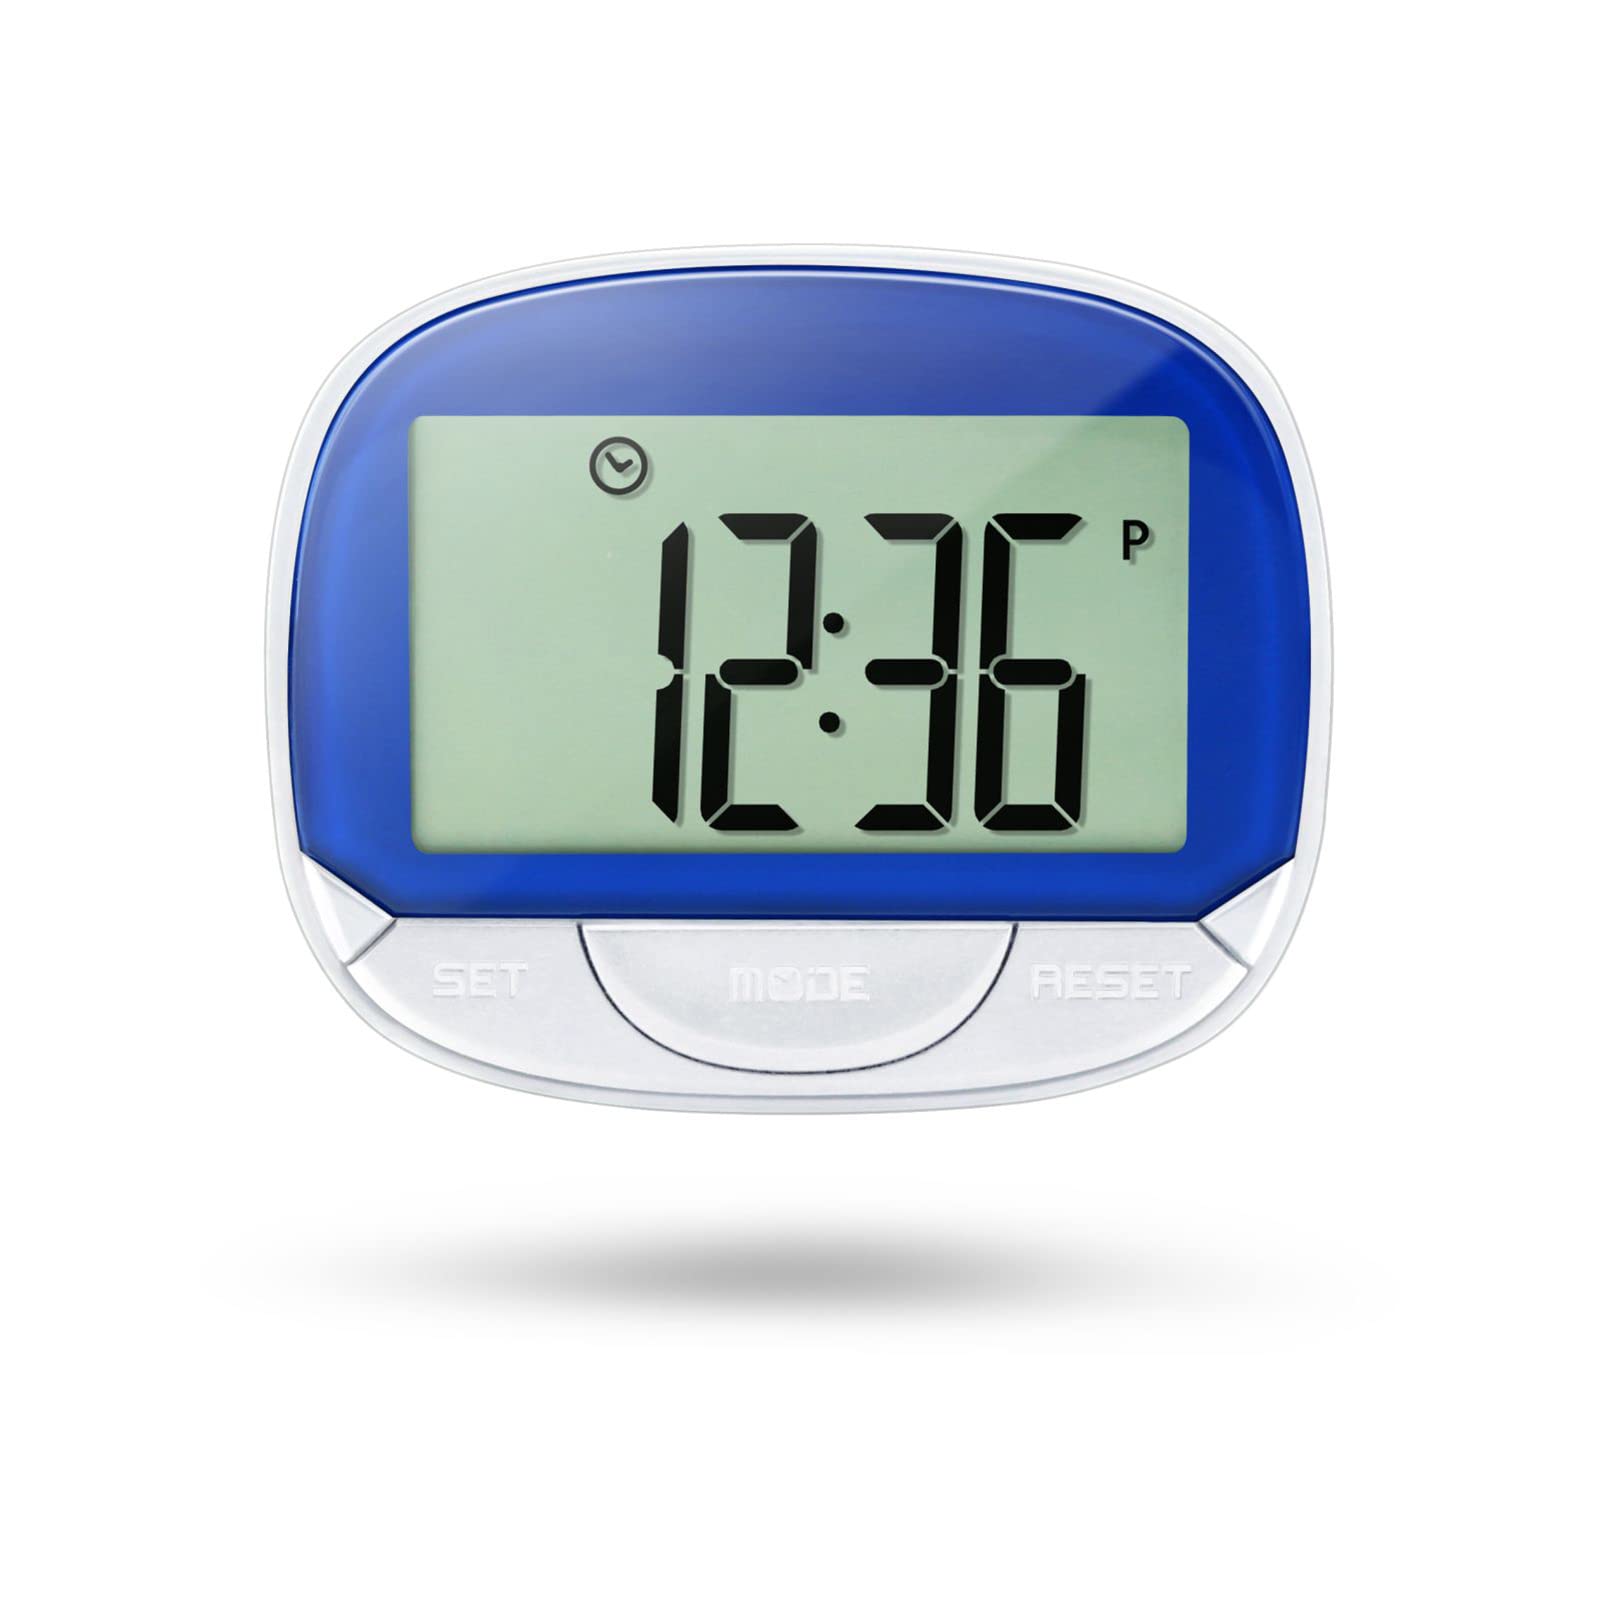
Image 1: ThreeH H-AC61Blue Walking Pedometer. This image shows the pedometer with its large LCD screen displaying "12:36" and three buttons labeled SET, MODE, and RESET. A person is seen running in the background, indicating its use for fitness tracking.
2. 箱の中身
- 1 x ThreeH H-AC61Blue Walking Pedometer
- ユーザーマニュアル (本書) x 1
3 製品の特徴
- Large LCD Screen Display: A 55 mm (2.2 inch) screen for clear readability of data and current time.
- Multi-function Tracking: Tracks steps, distance traveled, and calories burned.
- 時間表示: Shows current time even when not actively tracking, with 12/24 Hour Mode options.
- Accuracy Feature: Designed to avoid erroneous data by not recording the first 5 steps; subsequent steps are recorded along with the initial 5.
- ポータブルデザイン: Small and lightweight with a back clip for easy attachment to a waist belt, arm, leg, or pocket.
- 耐久性のある構造: Made of ABS material for wear resistance and long-lasting use.
- 長いバッテリー寿命: Built-in DC 1.5V AG13 battery designed to last up to one year.
4.デバイスオーバーview
Familiarize yourself with the main components of your pedometer:
- LCDスクリーン: Displays time, steps, distance, and calories.
- SETボタン: Used to enter setup mode and confirm settings.
- モードボタン: Used to switch between display modes (Step, Distance, Calories, Time).
- リセットボタン: Used to clear data or adjust values during setup.
- バッククリップ: 衣服にしっかりと固定します。

Image 2: Dimensions of the ThreeH H-AC61Blue Pedometer. The image shows the pedometer with measurements indicating a width of 65mm (2.55 inches) and a height of 52mm (2.04 inches).
5. セットアップ手順
Before first use, or after replacing the battery, you may need to set the time, stride distance, and weight for accurate readings.
- 初回電源オン: The device should power on automatically when the battery is inserted.
- セットアップモードに入る: を押し続けます セット button for a few seconds until the display changes to indicate setup mode (e.g., time setting).
- Setting Time (12/24 Hour Format):
- While in time setting, press the リセット 12 時間形式と 24 時間形式を切り替えるボタン。
- プレス セット to confirm and move to setting the hour.
- 使用 リセット 時間を調整するには セット 確認します。
- 数分間繰り返します。
- Setting Stride Distance:
- After time, the display will show stride distance (e.g., "IN" for inches or "CM" for centimeters).
- プレス リセット to adjust the stride length. Measure your average stride length for accuracy.
- プレス セット 確認します。
- Setting Weight:
- Next, the display will show weight (e.g., "Lb" for pounds or "KG" for kilograms).
- プレス リセット to adjust your weight.
- プレス セット to confirm and exit setup mode.
Note: Accurate stride distance and weight settings are crucial for precise distance and calorie calculations.
6. 操作手順
6.1 Wearing the Pedometer
For best accuracy, it is recommended to clip the pedometer onto your waist belt, ensuring it remains straight to the ground. It can also be clipped to an arm, leg, or placed in a pocket, but waist placement generally yields the most consistent results.

Image 3: ThreeH H-AC61Blue Pedometer clipped to a person's waist belt. This demonstrates the recommended wearing position for optimal step tracking.
6.2 Tracking Your Activity
- トラッキングを開始: を押す モード button until the screen displays "STEP". The pedometer will automatically begin counting your steps as you move.
- Viewデータ: を押す モード button repeatedly to cycle through different display modes:
- ステップ: 歩いた歩数の合計を表示します。
- 距離: Shows the total distance traveled based on your stride setting.
- カロリー: Displays the estimated calories burned based on your weight and activity.
- 時間: 現在の時刻を表示します。
- データのリセット: To clear the current day's tracking data (steps, distance, calories), press and hold the リセット button until the digital display changes to zero. This will not affect your time settings.
Note: The pedometer is designed to ignore the first 5 steps to prevent recording accidental movements. If you continue walking, these initial 5 steps will be added to your count.
7. メンテナンス
- クリーニング: 歩数計は柔らかく乾いた布で拭いてください。研磨剤入りの洗剤を使用したり、水に浸したりしないでください。
- バッテリー交換: When the display becomes dim or unresponsive, it's time to replace the built-in DC 1.5V AG13 battery. Refer to the battery compartment for specific instructions on opening and replacing.
- ストレージ: Store the pedometer in a cool, dry place away from direct sunlight and extreme temperatures when not in use.
- 衝撃を避ける: While durable, avoid dropping the device or subjecting it to strong impacts, which could damage internal components.
8。 トラブルシューティング
| 問題 | 考えられる原因 | 解決 |
|---|---|---|
| 歩数計が歩数を正確にカウントしません。 | Incorrect wearing position, low battery, or incorrect stride setting. | Ensure the pedometer is clipped securely to your waist belt and remains straight. Replace the battery if low. Verify and adjust your stride setting in setup mode. |
| ディスプレイが暗いか空白です。 | バッテリー残量が少ない、または消耗しています。 | Replace the DC 1.5V AG13 battery. |
| Cannot reset data. | RESET button not held long enough. | を押し続けます リセット button for several seconds until the display clears to zero. |
| 時間が間違っています。 | Time not set correctly or battery removed/replaced. | Re-enter setup mode and adjust the time as per Section 5. |
9. 仕様
- ブランド: スリーエイチ
- モデル: H-AC61Blue
- 材料: プラスチック
- 色: 青
- 画面サイズ: 2.2 Centimetres (LCD)
- 商品の重量: 35グラム
- センサータイプ: 歩数計
- バッテリー: Built-in DC 1.5V AG13 (Lithium-Ion)
- Exercise Time Tracking: 0~1440分
- 寸法(長さx幅x高さ): 6.3 x 5.2 x 2.3 センチメートル
10. 保証とサポート
具体的な保証条件やカスタマーサポートの連絡先に関する情報は、提供されている製品データには記載されていません。製品パッケージまたは販売店のウェブサイトをご覧ください。 web保証情報およびサポート連絡先については、こちらのサイトをご覧ください。