
1.製品オーバーview
The Saramonic Blink 100 B1 is an ultra-portable and easy-to-use 2.4GHz wireless microphone system designed to deliver broadcast-quality sound. It is compatible with cameras, smartphones, tablets, and computers, making it versatile for various recording needs. This system features automatic pairing, selectable active noise cancellation, and a long battery life, ensuring clear audio capture in diverse environments.

Image: The Saramonic Blink 100 B1 system, showing the transmitter with a furry windscreen and the receiver unit.
2. 箱の中身
The Saramonic Blink 100 B1 package includes the following components:
- 1 x Blink 100 B1 Transmitter (TX)
- 1 x Blink 100 B1 Receiver (RX)
- 1 x Furry Windscreen for Transmitter
- 1 x カメラ用 3.5mm TRS - TRS 出力ケーブル
- モバイルデバイス用 3.5mm TRS - TRRS 出力ケーブル 1 本
- 1 x USB-C充電ケーブル
- 1×キャリングポーチ
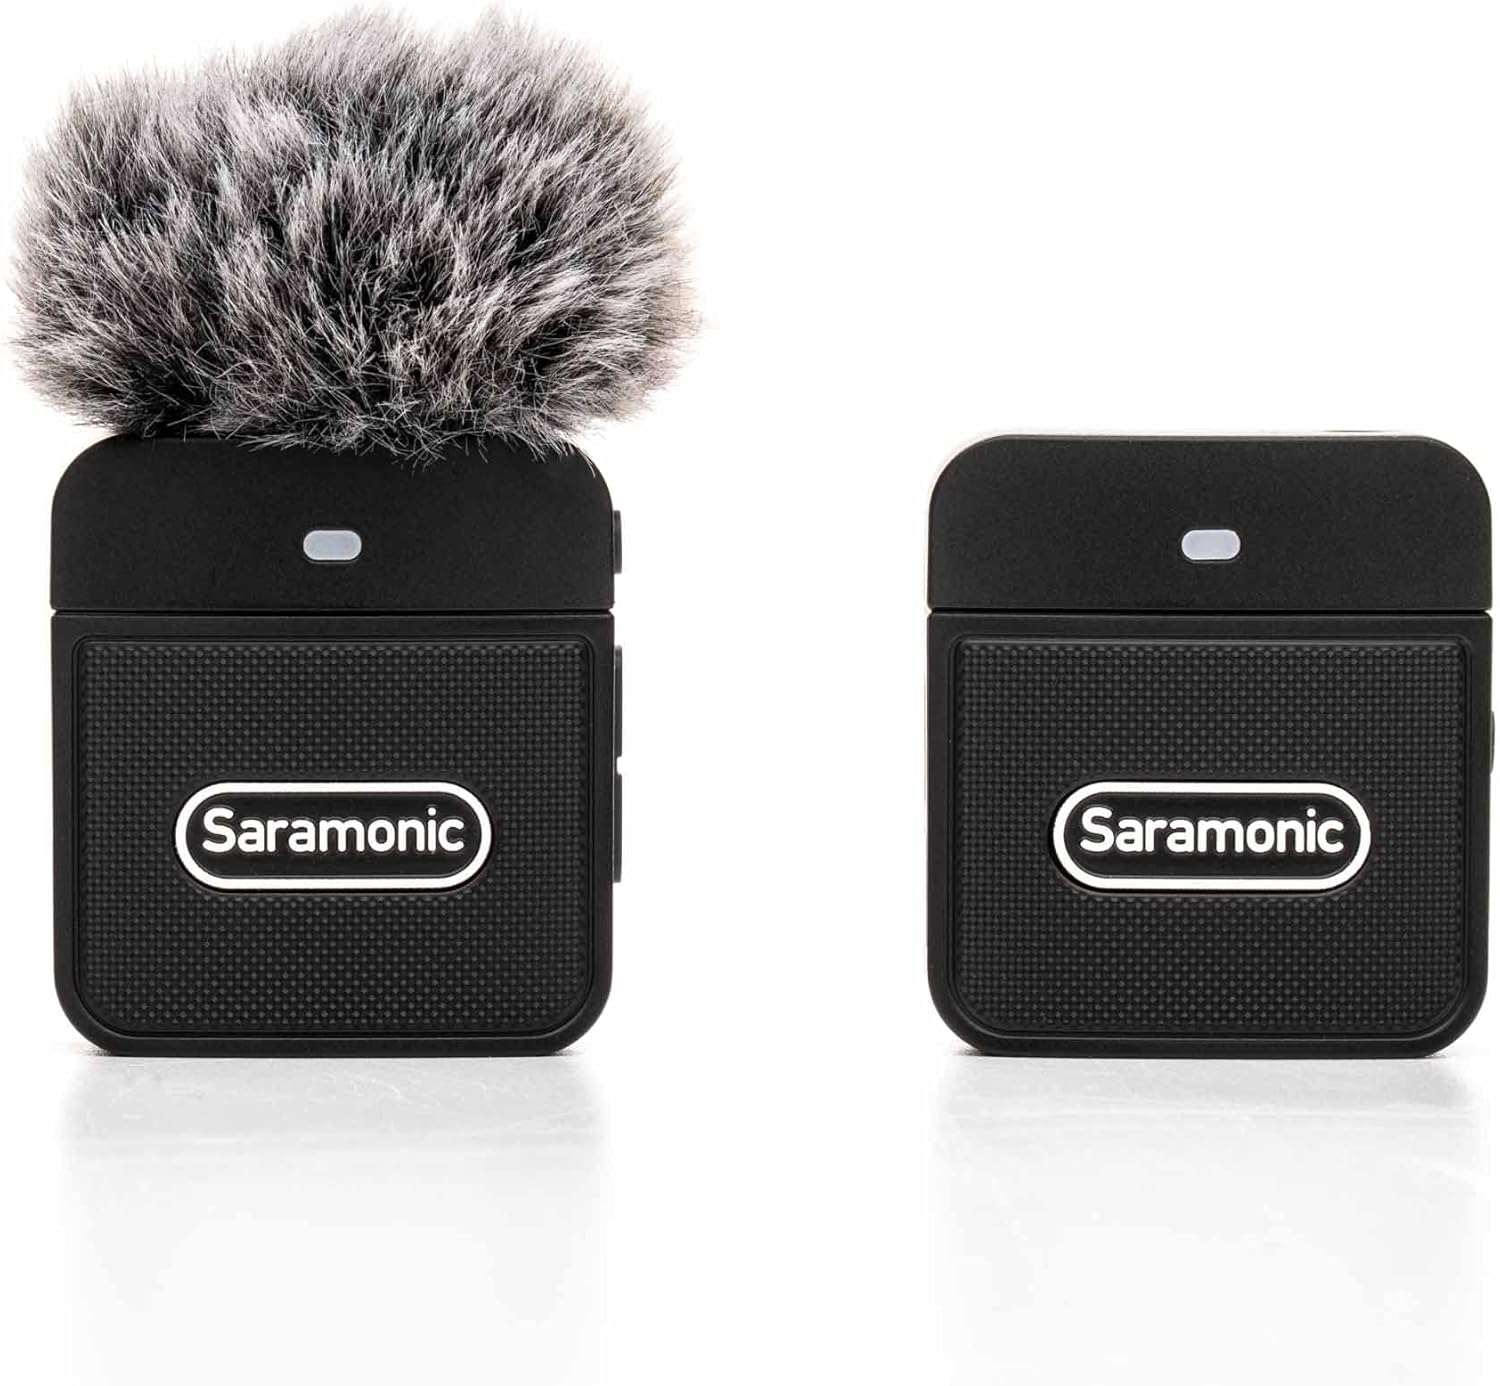
Image: All components included in the Saramonic Blink 100 B1 package, neatly arranged.
3.製品コンポーネント
Familiarize yourself with the main components of your Blink 100 B1 system:
3.1送信機(TX)
- Built-in Omnidirectional Microphone: あらゆる方向からの音を取り込みます。
- 電源/ミュートボタン: Press to power on/off, single press to mute/unmute.
- ノイズキャンセルボタン: Activates/deactivates active noise cancellation.
- ゲインコントロール: Adjusts microphone input level.
- ステータスインジケーターライト: Shows power, pairing, and noise cancellation status.
- USB-C充電ポート: トランスミッターの充電用。
3.2レシーバー(RX)
- 3.5mm オーディオ出力: Connects to cameras, smartphones, tablets, or computers.
- 電源/ペアリングボタン: Press to power on/off, long press to initiate pairing.
- ステータスインジケーターライト: Shows power, pairing, and connection status.
- USB-C充電ポート: For charging the receiver (if applicable) or pass-through charging for connected devices.
- Cold Shoe Mount/Belt Clip: For attaching to cameras or clothing.
4. セットアップ手順
4.1 初期充電
Before first use, fully charge both the transmitter and receiver using the provided USB-C charging cable. The status indicator light will show charging progress and turn solid when fully charged.
4.2 電源オンとペアリング
- Press and hold the Power button on both the Transmitter (TX) and Receiver (RX) until their indicator lights illuminate.
- The units will automatically attempt to pair. The indicator lights will blink during pairing and turn solid blue when successfully paired.
4.3 デバイスへの接続
The receiver is designed for versatile connectivity:
- カメラの場合: Attach the receiver to your camera's cold shoe mount. Use the 3.5mm TRS to TRS cable to connect the receiver's audio output to your camera's microphone input.
- For Smartphones/Tablets/Computers: Use the 3.5mm TRS to TRRS cable to connect the receiver's audio output to your device's headphone/microphone jack. For devices without a 3.5mm port, a Lightning or USB-C adapter (not included) may be required.
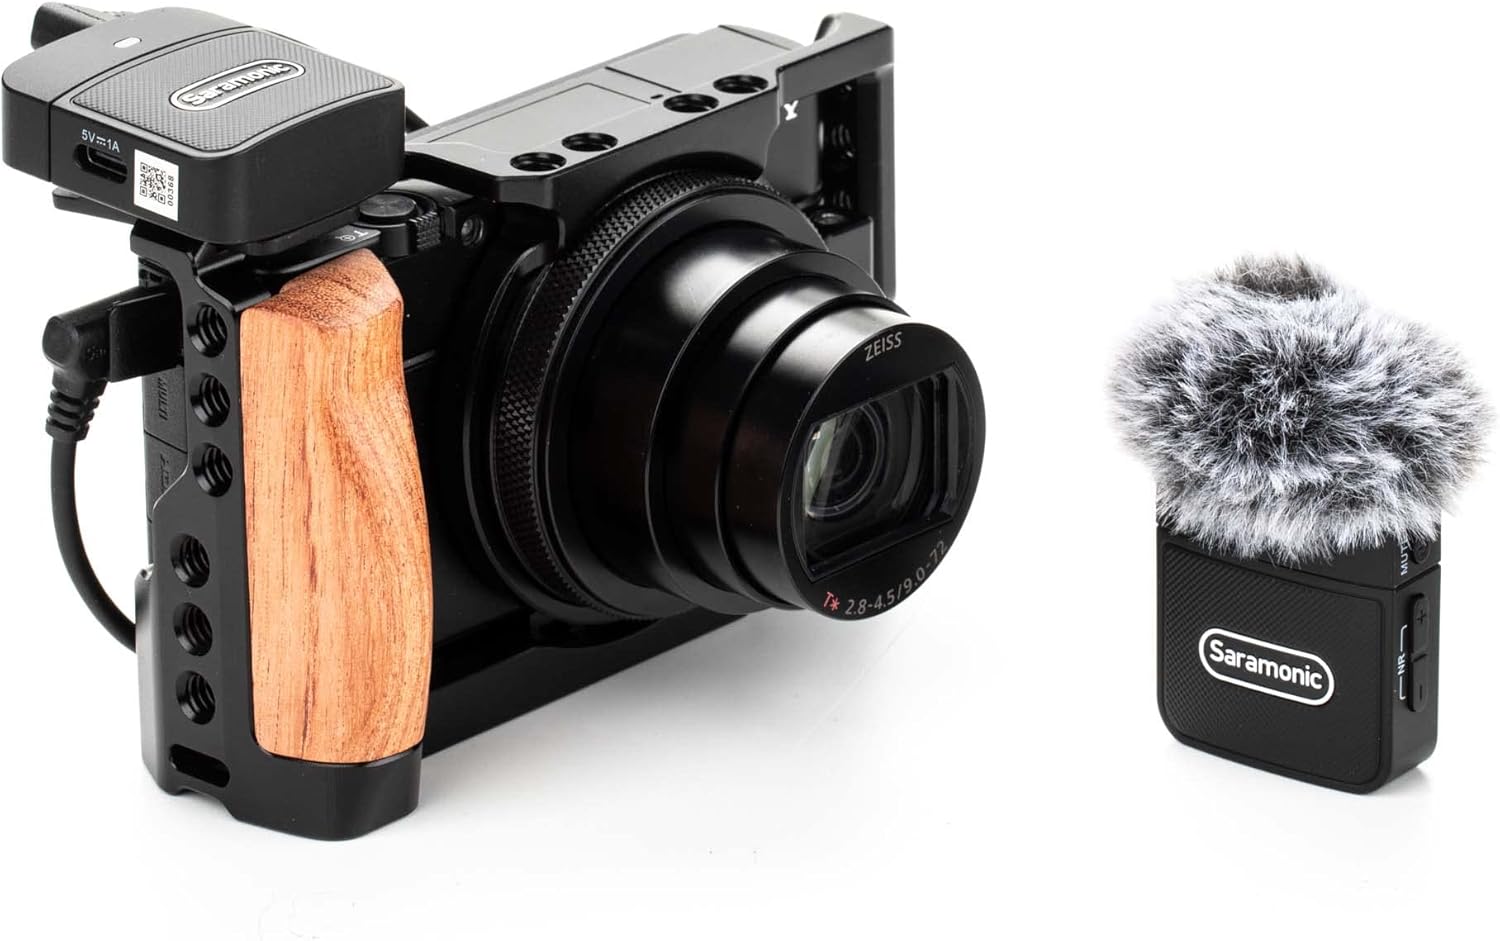
Image: The Saramonic Blink 100 B1 receiver mounted on a camera's cold shoe, connected via cable.

Image: The Saramonic Blink 100 B1 receiver connected to a smartphone via a coiled TRRS cable.
4.4 送信機の取り付け
The transmitter can be easily clipped onto clothing or placed on a flat surface:
- クリップオン: Use the integrated clip to attach the transmitter to your collar, lapel, or any suitable clothing item. Ensure the microphone is facing towards your mouth for optimal sound capture.
- Tabletop/Podium: The compact design allows the transmitter to be placed on a table or podium for interviewまたはプレゼンテーション。

Image: A person wearing the Saramonic Blink 100 B1 transmitter clipped to their shirt, demonstrating its discreet placement.
5. 操作手順
5.1 オーディオの録音
- Ensure both TX and RX units are powered on and successfully paired (solid blue indicator lights).
- Connect the RX to your recording device (camera, smartphone, etc.).
- Open your recording application (camera app, voice recorder, etc.) on your device.
- Adjust the microphone gain on the TX unit as needed.
- 録音を開始します。
5.2 アクティブノイズキャンセレーション(ANC)
The transmitter features selectable Active Noise Cancellation for clearer audio in noisy environments:
- To activate ANC, press the Noise Cancellation button on the TX unit. The indicator light will change to green.
- To deactivate ANC and return to normal mode, press the Noise Cancellation button again. The indicator light will return to blue.
5.3 マイクをミュートする
To temporarily stop audio transmission without powering off the unit:
- Press the Power/Mute button on the TX unit once. The indicator light will blink slowly, indicating mute mode.
- Press the button again to unmute. The indicator light will return to solid blue (or green if ANC is active).
6. メンテナンス
- Keep the units clean by wiping with a soft, dry cloth.
- デバイスを極端な温度、湿気、直射日光にさらさないでください。
- Store the system in its carrying pouch when not in use to prevent damage.
- Regularly charge the units to maintain battery health.
7。 トラブルシューティング
- 音が出ない: Ensure all cables are securely connected, units are powered on and paired, and the microphone is not muted. Check your recording device's audio input settings.
- 音質が悪い: Check for interference, activate Active Noise Cancellation in noisy environments, and ensure the transmitter is positioned correctly towards the sound source.
- ペアリングの問題: Power cycle both units. If issues persist, manually re-initiate pairing by long-pressing the pairing button on the RX unit.
- バッテリー寿命が短い: Ensure units are fully charged before use. Battery performance may degrade over time with extensive use.
8. 仕様
| 特徴 | 詳細 |
|---|---|
| ブランド | サラモニック |
| モデル名 | ブリンク100B1 |
| 接続技術 | 2.4GHzワイヤレス |
| コネクタタイプ | 3.5mm TRS, 3.5mm TRRS, USB Type-C |
| 特集 | Clip-on, Active Noise Cancellation |
| 対応デバイス | Camera, Smartphone, Tablet, Computer |
| 色 | 黒 |
| 極性パターン | 全方向 |
| アイテム重量 | 0.33 ポンド |
| 電源 | 電池式(リチウムポリマー電池1個必要) |
| 信号対ノイズ比 | 76デシベル |
| チャンネル数 | 1 |
| アイテムの寸法 | 3.74 x 2.32 x 4.69インチ |
9. 公式製品ビデオ
ビデオ: 当局者がview of the Saramonic Blink 100 B1 & B2 Portable Clip-On Wireless Microphones, demonstrating features and ease of use.
10. 保証とサポート
この製品には、 2年間保証 from the manufacturer, Saramonic.
For further support, product registration, or to explore other Saramonic products, please visit the AmazonのSaramonicストア.