
1. はじめに
Thank you for choosing the DIGITEN DTC101 Temperature Controller. This device is designed to precisely regulate and maintain desired temperatures within a range of -40°C to 248°C (-40°F to 480°F). It is suitable for a wide array of applications, including greenhouses, mushroom houses, reptile breeding, animal feeding, aquariums, wine cellars, cigar storage, homebrewing, seed germination, heating mats, and fermentation. This manual provides essential information for safe and effective operation.
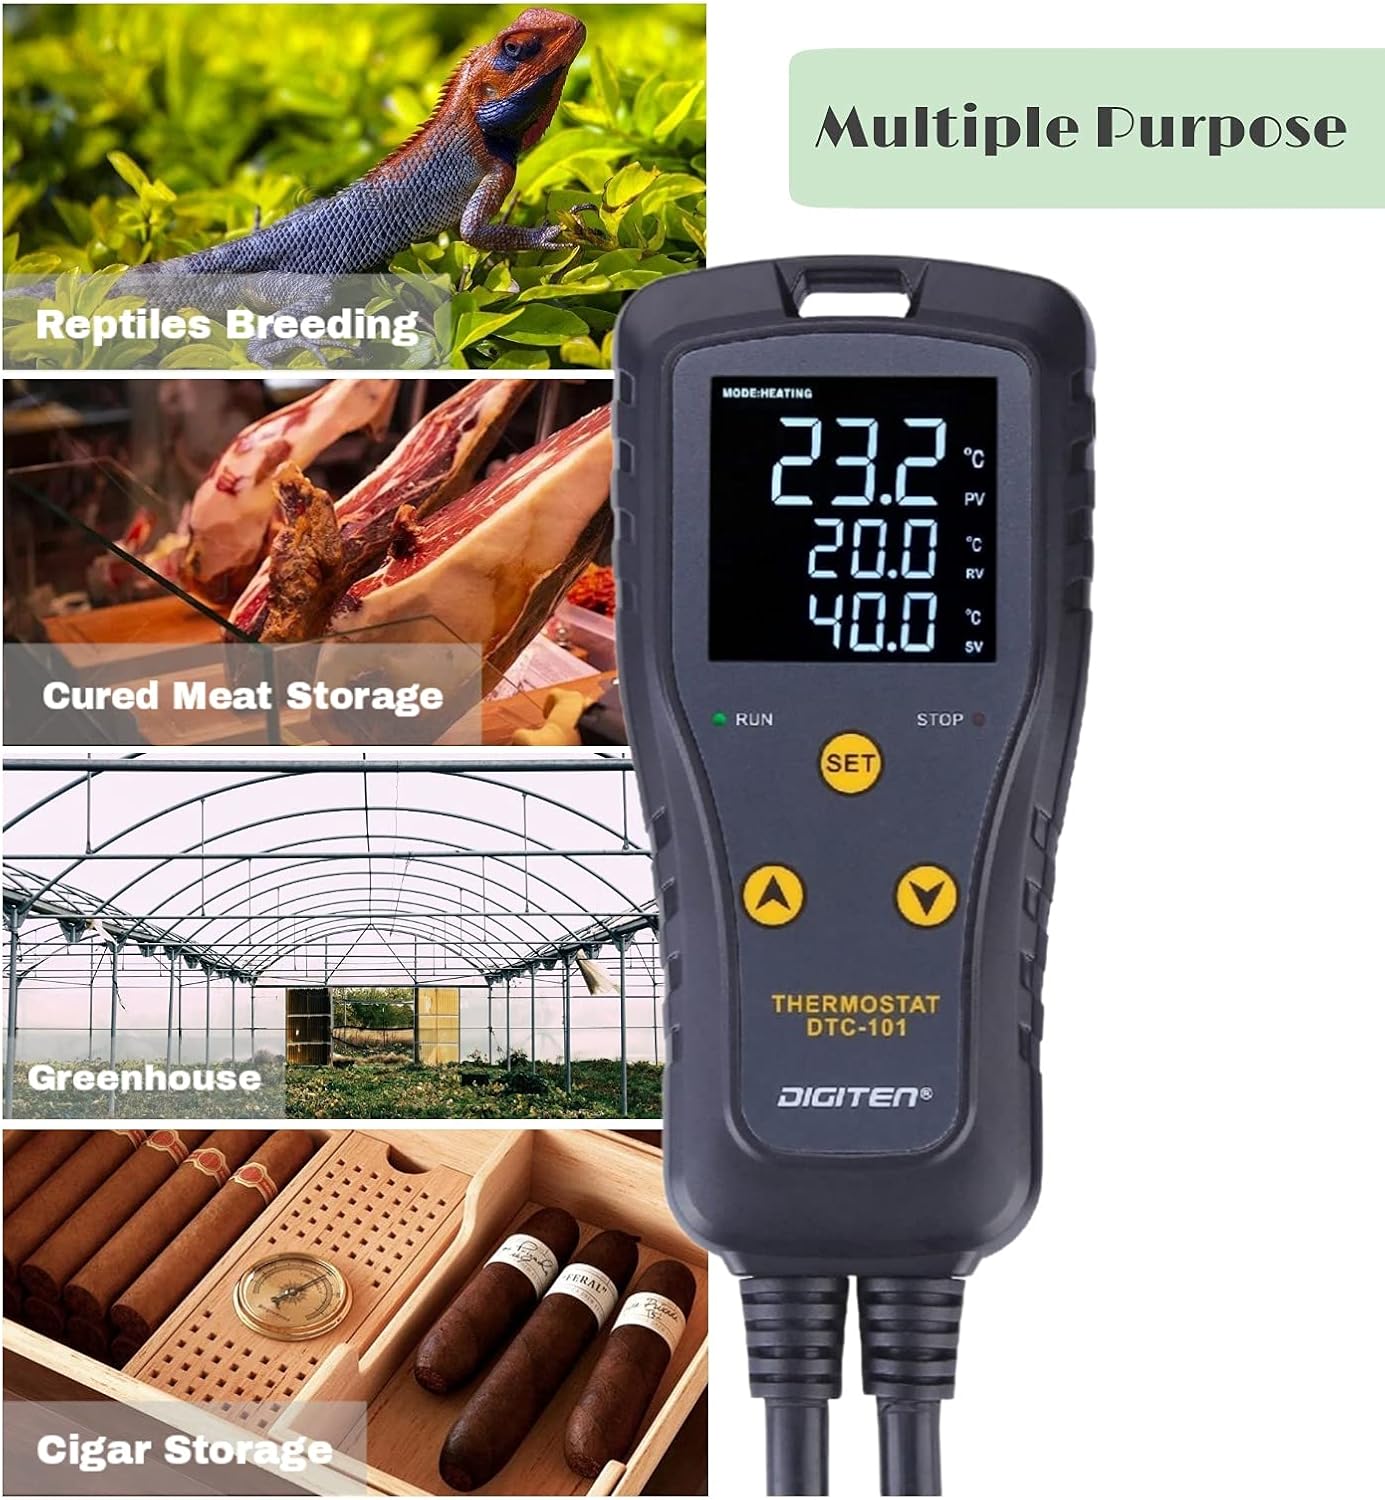
The image highlights the versatile applications of the DTC101 controller, showing its use in diverse environments such as reptile breeding, cured meat storage, greenhouses, and cigar humidors.
2. 安全情報
- 使用前にすべての指示をよくお読みください。
- 電源がデバイスの要件に適合していることを確認します。
- コントローラーユニットを水に浸したり、過度の湿気にさらしたりしないでください。センサープローブは防水仕様ですが、本体は防水仕様ではありません。
- For long-term stability and safety, it is recommended to restrict the connected load current to 7 amps, even though the device is rated for 10 amps.
- The controller supports high and low-temperature alarms, which are crucial for protecting your equipment and environment from exceeding safe temperature ranges. Configure these alarms according to your specific application needs.
- お子様の手の届かない場所に保管してください。
3.製品オーバーview
The DIGITEN DTC101 is a plug-and-play temperature controller featuring a clear LED display and intuitive controls. It includes a main control unit and a waterproof temperature sensor probe.
3.1。 構成部品
- Main Temperature Controller Unit
- Waterproof Temperature Sensor Probe
3.2. ディスプレイとコントロール
The bright LED display provides real-time temperature readings and settings. The unit features three easy-to-use buttons: SET, UP (▲), and DOWN (▼).

この画像は詳細な view of the DIGITEN DTC101 display, highlighting the current temperature (PV), run temperature (RV), stop temperature (SV), and the 'RUN' and 'STOP' indicators for heating/cooling modes.
- PV (Current Temp): Displays the actual temperature measured by the sensor.
- RV (Run Temp): The temperature at which the connected device will activate (start heating or cooling).
- SV (Stop Temp): The temperature at which the connected device will deactivate (stop heating or cooling).
- 実行インジケータ: Illuminates when the connected device is active.
- STOPインジケーター: Illuminates when the connected device is inactive.
The controller also features a practical 'Hold Design' with an eyelet tab, allowing it to be conveniently hung on a wall or hook, keeping cords tidy.

The image illustrates the 'Hold Design' of the DTC101 controller, featuring an eyelet tab at the top for convenient hanging and installation.
4. セットアップ
- センサーを接続します: Insert the temperature sensor probe into the designated port on the controller. Ensure it is securely connected.
- センサーの位置: Place the sensor probe in the environment where temperature control is required (e.g., inside an aquarium, greenhouse, or terrarium).
- Plug in Heating/Cooling Device: Connect your heating or cooling equipment (e.g., heating mat, fan, heater) to the output socket of the DTC101 controller.
- 電源オン: Plug the DTC101 controller into a standard power outlet. The display will illuminate.
- 取り付け(オプション): Use the integrated eyelet tab to hang the controller on a wall or hook for optimal placement and cable management.

This image demonstrates a typical setup where the DTC101 temperature controller is connected to a power outlet and a heating/cooling device (represented by a plant growing light) to maintain a desired temperature.

The image shows the DTC101 temperature controller positioned next to an aquarium, illustrating its application in maintaining stable water temperatures for aquatic environments.
5. 操作手順
The DTC101 is designed for user-friendly operation with its three-button interface.
5.1. Setting Temperature Units (°C/°F)
摂氏と華氏を切り替えるには:
- を押す 上へ(▲) そして 下へ(▼) buttons simultaneously. The display will toggle between °C and °F.
5.2. Setting Run Temperature (RV) and Stop Temperature (SV)
- を押す セット button once. The RV (Run Temp) value will flash.
- 使用 上へ(▲) or 下へ(▼) buttons to adjust the desired Run Temperature.
- を押す セット button again. The SV (Stop Temp) value will flash.
- 使用 上へ(▲) or 下へ(▼) ボタンを押して希望の停止温度を調整します。
- を押す セット button a third time to confirm and exit the setting mode. The display will return to showing the current temperature.
5.3. Selecting Heating or Cooling Mode
The controller automatically determines the operating mode based on your RV and SV settings:
- 暖房モード: If RV < SV, the controller will operate in heating mode. The connected device will turn on when the temperature drops to RV and turn off when it reaches SV.
- 冷却モード: If RV > SV, the controller will operate in cooling mode. The connected device will turn on when the temperature rises to RV and turn off when it drops to SV.
5.4. Compressor Delay Setting
The compressor delay function protects refrigeration equipment by preventing rapid cycling. This setting is typically adjusted within the advanced menu (refer to specific instructions for accessing advanced settings if needed, as this is not detailed in the basic product information).
5.5. LCD Backlight Control
To turn off the LCD backlight:
- を押す 上へ(▲) そして セット buttons simultaneously for approximately 3 seconds until the light bulb symbol disappears. The LCD backlight will shut off automatically after 30 seconds of inactivity.

This visual guide explains how to convert temperature units (°C/°F), set the heating or cooling mode based on Run Value (RV) and Stop Value (SV), and activate/deactivate the LCD backlight on the DTC101 controller.
6. メンテナンス
- クリーニング: Wipe the controller unit with a soft, dry cloth. Do not use abrasive cleaners or solvents.
- センサーのケア: Ensure the sensor probe is clean and free from debris that could affect its accuracy. Avoid bending or damaging the sensor cable.
- ストレージ: 使用していないときは、コントローラーを直射日光や極端な温度を避け、涼しく乾燥した場所に保管してください。
7。 トラブルシューティング
7.1. Device Not Powering On / No Output
- 電源接続を確認してください: Ensure the controller is securely plugged into a working power outlet.
- 接続されているデバイスの確認: Verify that the heating/cooling device plugged into the controller's output is functional and properly connected.
- 設定を確認します: Double-check your RV and SV settings. If RV and SV are set to the same value, or if the current temperature is within the set range, the output may not activate.
- リセット: Unplug the unit from the power source for a few minutes, then plug it back in.
7.2. 不正確な温度測定
- センサーの配置: Ensure the sensor probe is correctly positioned and not exposed to direct heat sources, drafts, or extreme localized temperatures that do not represent the overall environment.
- センサーの損傷: Inspect the sensor cable and probe for any visible damage. A damaged sensor may provide incorrect readings.
7.3. Alarms Triggering Unexpectedly
- Review アラーム設定: Check your high and low-temperature alarm thresholds to ensure they are set appropriately for your application.
- Environmental Fluctuations: Significant and rapid temperature changes in the environment can trigger alarms.
8. 仕様
| ブランド | DIGITEN |
| モデル | DTC-101UK |
| 表示タイプ | 液晶 |
| 温度制御範囲 | -40°C ~ 248°C (-40°F ~ 480°F) |
| 現在の評価 | 10A (Recommended max 7A for long-term stability) |
| 含まれるコンポーネント | Temperature Controller with Sensor |
9. 保証とサポート
For warranty information, technical support, or service inquiries, please refer to the documentation included with your purchase or contact DIGITEN customer support directly through their official website or the retailer where the product was purchased. Please have your model number (DTC-101UK) and purchase date available when contacting support.


