
1. はじめに
This manual provides detailed instructions for the setup, operation, and maintenance of your Coolfire Wooden Vibrating Alarm Clock, Model 1735BK. Please read this manual thoroughly before using the product to ensure proper function and longevity. This alarm clock is designed to provide multiple wake-up options, including a powerful vibrator, sound alarm, or a combination of both, catering to various user preferences, including heavy sleepers.
2. パッケージ内容
- Coolfire Wooden Vibrating Alarm Clock (Main Unit)
- Vibrating Shaker Unit with Cable
- USB電源ケーブル
- ユーザーマニュアル(この文書)

3.製品オーバーview
The Coolfire alarm clock features a wooden finish and a digital LED display. It provides time, date, temperature, and humidity readings. The accompanying vibrator unit offers customizable alarm modes.
本体の特徴:
- デジタル時刻表示(12/24時間形式)
- 日付表示
- 温度表示(°C/°F)
- Humidity Display (%RH)
- 調整可能な明るさレベル
- Sound Control Mode (Power Saving)
- アラーム設定
Vibrating Shaker Unit Features:
- Powerful Vibration Alarm
- Audible Buzzer Alarm
- Combination Vibration and Sound Alarm
- High/Low Vibration Intensity Switch
- Snooze/Off Button
- 外部デバイス用のUSB充電ポート

4. セットアップ
4.1電源接続
- Connect the provided USB power cable to the DC 5V input port on the back of the main alarm clock unit.
- Plug the other end of the USB cable into a standard USB power adapter (not included) and then into a wall outlet.
- ディスプレイが点灯し、時計の電源がオンになっていることを示します。
4.2 Vibrator Unit Connection
- Locate the cable attached to the vibrating shaker unit.
- Insert the vibrator cable's plug into the designated port on the back of the main alarm clock unit. Ensure it is securely connected.
- Place the vibrator unit under your pillow or mattress for optimal effect.

5. 操作手順
The alarm clock features several buttons on the back for setting and adjusting functions. Refer to the labels on the back of your unit for specific button identification.
5.1 時刻と日付の設定
- を押し続けます セット button (usually located on the back) until the year display starts flashing.
- 使用 UP そして 下 年を調整するためのボタン。
- プレス セット もう一度押して年を確定し、月の設定に移動します。
- Repeat steps 2 and 3 for setting the month, day, 12/24-hour format, hour, and minute.
- After setting the minutes, press セット 最後にもう一度押すと、時刻/日付設定モードが終了します。
5.2 アラームの設定
The clock supports multiple alarms (e.g., AL1, AL2, AL3). The process is similar for each.
- を押す アラーム button (or a button labeled with an alarm icon) to cycle through AL1, AL2, AL3, and OFF.
- When the desired alarm (e.g., AL1) is displayed, press and hold the アラーム button until the hour display for that alarm starts flashing.
- 使用 UP そして 下 ボタンでアラーム時間を調整します。
- プレス アラーム もう一度押して時間を確定し、分の設定に移動します。
- 使用 UP そして 下 ボタンでアラーム分を調整します。
- プレス アラーム again to confirm the minute. The alarm icon will appear on the display, indicating the alarm is active.
- アラームを解除するには、 アラーム button to select it, then press アラーム again until the alarm icon disappears.
5.3 Vibrator Alarm Modes
The vibrator unit has a switch on its underside to select the alarm mode:
- 1. VIBRATION ONLY: The vibrator will activate without an audible alarm.
- 2. SOUND ONLY: The vibrator will remain silent, and only the audible buzzer will sound.
- 3. VIBRATION + SOUND: Both the vibrator and the audible buzzer will activate simultaneously.
さらに、 高い低い switch to adjust the vibration intensity.

5.4スヌーズ機能
アラームが鳴ったら、 SNOOZE/OFF button on the vibrator unit to temporarily silence the alarm. The alarm will sound again after a set snooze interval (typically 5-9 minutes, check product specifics if available).
5.5 アラームオフ
To turn off the alarm completely after it sounds, press and hold the SNOOZE/OFF button on the vibrator unit until the alarm stops.
5.6 明るさ調整
The clock display has adjustable brightness levels. Press the UP or 下 button (or a dedicated brightness button if available) to cycle through different brightness settings (e.g., Dim, Medium, Bright).

5.7 Sound Control Mode (Power Saving)
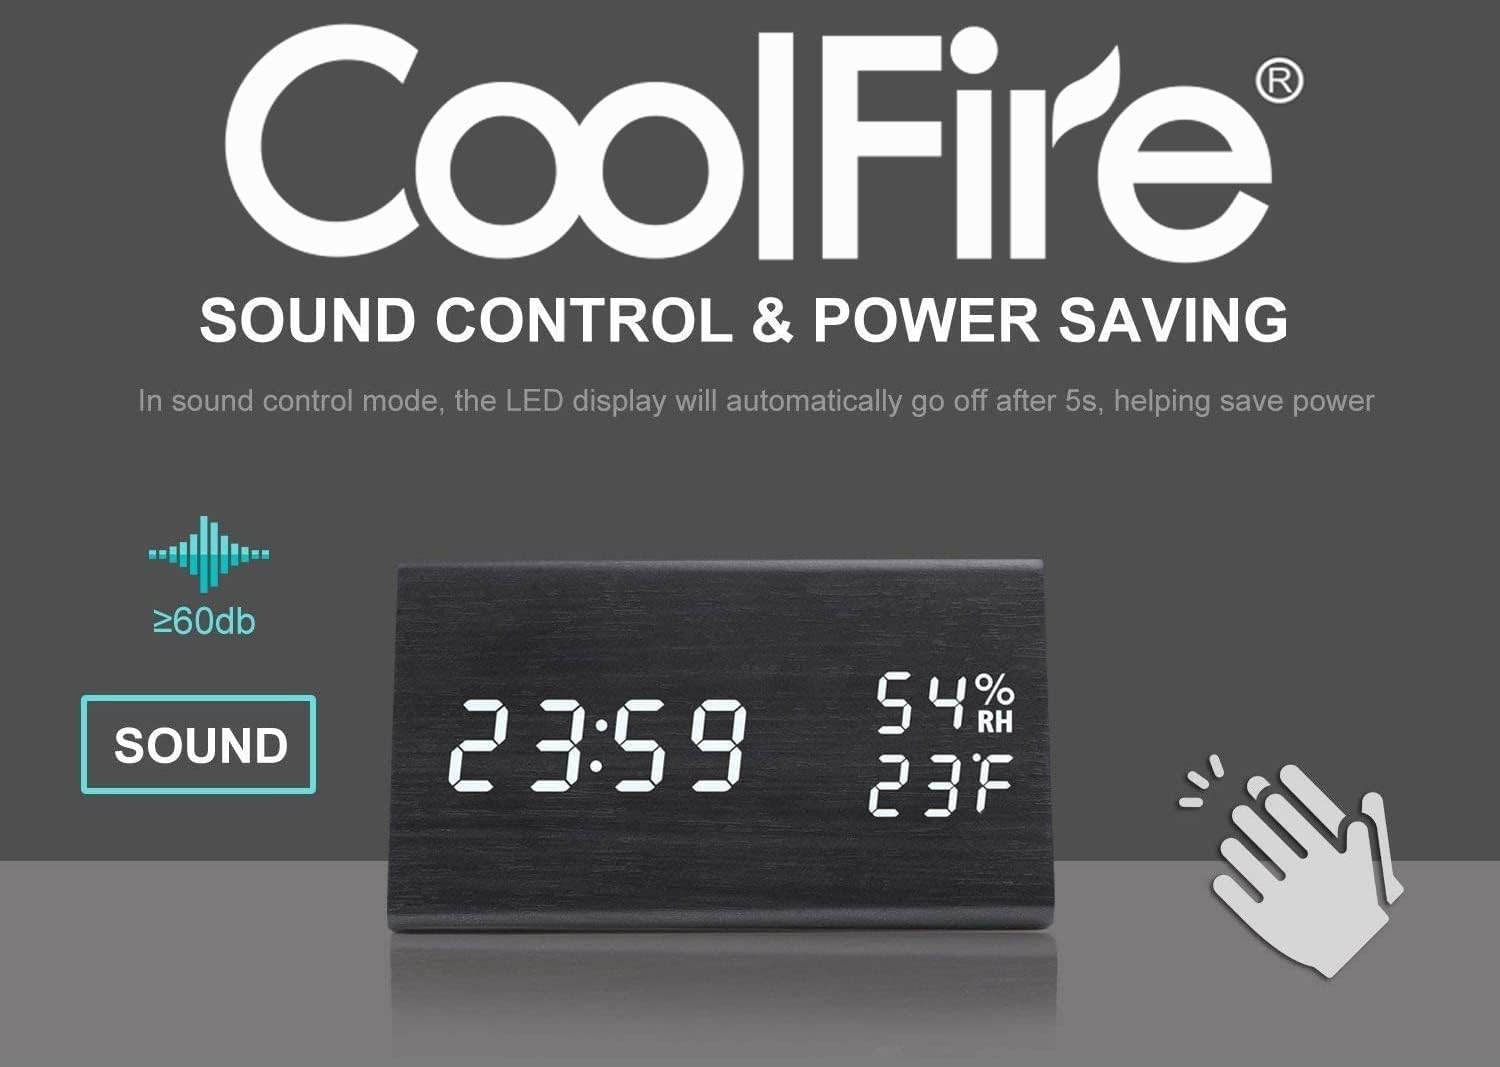
This feature allows the LED display to turn off automatically after approximately 5 seconds to save power. The display will reactivate when a sound above 60dB (e.g., a clap) is detected or when a button is pressed.
5.8USB充電ポート
The vibrator unit includes a USB port that can be used to charge external devices, such as smartphones, overnight. Connect your device's charging cable to this port.

6. メンテナンス
- Clean the clock and vibrator unit with a soft, dry cloth. Do not use abrasive cleaners or solvents.
- 極端な温度、直射日光、高湿度にさらさないでください。
- Ensure all cables are securely connected and not kinked or damaged.
7。 トラブルシューティング
- Q: The display is blank or not turning on.
- A: Ensure the USB power cable is securely connected to both the clock and a working power adapter/outlet. If using sound control mode, make a sound (e.g., clap) to activate the display.
- Q: The vibrator is not working.
- A: Check that the vibrator unit's cable is firmly plugged into the main clock unit. Verify the alarm mode switch on the vibrator is set to 'VIBRATION ONLY' or 'VIBRATION + SOUND'. Ensure an alarm is set and active.
- Q: It is difficult to set the time or alarm.
- A: Follow the instructions in sections 5.1 and 5.2 carefully. Ensure you press and hold the respective buttons to enter setting mode and press them briefly to confirm each step. If the display is flashing rapidly, you may be in a different setting mode; press the SET/ALARM button to cycle through options.
- Q: The temperature/humidity readings seem inaccurate.
- A: The sensors provide approximate readings. Ensure the clock is not placed near heat sources, direct sunlight, or in areas with significant air currents that could affect local measurements.
8. 仕様
- ブランド: 冷たく輝く
- モデル番号: 1735BK
- 表示タイプ: デジタル
- スタイル: モダンな
- 電源: Battery Powered (for backup, main power via USB)
- 部屋タイプ: 寝室
- 形: 長方形
- 材料: 木材
- フレーム素材: 木材
- 取り付けタイプ: テーブルトップ
- 目覚まし時計: はい
- 動作モード: 電気
- 国際コード: 724268990254
- 製品寸法: 2.3 x 4 x 1インチ
- 商品の重量: 14オンス
9. 公式製品ビデオ
Watch this video for a visual guide on the features and operation of the Coolfire Wooden Vibrating Alarm Clock.
10. 保証とサポート
For warranty information and customer support, please refer to the contact details provided with your purchase documentation or visit the official Coolfire webサイトでご確認ください。保証請求の際は購入証明として領収書を保管してください。