
1. はじめに
The INKBIRDPLUS Wireless Weather Station provides comprehensive indoor and outdoor environmental monitoring. This device integrates a barometer, thermometer, and hygrometer to display indoor and outdoor temperature, humidity, moon phase, and atmospheric pressure. It also offers a 12-hour weather forecast and features an RCC radio clock for automatic time synchronization.

Figure 1.1: The INKBIRDPLUS Wireless Weather Station main display unit and its accompanying outdoor temperature and humidity sensor.
主な特徴:
- Wireless Weather Forecast: Displays indoor/outdoor temperature, humidity, moon phase, and atmospheric pressure. Provides a 12-hour weather forecast.
- カラー液晶画面: Large display with 5 adjustable brightness levels for clear visibility in various lighting conditions.
- RCC Radio Clock: Features a WWVB function for automatic time adjustment via local radio waves.
- アラーム&スヌーズ機能: Includes an outdoor temperature alarm, historical min/max temperature and humidity values, and multiple alarm patterns with snooze.
- 屋内/屋外モニタリング: Supports one outdoor remote sensor with a transmission range of up to 100 meters (330 feet) unobstructed or 60 meters (200 feet) with obstacles.
2. セットアップ
2.1 電源
The main weather station unit is primarily powered by the included AC adapter. For memory retention during power outages, it is recommended to install 3 x AAA batteries (not included) in the main unit. The outdoor sensor requires 2 x AAA batteries (not included).

Figure 2.1: Illustration of power supply connections for the main unit (AC adapter and AAA batteries) and battery installation for the remote sensor.
- 本体: Connect the AC adapter to the main unit and a power outlet. Open the battery compartment and insert 3 x AAA batteries, observing polarity.
- 屋外センサー: Open the battery compartment on the outdoor sensor and insert 2 x AAA batteries, observing polarity.
Note: When operating on battery power alone, the screen of the main unit will dim after 15 seconds of inactivity to conserve energy due to its large display size. For continuous bright display, use the AC adapter.
2.2 センサーの配置
Place the outdoor sensor in a location that provides accurate readings and allows for effective wireless transmission to the main unit. Avoid direct sunlight and rain for optimal performance and longevity.

図2.2:例amples of suitable outdoor sensor placement, such as on a wall or balcony, ensuring clear signal transmission.
- Ensure the sensor is within the transmission range of 100 meters (330 feet) unobstructed or 60 meters (200 feet) with obstacles.
- Mount the sensor securely using a screw, hook, or nail (not included) in a shaded, well-ventilated area.
- Avoid placing the sensor near large metal objects, electrical appliances, or sources of heat/cold that could interfere with readings or signal.

Figure 2.3: The outdoor sensor can be placed in various locations such as a garden, balcony, or cellar, while the main unit can be in a house, kitchen, or baby room.
3. 操作
3.1 Display and Backlight Adjustment
The main unit features a large color LCD screen that displays all data at a glance. The screen brightness is adjustable to suit different environments.

Figure 3.1: Pressing the SNOOZE/LIGHT button on the top of the unit adjusts the screen brightness.
- を押す スヌーズ/ライト button located on the top of the main unit to cycle through 5 levels of screen brightness (100%, 75%, 50%, 25%, 0% off).
- Select the desired brightness level for optimal viewing in your current lighting conditions.

Figure 3.2: The display unit showing the five different levels of screen brightness, from 100% to off.
3.2天気予報
The weather station forecasts the weather for the next 12 hours based on the temperature and atmospheric pressure data received from the outdoor sensor.

Figure 3.3: The display shows various weather icons representing conditions such as sunny, cloudy, partly cloudy, heavy rain, rainy, and snowy.
- Observe the weather icons on the display to understand the predicted conditions.
- The forecast is an estimation and may vary from actual conditions.
3.3 RCC Radio Clock
The indoor host is equipped with an RCC radio clock featuring a WWVB function. This allows the unit to automatically adjust the current time via local radio waves, typically several times at night, ensuring accurate timekeeping.
- For optimal signal reception, place the main unit near an exterior window.
- The unit will attempt to synchronize automatically. Manual time setting may be required if the signal is weak or unavailable.
3.4 アラームとスヌーズ機能
The weather station includes an alarm function with customizable settings and a snooze feature.
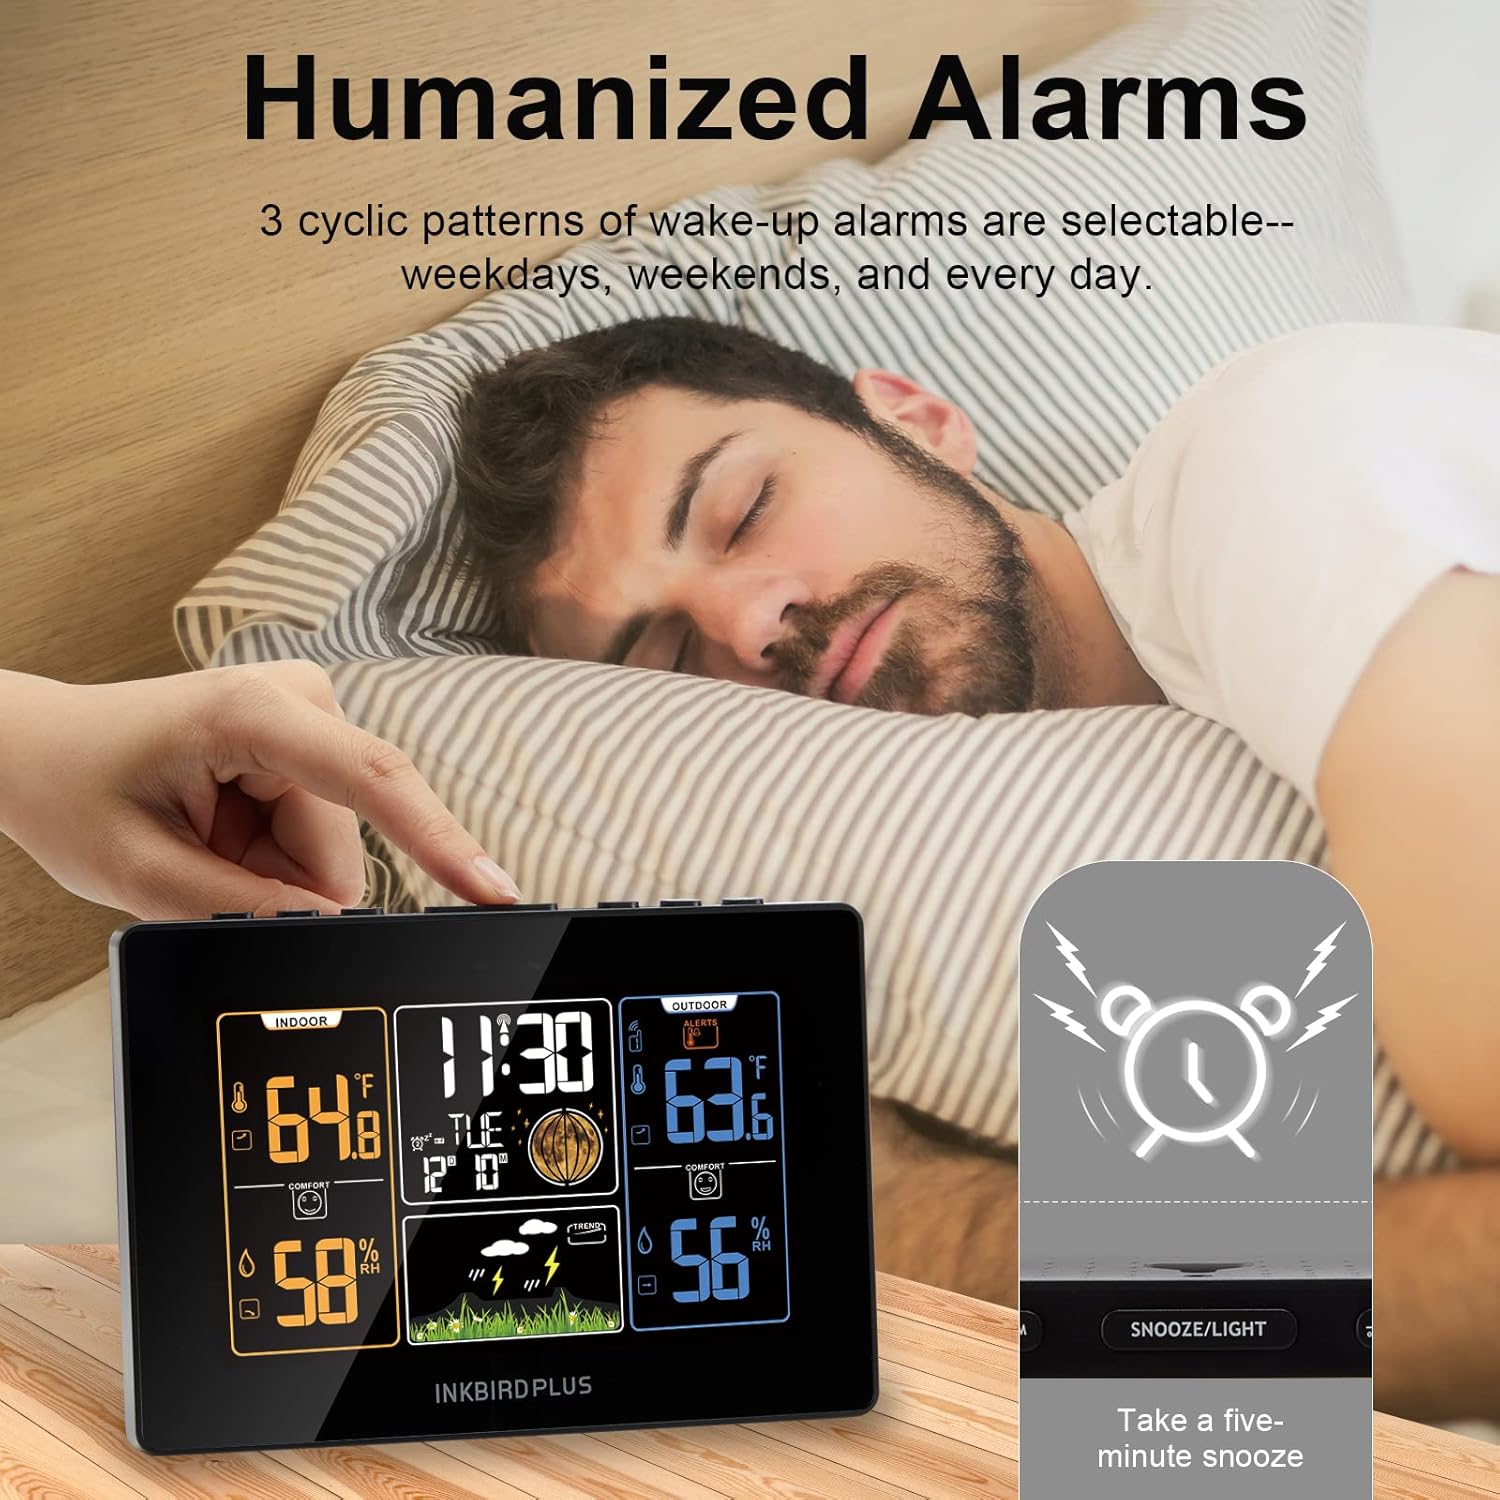
Figure 3.4: The alarm function allows setting wake-up alarms and provides a five-minute snooze option by pressing the SNOOZE/LIGHT button.
- 屋外温度アラーム: Set a specific outdoor temperature range. The main unit will alert you if the outdoor temperature falls outside this preset range.
- Historical Values: View the historical maximum and minimum values for both temperature and humidity.
- Wake-up Alarms: Choose from 3 cyclic alarm patterns: weekdays, weekends, or every day.
- スヌーズモード: アラームが鳴ったら、 スヌーズ/ライト button to activate a five-minute snooze.
4. メンテナンス
適切なメンテナンスを行うことで、気象観測所の寿命と精度が確保されます。
- クリーニング: Wipe the main unit and outdoor sensor with a soft, dry cloth. Avoid using abrasive cleaners or solvents.
- バッテリー交換: Replace batteries in both the main unit (for memory backup) and the outdoor sensor when the low battery indicator appears on the display. Ensure correct polarity.
- センサーの配置: Periodically check the outdoor sensor's placement to ensure it remains secure and free from obstructions or environmental factors that could affect readings.
5。 トラブルシューティング
If you encounter issues with your INKBIRDPLUS Wireless Weather Station, refer to the following common troubleshooting steps:
- ディスプレイなし/暗いディスプレイ:
- Ensure the AC adapter is securely connected and the power outlet is functional.
- 電池が正しく取り付けられており、消耗していないことを確認してください。必要に応じて交換してください。
- If on battery power, the screen dims after 15 seconds. Press the SNOOZE/LIGHT button to temporarily brighten it, or use the AC adapter for continuous bright display.
- No Outdoor Sensor Reading/Intermittent Readings:
- Verify that the outdoor sensor batteries are fresh and correctly installed.
- Ensure the outdoor sensor is within the specified transmission range (100m unobstructed, 60m obstructed) of the main unit.
- Relocate the outdoor sensor or main unit to minimize obstacles (walls, large metal objects) or sources of interference.
- Try re-pairing the sensor with the main unit according to the full instruction manual (if provided separately).
- 不正確な温度/湿度の読み取り:
- Ensure the outdoor sensor is not exposed to direct sunlight, rain, or extreme heat/cold sources.
- Compare readings with a known accurate thermometer/hygrometer to verify discrepancies.
- Replace batteries in both units, as low power can affect accuracy.
- RCC Radio Clock Not Synchronizing:
- Place the main unit near an exterior window, away from electronic devices that may cause interference.
- Ensure you are in a region that receives WWVB signals. Signal strength can vary based on location and time of day.
- Allow sufficient time (e.g., overnight) for the unit to attempt synchronization.
6. 仕様
| 特徴 | 詳細 |
|---|---|
| モデル番号 | IB-Weather Station |
| メーカー | インクバードプラス |
| アイテム重量 | 540グラム |
| 区画寸法 | 24.1 x 18.9 x 5.1 cm |
| 色 | Indoor Weather Station Host |
| スタイル | モダンな |
| 形 | 長方形 |
| 電源タイプ | Battery Powered (Main unit also AC adapter) |
| 表示スタイル | 液晶 |
| 特集 | Alarm, Clock, Lightweight, Wireless |
| 推奨用途 | 家 |
| 電池は付属していますか? | いいえ |
| 電池は必要ですか? | Yes (3xAAA for main unit, 2xAAA for sensor) |
7. 保証とサポート
For warranty information, technical support, or service inquiries, please refer to the contact details provided with your product packaging or visit the official INKBIRDPLUS webサイトでご確認ください。保証請求の際は購入証明として領収書を保管してください。