
1. 安全情報
Please read and understand all safety information before operating this digital multimeter. Failure to follow these instructions may result in electric shock, fire, or damage to the device.
- 測定を行う前に、マルチメーターが正しい機能と範囲に設定されていることを必ず確認してください。
- 各関数に指定された最大入力値を超えないでください。
- ボリュームを扱うときは注意してくださいtag30V AC RMS、42V ピーク、または 60V DC を超える電圧で使用すると、感電の危険があります。
- 使用する前に、テストリードに損傷がないか点検してください。絶縁が損なわれている場合は使用しないでください。
- 警告: Before opening the case for battery or fuse replacement, always remove the test leads from the object being measured and disconnect from any power source to avoid electric shock.
- This device features F0.5A/600V fuse overload protection. Replace fuses only with specified types and ratings.
2.製品オーバーview
The ANENG AN101 is a portable digital multimeter designed for measuring AC voltage, AC current, DC voltage, DC current, and resistance. It features an easy-to-read LCD display with 1999 counts and supports both automatic and manual ranging for versatile use in various electrical and electronic applications.
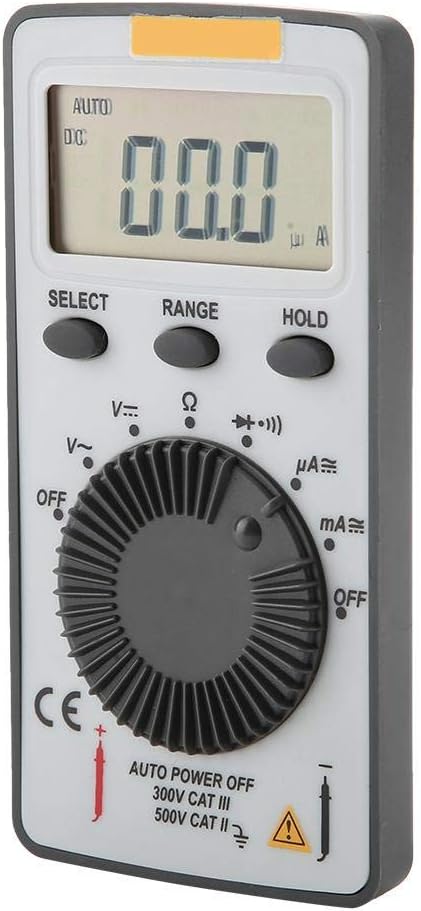
図2.1: 前面 view of the ANENG AN101 Digital Multimeter. This image displays the device's LCD screen, the central rotary function dial, and the 'SELECT', 'RANGE', and 'HOLD' buttons.
3. セットアップ
3.1 バッテリーの取り付け
- マルチメーターの電源がオフになっていることを確認し、テストリードをすべて取り外します。
- デバイスの背面にあるバッテリー収納部を見つけます。
- ドライバーを使用して電池ボックスのカバーを開きます。
- Insert two 3V CR2032 batteries, observing the correct polarity.
- 電池カバーを取り付けて、ネジで固定します。

図3.1:戻る view of the ANENG AN101 Digital Multimeter. This image shows the battery compartment cover and a safety warning regarding opening the case.
3.2 テストリードの接続
- 赤いテストリード線を「VΩmA」入力ジャックに挿入します。
- 黒いテストリード線を「COM」入力ジャックに挿入します。
- Ensure the connections are firm before proceeding with measurements.
4. 操作手順
4.1 電源オン/オフ
Rotate the central dial from 'OFF' to any measurement function to power on the device. To power off, rotate the dial back to 'OFF'. The multimeter also features an auto power-off function to conserve battery life.
4.2機能の選択
Turn the rotary dial to select the desired measurement function (e.g., DC Voltage (V=), AC Voltage (V~), Resistance (Ω), DC Current (μA=, mA=), AC Current (μA~, mA~)).
4.3 範囲選択(自動/手動)
The AN101 supports both automatic and manual ranging. In auto-ranging mode, the meter automatically selects the best range for the measurement. Press the 'RANGE' button to switch between auto and manual ranging. In manual mode, press 'RANGE' repeatedly to cycle through available ranges.
4.4 DC電圧の測定tage
- Set the rotary dial to 'V='.
- 赤いテストリードを回路のプラス側に、黒いテストリードをマイナス側に接続します。
- 巻を読むtage value on the LCD display. The polarity will be indicated automatically.
4.5 AC電圧の測定tage
- Set the rotary dial to 'V~'.
- テストリード線をAC電圧に接続しますtag電子ソース。
- 巻を読むtagLCDディスプレイのe値。
4.6DC電流の測定
- Set the rotary dial to 'μA=' or 'mA=' depending on the expected current.
- 警告: To measure current, the multimeter must be connected in series with the circuit. Do not connect it in parallel across a voltag電子ソース。
- Break the circuit and connect the multimeter in series, ensuring the red lead is towards the higher potential and the black lead towards the lower potential.
- LCDディスプレイで現在の値を読み取ります。
4.7 交流電流の測定
- Set the rotary dial to 'μA~' or 'mA~'.
- 警告: マルチメーターを回路に直列に接続します。
- Break the circuit and connect the multimeter in series.
- LCDディスプレイで現在の値を読み取ります。
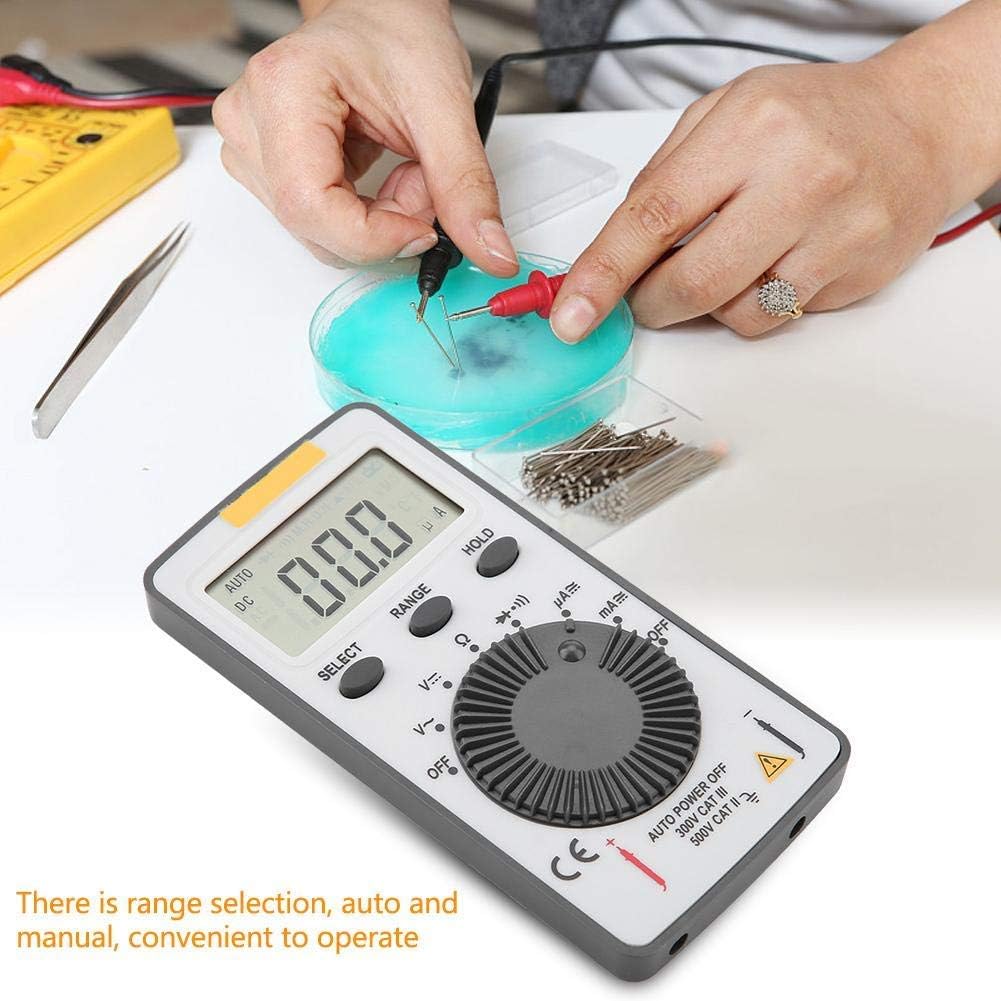
Figure 4.1: The ANENG AN101 Digital Multimeter in use, demonstrating its application for measuring electrical components. The image highlights the ease of operation with auto and manual range selection.
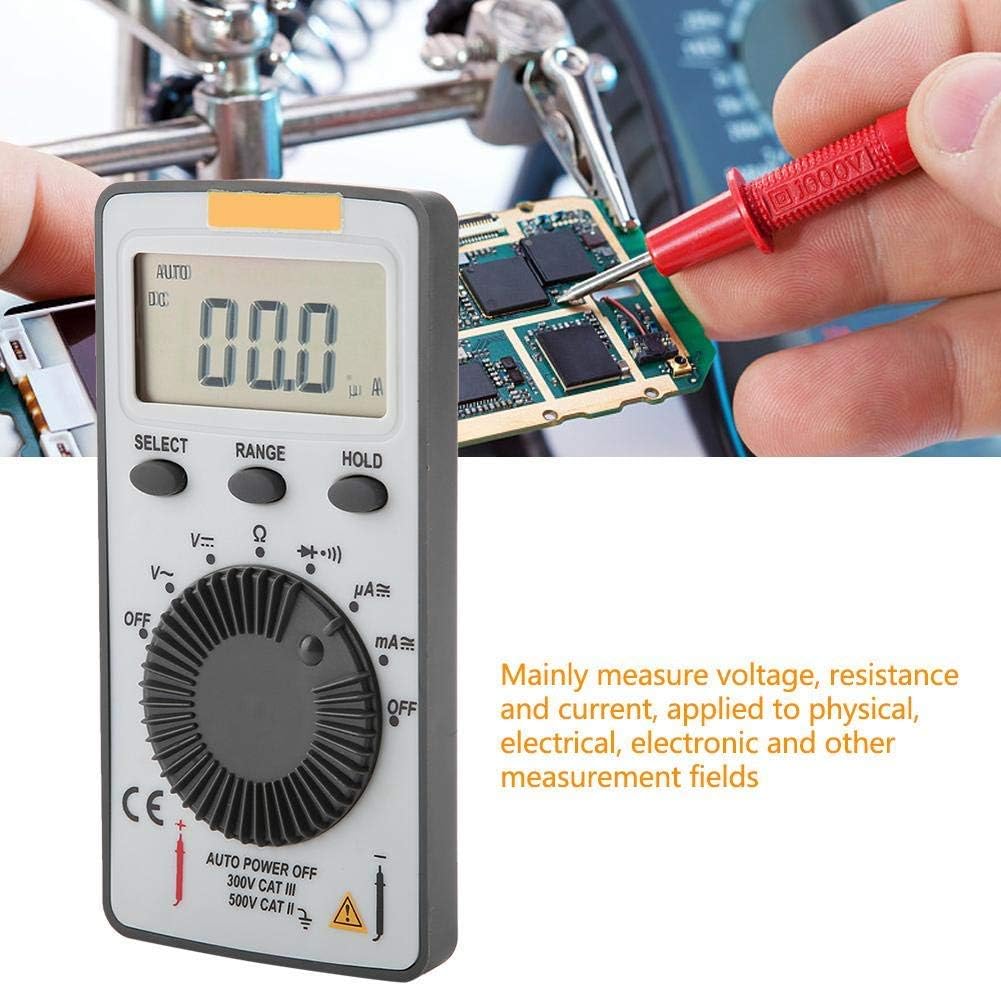
Figure 4.2: The ANENG AN101 Digital Multimeter being used to measure voltage or current on a circuit board. This illustrates its primary function in physical, electrical, and electronic measurement fields.
4.8 ホールド機能
「HOLD」ボタンを押すと、ディスプレイ上の現在の測定値が固定されます。もう一度押すとホールド機能が解除され、ライブ測定が再開されます。
5. メンテナンス
5.1 クリーニング
Wipe the device with a dry, soft cloth. Do not use abrasive cleaners or solvents. Keep the device free from dust and moisture.
5.2 電池の交換
When the battery indicator appears on the display, replace the batteries as described in Section 3.1. Always use two new 3V CR2032 batteries.
5.3 ヒューズの交換
If the current measurement functions stop working, the fuse may need replacement. Refer to the safety warnings in Section 1 before attempting to open the case. Replace the fuse only with a F0.5A/600V type.
6。 トラブルシューティング
- 表示なし: 電池の取り付けを確認し、電池が消耗していないことを確認してください。
- 「OL」が表示されました: This indicates an over-range condition. Either the measured value exceeds the selected range, or the circuit is open (for resistance/current measurements). Select a higher range or check circuit continuity.
- 誤った読み方: Ensure test leads are properly connected, the correct function and range are selected, and the circuit connections are secure.
- 電流測定が機能していません: Check the fuse as described in Section 5.3.
7. 仕様
| 特徴 | 仕様 |
|---|---|
| ブランド | アネン |
| モデル | AN101 |
| 画面 | LCD, 1999 Counts |
| 更新レート | 2回/秒 |
| 液晶サイズ | 40×20ミリ |
| 極性表示 | Automatic '-' |
| オーバーレンジ表示 | 「OL」 |
| 範囲選択 | 自動または手動 |
| 動作温度 | 0℃ to 40℃, Relative Humidity: <80% RH |
| 保管温度 | -10℃ to 50℃, Relative Humidity: <85% RH |
| 電池のタイプ | 2 * 3V, CR2032 size (not included) |
| DCVol。tage入力インピーダンス | 10MΩ |
| DCVol。tage過負荷保護 | 600V DC / AC RMS |
| 最大。 DCVol。tage入力 | 600V直流 |
| DC Current Overload Protection | F0.5A / 600V Fuse |
| Max. DC Current Input | 500mA |
| AC Current Overload Protection | F0.5A / 600V Fuse |
| Max. AC Current Input | 500mA |
| AC Current Frequency Range | 40Hz - 400Hz |
| ACVol。tage入力インピーダンス | 10MΩ |
| ACVol。tage 周波数範囲 | 40Hz - 400Hz |
| ACVol。tage過負荷保護 | 600V DC / AC RMS |
| 最大。 AC ボリュームtage入力 | AC600V RMS |
| 重さ | 約102g / 3.6オンス |
| 寸法 | Approx. 110 * 55 * 10 mm / 4.3 * 2.2 * 0.4 in |
| パッケージ内容 | 1 * Digital Multimeter, 2 * Test Leads |

Figure 7.1: Dimensions of the ANENG AN101 Digital Multimeter, showing its compact size for portability.
8. 保証とサポート
保証情報およびテクニカルサポートについては、ご購入時に付属のマニュアルをご参照いただくか、販売店にお問い合わせください。ご購入の証明として、ご購入時のレシートを保管してください。