1. はじめに
The TP-Link VIGI NVR1016H is a 16-channel Network Video Recorder designed to coordinate with camera systems for comprehensive video surveillance. It enables users to view, store, and playback video footage, providing a reliable solution for continuous monitoring and data security.
This manual provides detailed instructions for the setup, operation, maintenance, and troubleshooting of your VIGI NVR1016H.
2. パッケージ内容
開梱したら、すべてのコンポーネントが揃っていることを確認してください。
- VIGI ネットワークビデオレコーダー (NVR1016H)
- 電源アダプター
- HDDネジ
- ねずみ
- クイックインストールガイド
3. フィジカルオーバーview

図3.1: VIGI NVR1016Hのフロントパネル
This image displays the front panel of the VIGI NVR1016H, showing the TP-Link VIGI logo, the "16 Channel Network Video Recorder" label, and the front-facing USB ports with indicator lights for USB, LAN, HDD, and Power.

図3.2: VIGI NVR1016Hの背面パネル
This image shows the rear panel of the VIGI NVR1016H, highlighting the various ports including Audio In, Audio Out, Power input, VGA, HDMI, and LAN port for Ethernet connection.
The NVR features front-facing USB ports for mouse and external storage, and rear ports for audio input/output, video output (VGA, HDMI), and network connectivity.
4.セットアップガイド
4.1. ハードウェアのインストール
- ハードディスクドライブ(HDD)をインストールします。 The NVR supports one SATA HDD up to 10 TB (or 16 TB based on some marketing materials, refer to latest specifications for exact maximum). Power off the NVR before installing the HDD. Use the provided HDD screws to secure the drive inside the NVR chassis.
- 周辺機器を接続します。
- モニターを NVR の HDMI または VGA ポートに接続します。
- 付属のマウスを NVR の USB ポートに接続します。
- イーサネット ケーブルを使用して NVR をネットワーク ルーター/スイッチに接続します。
- 電源アダプターを NVR に接続し、電源コンセントに接続します。
- カメラを接続する: Connect your VIGI or ONVIF-compatible IP cameras to the same network as the NVR.
4.2. 初期設定
初回起動時に、NVRの初期設定ウィザードが表示されます。画面の指示に従って以下の操作を行ってください。
- 管理者パスワードを設定します。
- ネットワーク設定(DHCP または静的 IP)を構成します。
- Initialize the HDD for recording.
- 検索する 接続された IP カメラを追加します。
For detailed steps, refer to the Quick Installation Guide included in your package.
5. 操作
5.1.ライブ View
The NVR supports a 16-channel real-time live view, allowing simultaneous display of video feeds from up to 16 cameras. The sharp image definition supports up to 8MP resolution per channel.

Figure 5.1: 16-Channel Live View インタフェース
This image illustrates the NVR's interface displaying live feeds from multiple cameras simultaneously, demonstrating its 16-channel real-time view能力。
5.2。 録音
The VIGI NVR1016H provides 24/7 continuous recording. Footage is stored on the installed HDD, securing your data for quick and convenient access. The NVR utilizes H.265+ video compression technology, which significantly reduces disk space usage and network loads without compromising image quality.

Figure 5.2: H.265+ Compression Efficiency
This diagram visually compares the storage efficiency of H.265+, H.265, and H.264 video coding technologies, highlighting the superior compression offered by H.265+.
5.3. 再生と検索
The NVR offers quick lookup and playback features. You can easily find target footage by date, event types, and custom tags. Playback can be done with variable speeds to quickly review 録画されたビデオ。

Figure 5.3: Playback and Search Interface
This image shows the NVR's playback interface, demonstrating options for searching footage by date, event types, and tags, along with variable playback speed controls.
5.4. リモートモニタリング
For remote access and monitoring, the dedicated VIGI app is available. This app provides convenience for viewing live feeds, playing back recordings, and managing your NVR system from anywhere.
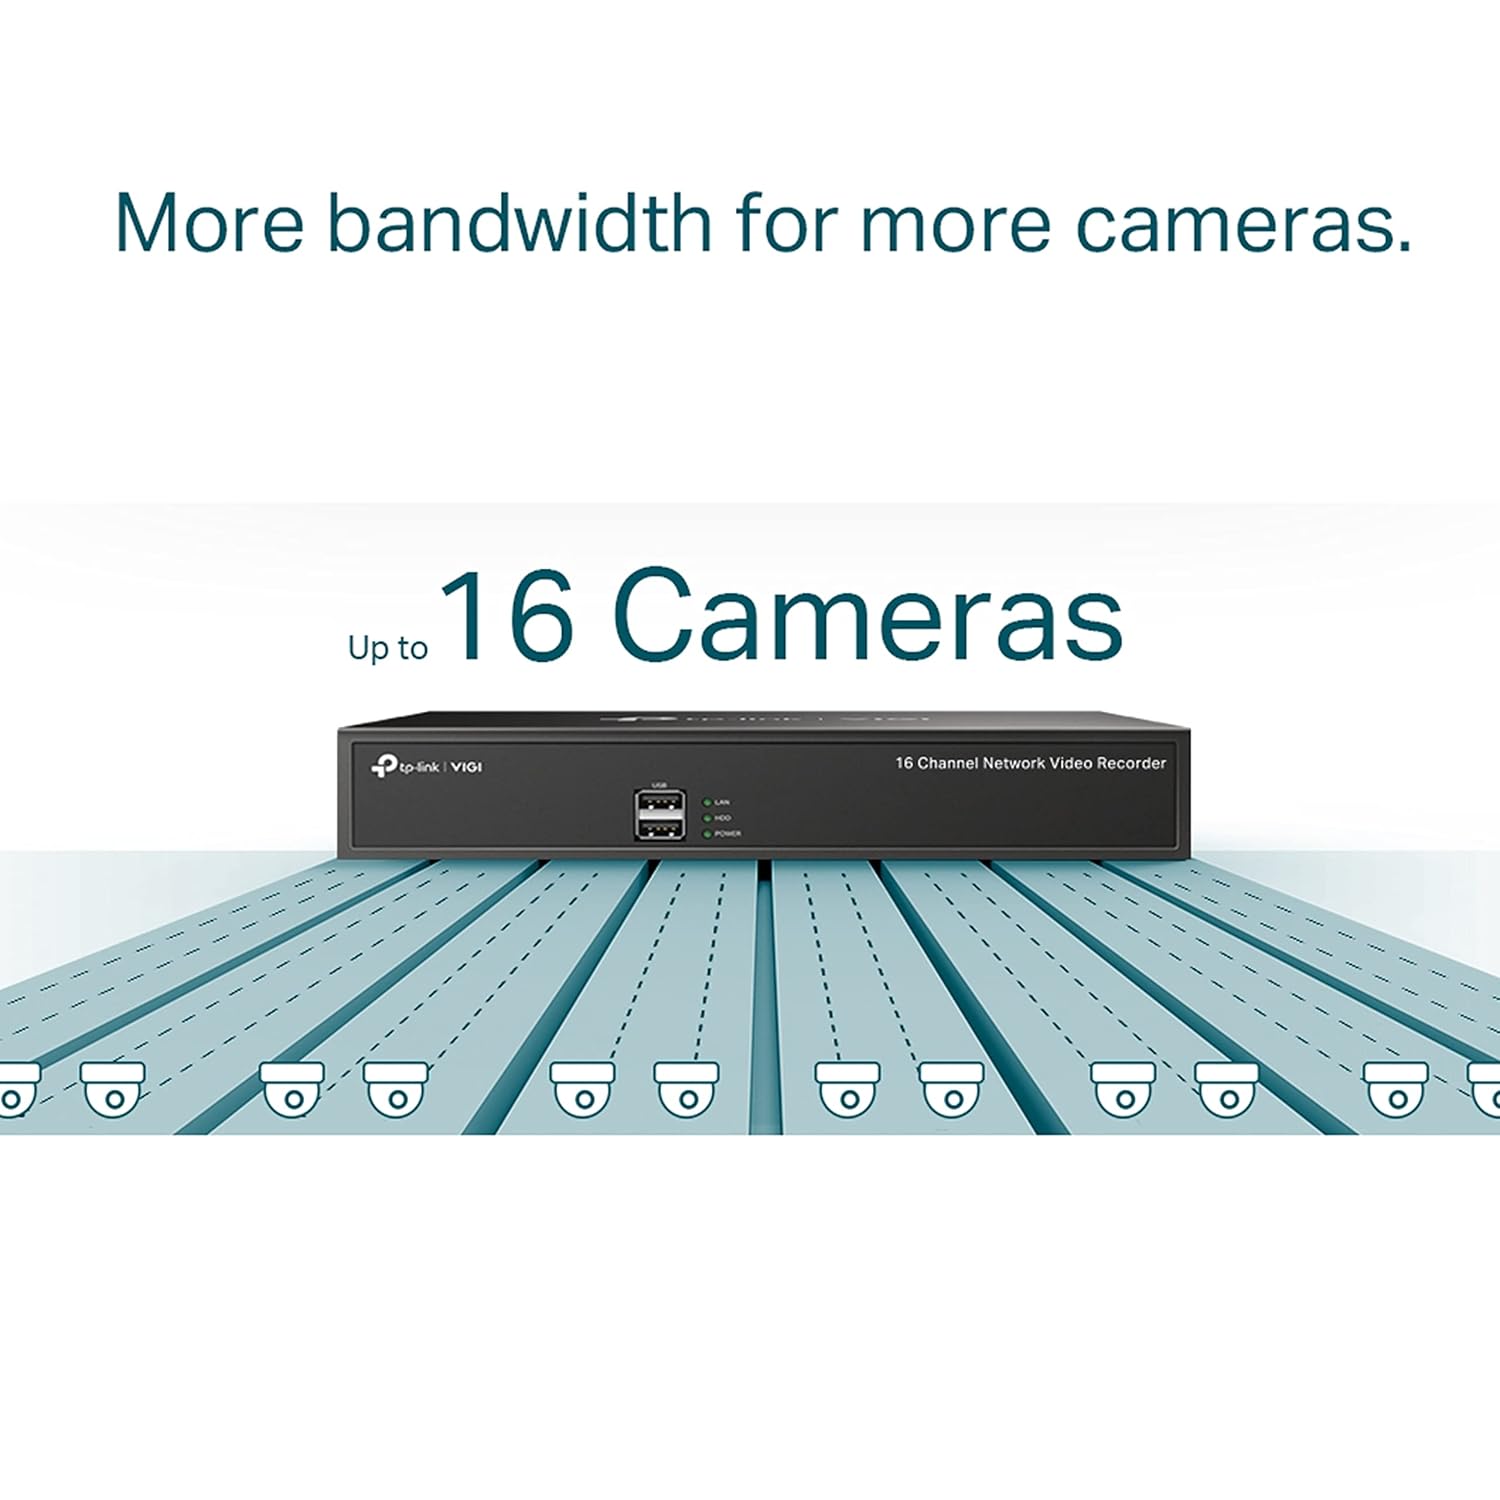
Figure 5.4: VIGI App for Remote Monitoring
This image depicts a smartphone screen showing the VIGI app interface, illustrating its capability for remote monitoring of camera feeds and NVR management. The image also includes QR codes for app download and a link to the VIGI app download page: Download VIGI App.
5.5. 双方向オーディオ
With voice intercom support, the NVR allows for two-way conversations while watching your feed. This feature is suitable for management and direct communication through connected cameras that support audio.
5.6. ONVIFの互換性
The VIGI NVR1016H ensures broad compatibility with ONVIF-compliant IP cameras. This allows you to easily integrate cameras from VIGI and other brands, establishing a powerful and varied surveillance network.
6. メンテナンス
6.1. Hard Disk Drive Management
The NVR stores footage locally on a SATA hard drive. Regularly check the HDD status through the NVR's interface to ensure optimal performance and prevent data loss. The NVR supports up to 10 TB (or 16 TB) of storage, providing ample space for extended recording periods.
6.2. ファームウェアのアップデート
Periodically check for firmware updates for your NVR. Firmware updates can provide new features, performance improvements, and security enhancements. Updates can typically be performed via the NVR's web interface or the VIGI app.
6.3. 一般的なケア
Keep the NVR in a well-ventilated area to prevent overheating. Avoid exposing the device to extreme temperatures, humidity, or direct sunlight. Clean the exterior with a soft, dry cloth as needed.
7。 トラブルシューティング
This section addresses common issues you might encounter with your VIGI NVR1016H.
7.1. モニターにビデオ出力がない
- HDMI/VGA ケーブルが NVR とモニターの両方にしっかりと接続されていることを確認します。
- モニターの電源がオンになっており、正しい入力ソースに設定されていることを確認します。
- ハードウェアの問題を排除するために、別のケーブルまたはモニターを試してください。
7.2. Cameras Not Connecting/Displaying
- Confirm that cameras are powered on and properly connected to the network.
- Ensure the NVR and cameras are on the same network segment.
- Verify camera IP addresses and login credentials are correct in the NVR's camera management settings.
- Check if cameras are ONVIF compliant if they are not VIGI brand.
- NVR とカメラの両方を再起動します。
7.3. No Recording or Playback Issues
- Check if the HDD is properly installed and initialized.
- Verify that recording schedules are configured correctly for each camera.
- HDD に十分な空き容量があることを確認してください。
- Check the status of the HDD in the NVR's system settings for any errors.
7.4. Remote Monitoring Not Working
- NVR にアクティブなインターネット接続があることを確認します。
- Verify that the VIGI app is installed correctly on your mobile device and you are logged in with the correct account.
- Check network settings on the NVR, including port forwarding if required by your network configuration.
For further assistance, consult the TP-Link support webサイトを参照するか、テクニカル サポートにお問い合わせください。
8. 仕様
| 特徴 | 詳細 |
|---|---|
| モデル番号 | NVR1016H |
| チャンネル | 16チャンネル |
| ビデオ圧縮 | H.265+、H.265、H.264+、H.264 |
| 最大解像度 | 最大8MP |
| HDDインターフェース | 1 SATA interface (supports up to 10 TB, some sources indicate 16 TB) |
| 接続性 | 有線 (イーサネット) |
| ビデオ出力 | HDMI、VGA |
| オーディオ | Two-Way Audio (Audio In/Out ports) |
| USBポート | Multiple USB ports (for mouse, external storage) |
| 寸法 | 24 x 69 x 2.5 cm |
| 重さ | 1キロ |
| 消費電力 | 4.25ワット |
| ONVIFサポート | はい |
9. 保証とサポート
TP-Link products typically come with a manufacturer's warranty. For specific warranty terms and conditions, please refer to the warranty card included with your product or visit the official TP-Link webサイト。
For technical support, product registration, and additional resources, please visit the TP-Link support page or contact their customer service. Contact details for India are provided in the product specifications:
- 輸入業者: TP-LINK India Private Limited
- 住所: グリーン工業団地、Dongri Pada、Poman、Kaman-Bhiwandi Road、Vasai East、Palghar、マハラシュトラ州 – 401208
- フリーダイヤル: 1800 2094 168
- メールアドレス: support.in@tp-link.com
Always ensure you have your product model number (NVR1016H) and serial number ready when contacting support.


