
導入
Thank you for choosing the ThreeH Digital Alarm Clock Radio. This manual provides essential information for setting up, operating, and maintaining your device. Please read it carefully to ensure proper use and to fully utilize all features.
安全情報
- デバイスを水、湿気、または極端な温度にさらさないでください。
- 時計を熱源の近くや直射日光の当たる場所に置かないでください。
- Use only the provided USB cable for power. Ensure the power adapter (not included) meets the specified voltag(DC 5V)。
- ご自身でデバイスの分解や修理を試みないでください。資格のあるサービス担当者にご相談ください。
- お子様の手の届かない場所に保管してください。
パッケージ内容
パッケージには以下が含まれます:
- ThreeH Digital Alarm Clock Radio (Model H-AC55Red)
- USB電源ケーブル(注:電源アダプターは付属していません)
- CR2032 Button Battery (pre-installed for memory backup)
- ユーザーマニュアル(このドキュメント)
製品終了view
フロントディスプレイ

画像: 正面 view of the ThreeH Digital Alarm Clock Radio, displaying the time and alarm icons.
The device features a large 7.3-inch LED display for clear time visibility. The curved screen design enhances readability.
Back Panel and Controls

画像: 詳細 view of the clock's back panel, highlighting control buttons and connection ports.
主なコントロール:
- VOL / DOWN: Adjust volume, navigate down in settings.
- RADIO / SLEEP: Activate FM radio, set sleep timer, turn off radio.
- スヌーズ/調光: Snooze alarm, adjust display brightness (manual/auto).
- セット: 設定モードに入り、選択内容を確認します。
- UP: Navigate up in settings, adjust values, increase volume.
- AL1 / AL2: Set and activate/deactivate Alarm 1 and Alarm 2.

Image: Diagram illustrating the functions of the buttons and ports on the back of the alarm clock.
設定
電源接続
Connect the provided USB power cable to the DC 5V input port on the back of the alarm clock. Plug the other end into a USB power adapter (not included) or a powered USB port.

Image: Illustration of connecting the USB power cable to the device.
The built-in CR2032 button battery provides memory backup for time and alarm settings during power outages. This battery is pre-installed.
時間の設定
- を押し続けます セット 時間の数字が点滅するまでボタンを押します。
- 使用 UP or 下 時間を調整するボタン。
- プレス セット もう一度押して時間を確認し、分の調整に進みます。
- 使用 UP or 下 分を調整するためのボタン。
- プレス セット もう一度押して分を確定し、時間設定モードを終了します。
12/24時間形式
While the time is displayed, press the UP button briefly to switch between 12-hour and 24-hour formats. In 12-hour format, "PM" will be indicated on the display.
操作手順
ディスプレイの明るさを調整する
The display has 4 levels of adjustable brightness (Bright, Medium, Dim, Off). You can adjust it manually or set it to adjust automatically based on ambient light.

Image: Visual representation of the four adjustable brightness levels.
- を押す スヌーズ/調光スイッチ button repeatedly to cycle through the manual brightness levels: Bright > Medium > Dim > Off.
- To enable automatic brightness adjustment, press and hold the スヌーズ/調光スイッチ button. The display will show "AU" to indicate automatic mode. The clock will then adjust its brightness based on ambient light conditions.
- To disable automatic brightness, press and hold the スヌーズ/調光スイッチ もう一度ボタンを押します。
アラームの設定(アラーム1とアラーム2)
The clock supports two independent alarms. The default snooze time is 9 minutes.
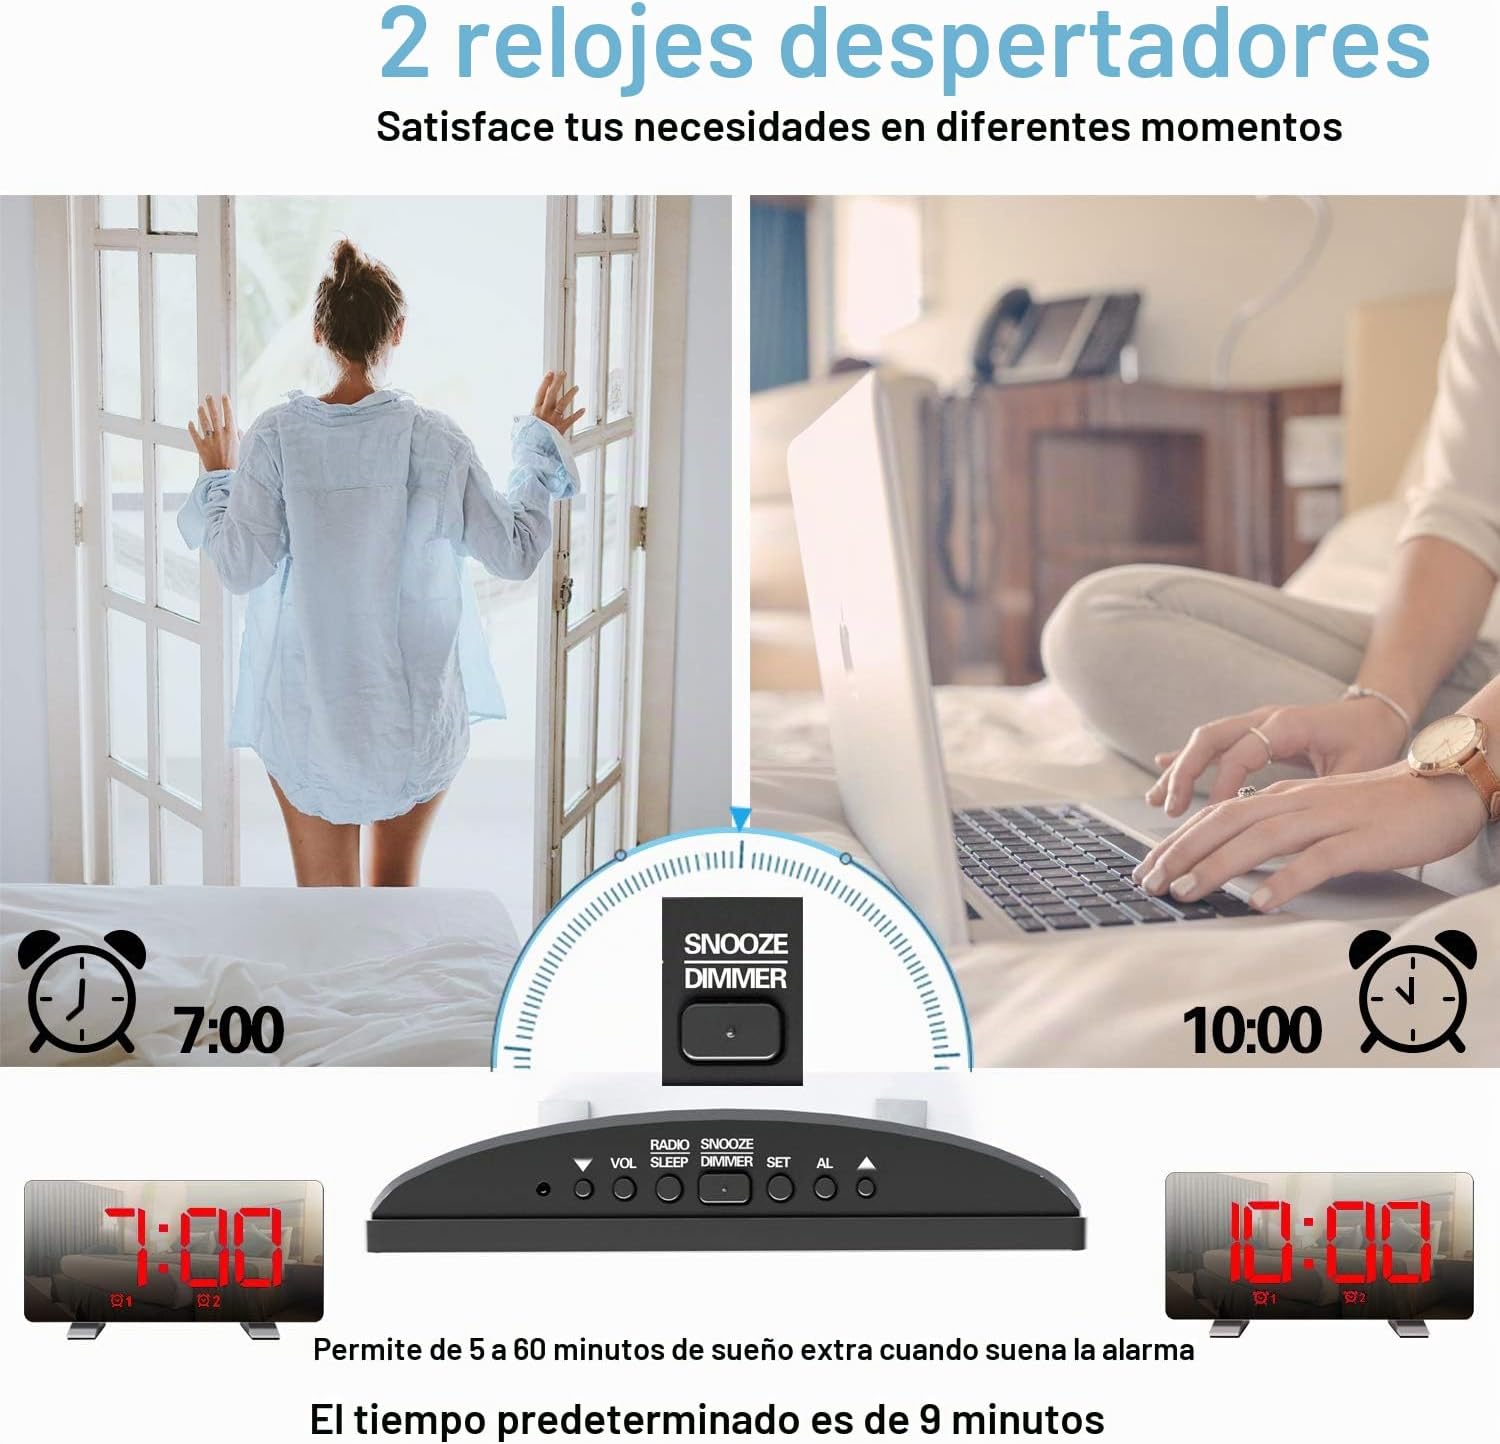
Image: Depiction of setting two separate alarms for different times.
- を押す AL1 or AL2 button to select the alarm you wish to set. The alarm icon and hour digits will flash.
- 使用 UP or 下 時間を調整するボタン。
- Press the selected alarm button (AL1 or AL2) again to confirm the hour and move to minute adjustment.
- 使用 UP or 下 分を調整するためのボタン。
- Press the selected alarm button (AL1 or AL2) again to confirm the minutes.
- Next, select the alarm sound source: Use UP or 下 to choose between "BU" (Buzzer) or "RA" (Radio).
- If "RA" is selected, use UP or 下 to select a preset radio station (P01-P15).
- Press the selected alarm button (AL1 or AL2) again to confirm the sound source and exit alarm setting mode.
Activating/Deactivating Alarms
を押す AL1 or AL2 button briefly to toggle the respective alarm ON or OFF. The alarm icon will appear on the display when active.
スヌーズ機能
アラームが鳴ったら、 スヌーズ/調光スイッチ スヌーズボタンを押すとアラームが鳴ります。アラームは9分間一時停止し、その後再び鳴ります。
アラームを停止する
To stop an alarm from sounding (without snooze), press any button other than スヌーズ/調光スイッチ.
FMラジオの操作
The clock features an FM radio with a frequency range of 76-108 MHz and can store up to 15 preset stations.

画像: 上view of FM radio features and product dimensions.
- を押す RADIO / SLEEP button to turn on the FM radio. The current frequency will be displayed.
- 自動ステーションスキャン: を押し続けます RADIO / SLEEP button to automatically scan and save available FM stations. The clock can store up to 15 stations.
- 手動チューニング: 短く押すと UP or 下 周波数を手動で調整するためのボタン。
- プリセット局の選択: 自動スキャン後、 RADIO / SLEEP button to cycle through the preset stations (P01, P02, etc.).
- Adjusting Radio Volume: 使用 VOL / DOWN button to decrease volume and the UP button to increase volume. There are 15 volume levels.
- Turning Off Radio: を押し続けます RADIO / SLEEP button to turn off the FM radio.

Image: Visual representation of FM radio reception and frequency range.
タイマー機能をスリープ
スリープ タイマーを使用すると、ラジオは設定された時間再生された後、自動的にオフになります。
- ラジオの再生中に、 RADIO / SLEEP ボタンを繰り返し押すと、スリープ タイマーのオプションが切り替わります (例: 90、60、30、15 分、オフ)。
- 選択した時間が短時間表示されます。設定時間が経過すると、ラジオは自動的にオフになります。
USB充電ポート
The USB port on the back of the clock can be used to charge mobile phones or other USB-powered devices.

Image: The alarm clock actively charging a smartphone via its integrated USB port.
Connect your device's USB charging cable to the USB port on the back of the alarm clock. Ensure the alarm clock is powered on.
メンテナンス
- 時計は柔らかく乾いた布で拭いてください。研磨剤入りの洗剤や溶剤は使用しないでください。
- デバイスを水や高湿度に近づけないでください。
- Avoid exposing the clock to direct sunlight or extreme temperatures.
- If the display becomes dim or unresponsive after a power outage, the internal CR2032 battery may need replacement.
トラブルシューティング
| 問題 | 考えられる原因 | 解決 |
|---|---|---|
| 時計が点灯しません。 | 電源が供給されていないか、接続が緩んでいます。 | Ensure the USB cable is securely connected to both the clock and a working power source. |
| アラームは鳴りません。 | アラームが作動していないか、音量が低すぎます。 | Check if the alarm icon is displayed. Adjust alarm volume if using radio alarm. |
| FMラジオの受信状態が悪い。 | 信号が弱いかアンテナが伸びていません。 | Extend the FM antenna fully. Try repositioning the clock for better reception. |
| 電源を切ると時間/設定がリセットされますtage. | CR2032 backup battery depleted. | Replace the CR2032 button battery in the battery compartment on the back. |
仕様
- モデル: H-AC55Red
- ブランド: スリーエイチ
- 画面: 7.3-inch LED Digital
- 寸法: 17.2 cm(W)x 3.81 cm(D)x 9.1 cm(H)
- 重さ: 290グラム
- 電源: USB Cable (DC 5V input)
- バックアップバッテリー: 1 x CR2032(付属)
- FM周波数範囲: 76-108 MHz
- アラーム機能: Dual Alarms, Snooze (9 minutes default), Radio/Buzzer alarm sound
- 輝度: 4 levels (manual) + Auto-dimming
- USB充電出力: Standard USB (for charging external devices)
保証とサポート
For warranty information and customer support, please refer to the documentation provided at the time of purchase or contact ThreeH customer service directly. Keep your purchase receipt for warranty claims.