
1. はじめに
This manual provides essential instructions for the assembly, installation, operation, and maintenance of your vidaXL 9U 19-inch IP20 Wall-Mounted Network Cabinet. This cabinet is designed to securely house and organize various network accessories, such as routers, switches, and fiber optic modems, in a compact and accessible manner. Please read this manual thoroughly before proceeding with installation or use.
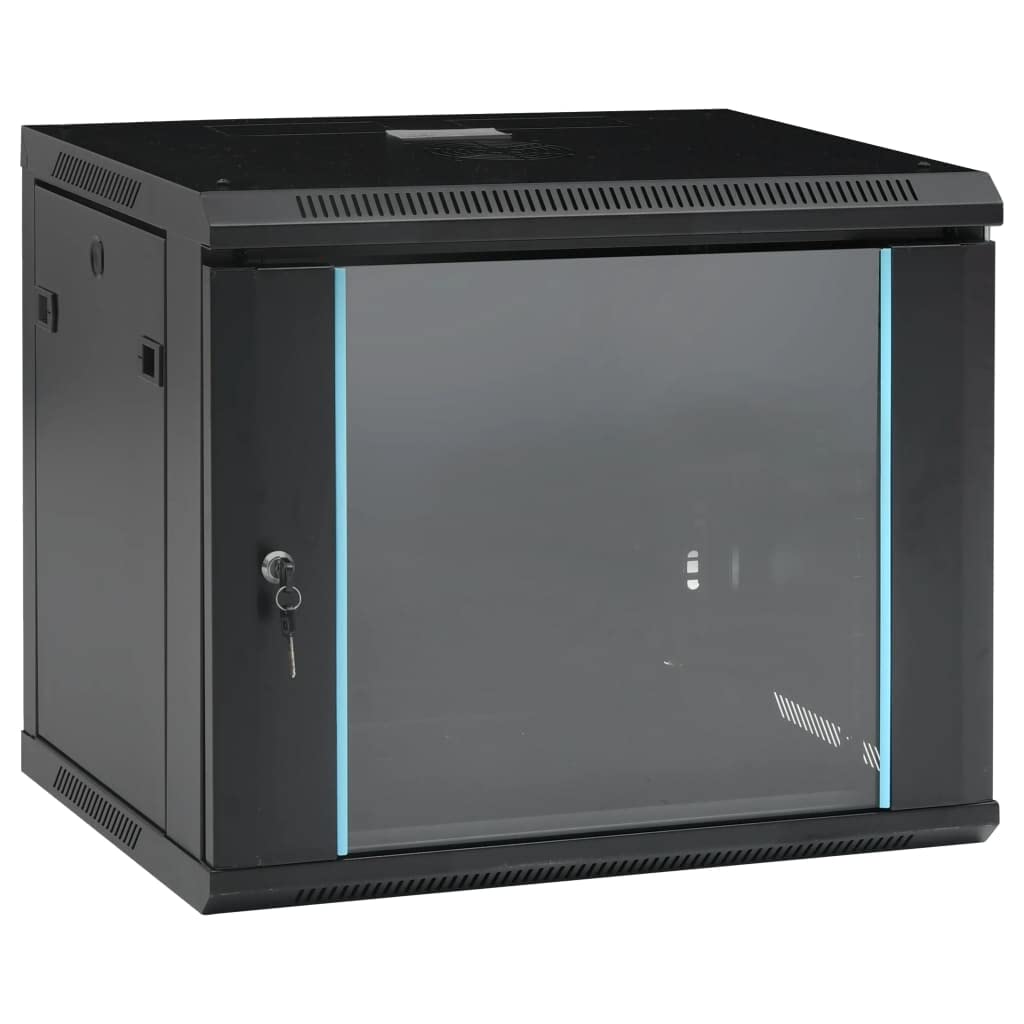
図1:以上view of the vidaXL 9U 19-inch IP20 Wall-Mounted Network Cabinet.
2. 安全情報
- Always ensure the cabinet is securely mounted to a stable wall or placed on a sturdy surface capable of supporting its weight and the weight of all installed equipment. The maximum weight capacity is 70 kg.
- Wear appropriate personal protective equipment (PPE) such as gloves during assembly to prevent cuts from sharp edges.
- Do not overload the cabinet beyond its specified weight capacity.
- Ensure proper ventilation around the cabinet to prevent overheating of network equipment.
- Keep keys in a safe place and restrict access to authorized personnel only.
- Disconnect all power to network equipment before performing any maintenance or installation inside the cabinet.
3. パッケージ内容
組み立てを始める前に、すべての部品が揃っていて損傷がないことを確認してください。部品が不足または損傷している場合は、vidaXLカスタマーサポートにお問い合わせください。
- Network Cabinet Panels (top, bottom, front door, rear panel, side panels)
- 19-inch Mounting Rails
- ロックとキー
- 組み立て用ハードウェア(ネジ、ナット、ワッシャー)
- Wall Mounting Hardware (anchors, screws)
4. セットアップと組み立て
The vidaXL network cabinet is delivered in a kit form and requires assembly. Follow these general steps for assembly and installation. Specific instructions for each component are typically included with the hardware.
4.1. 組み立て手順
- コンポーネントを解凍します: すべての部品をパッケージから慎重に取り出し、清潔で平らな場所に広げてください。パッケージの内容物リストと照らし合わせてご確認ください。
- フレームを組み立てる: Attach the top and bottom panels to the main frame structure using the provided screws. Ensure all connections are secure.
- Install 19-inch Mounting Rails: Insert the 19-inch mounting rails into the cabinet frame. These rails are adjustable to accommodate different equipment depths. Ensure they are aligned and securely fastened.

図2: 内部 view with adjustable 19-inch mounting rails.
- 背面パネルを取り付ける: Secure the rear panel to the assembled frame. This panel often includes pre-drilled holes for wall mounting.
- サイドパネルの取り付け: The side panels are removable for easier access during installation and maintenance. Attach them to the sides of the cabinet.

Figure 3: Removable side panel for easy access.
- Mount Front Door: Attach the front door, ensuring the hinges are correctly aligned and the door opens and closes smoothly. Install the lock mechanism.
4.2. 取り付けオプション
This cabinet supports both wall-mounted and table-top installations.
- 壁掛け: Identify a suitable, load-bearing wall location. Mark and drill holes according to the rear panel's mounting points. Use appropriate wall anchors and screws to securely fasten the cabinet to the wall.

Figure 4: Rear panel with wall mounting points.
- テーブルトップへの配置: If placing on a table, ensure the surface is level and strong enough to support the cabinet and its contents.
5. 操作手順
5.1. Accessing the Cabinet
- 正面玄関: Use the provided keys to unlock the front door. Turn the key to disengage the lock and open the door.
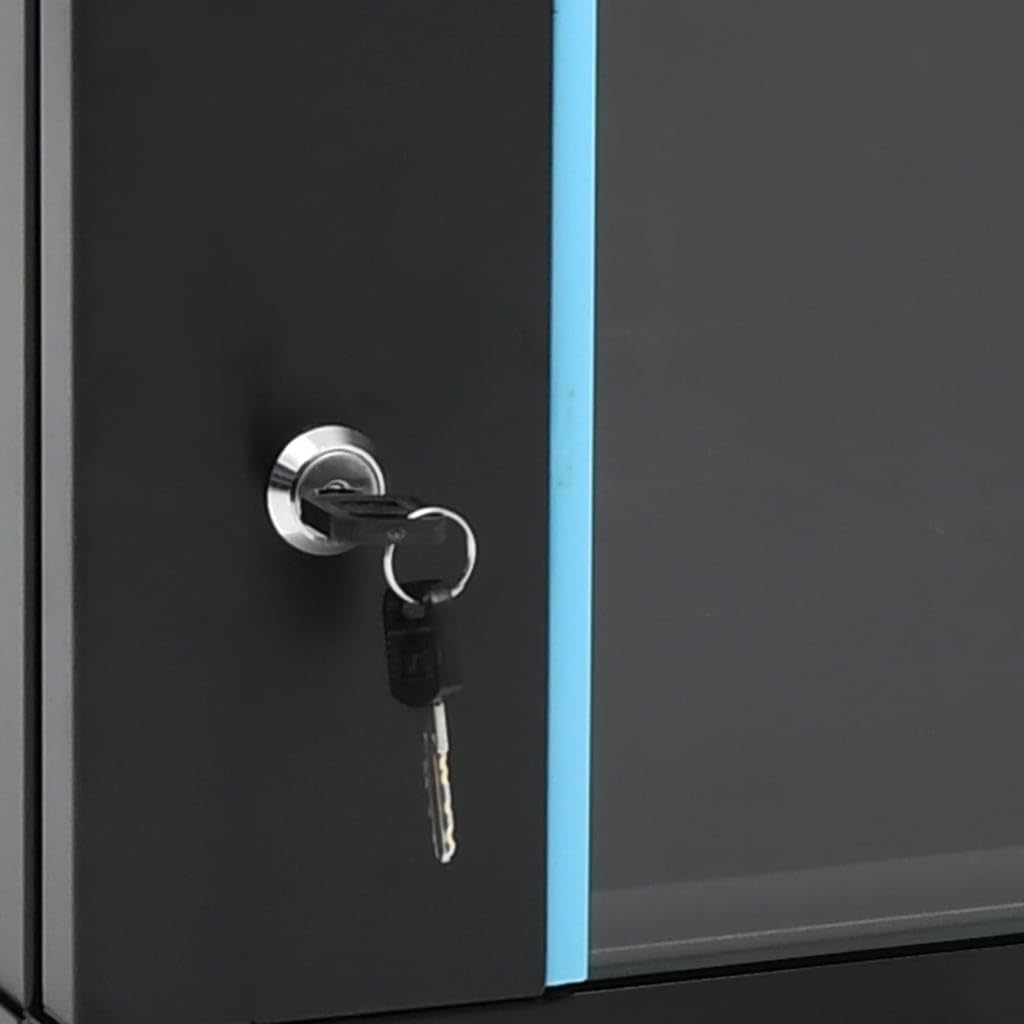
Figure 5: Front door lock with keys.

図6:詳細 view of the lock mechanism.
- サイドパネル: The side panels can be removed by disengaging their latches, providing full side access to the interior for easier equipment installation and cable routing.
5.2. Installing Equipment
- Mount 19-inch standard equipment (e.g., servers, network switches, patch panels) onto the adjustable mounting rails using appropriate rack screws (not included).
- Ensure equipment is evenly distributed to maintain cabinet stability.
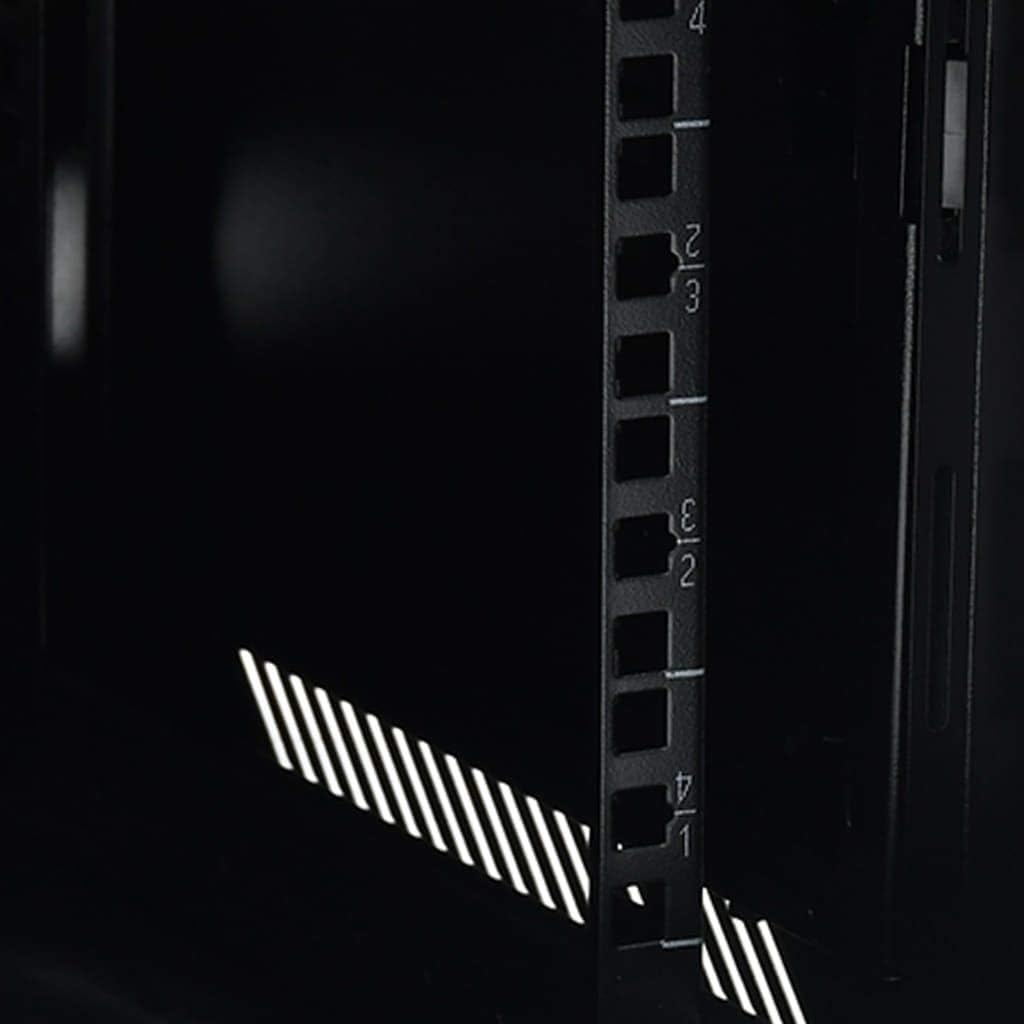
Figure 7: Rack unit markings on mounting rails.
5.3.ケーブル管理
Utilize the various openings and internal space for effective cable routing to maintain an organized and efficient network setup. Consider using cable ties or management panels (not included) for optimal organization.
6. メンテナンス
- クリーニング: Regularly wipe down the exterior surfaces with a soft, damp cloth. Avoid abrasive cleaners that may damage the finish. For the glass door, use a glass cleaner.
- 検査: Periodically check all screws and fasteners to ensure they remain tight. Inspect the cabinet for any signs of damage, bending, or wear.
- 換気: Ensure that the ventilation slots on the top and bottom of the cabinet are clear of obstructions to allow for proper airflow.
7。 トラブルシューティング
- 内閣の不安定さ: If the cabinet feels unstable, re-check all assembly screws and ensure they are tightened. For wall-mounted units, verify the wall anchors are appropriate for the wall type and securely installed. Ensure weight distribution inside is balanced.
- Door Not Closing/Locking: Check for any obstructions. Ensure the cabinet frame is square and not warped. Adjust hinges if necessary.
- Side Panels Difficult to Remove/Attach: Ensure the cabinet frame is not bent or misaligned. Apply gentle pressure to align the panel with the latches.
- 過熱機器: Verify that the cabinet's ventilation slots are clear. Consider adding active cooling solutions (e.g., fans, not included) if equipment generates significant heat.
8. 仕様
| 特徴 | 仕様 |
|---|---|
| ブランド | ビダXL |
| モデル番号 | 30166 |
| 色 | 黒 |
| 材料 | 合金鋼 |
| 寸法(D x W x H) | 45 cm x 60 cm x 51 cm(17.7インチ x 23.6インチ x 20.1インチ) |
| ラックユニット | 9U |
| IP 定格 | IP20 |
| アイテム重量 | 15.24キロ |
| 最大重量容量 | 70キロ |
| 対応デバイス | Server, Network Switch |
| 取り付けタイプ | Wall Mount, Table |
| 組み立てが必要 | Yes (Delivered in kit form) |

Figure 8: Detailed dimensions of the network cabinet.
9. 保証とサポート
For warranty information, technical support, or to report missing/damaged parts, please contact vidaXL customer service. Refer to your purchase documentation for specific warranty terms and contact details.