1. はじめに
The Pro-Ject Debut RecordMaster II is a high-fidelity turntable designed for an enhanced vinyl listening experience and digital conversion. This model features a pre-mounted OM5e cartridge, a built-in switchable phono preamplifier, and a USB output for direct connection to a PC or Mac. It incorporates a belt drive system with a low-noise AC motor, TPE decoupling, and a DC-driven AC generator for stable speed. Electronic speed change allows for playback at 33, 45, and 78 RPM, with a simple stylus exchange (OM78, not included) and drive belt adjustment required for 78 RPM.
This manual provides essential information for the proper setup, operation, and maintenance of your turntable to ensure optimal performance and longevity.
2. 安全に関する注意事項
- 使用前にすべての指示をよくお読みください。
- Keep the turntable away from water, moisture, and direct sunlight.
- Do not place the turntable near heat sources such as radiators, heat registers, stoves, or other apparatus that produce heat.
- メーカー指定のアタッチメント/アクセサリのみを使用してください。
- 雷雨のときや長期間使用しない場合は、ターンテーブルのプラグを抜いてください。
- すべてのメンテナンスは資格のあるサービス担当者に依頼してください。
- ユニット周囲の適切な換気を確保してください。
3. パッケージ内容
以下にリストされているすべてのアイテムがパッケージに含まれていることを確認してください。
- Pro-Ject Debut RecordMaster II Turntable with pre-mounted OM5e cartridge
- Connect it RCA Cable
- ダストカバー
- Adapter for 7-inch singles
- 電源
4.セットアップガイド
Follow these steps to set up your Pro-Ject Debut RecordMaster II turntable:
4.1開梱と配置
Carefully remove all components from the packaging. Place the turntable on a stable, level surface away from vibrations and direct heat sources. Ensure adequate space for the dustcover to open fully.
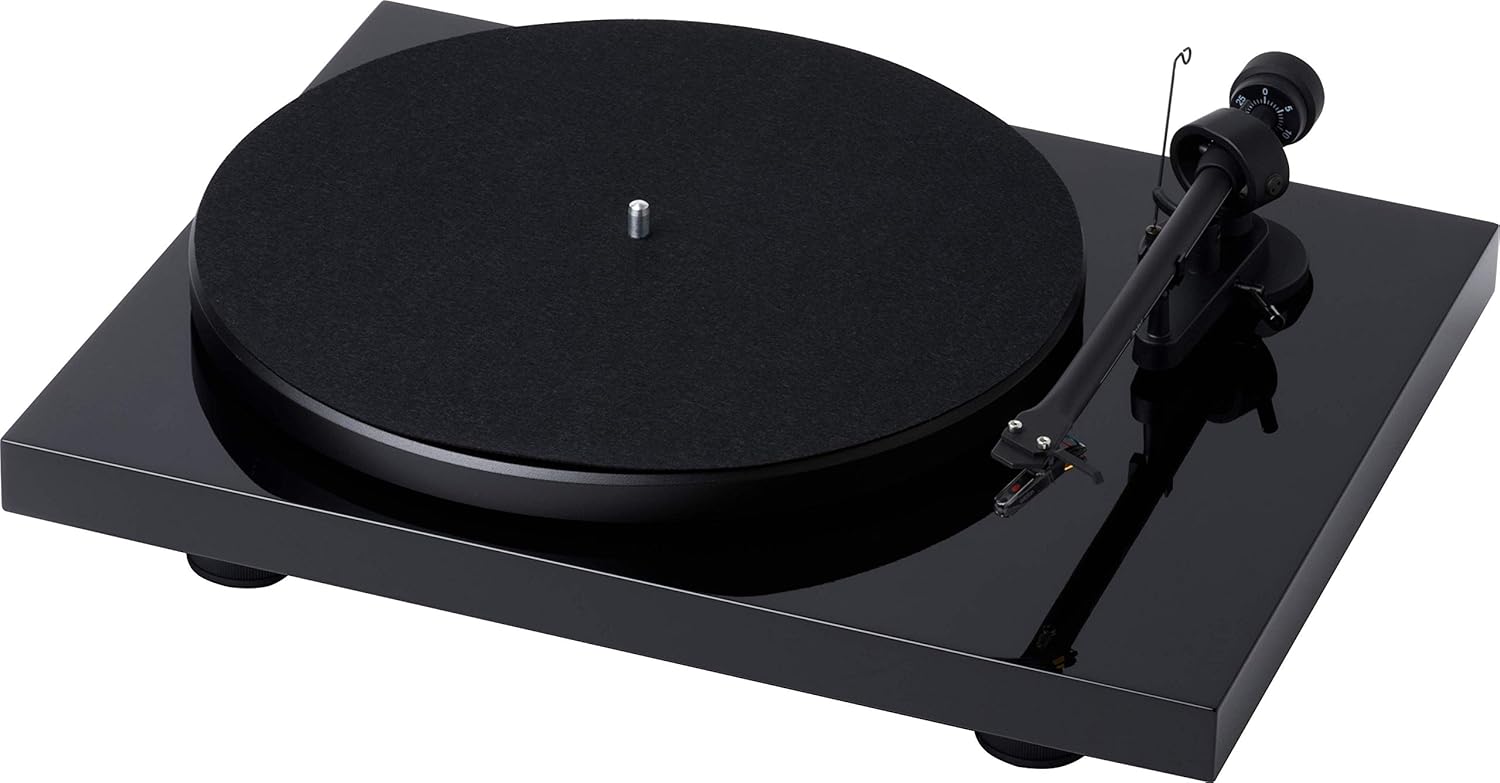
図1: トップダウン view of the Pro-Ject Debut RecordMaster II Turntable.
4.2 プラッターとベルトの取り付け
- プラッターをスピンドルの上に置きます。
- Carefully loop the drive belt around the motor pulley and the inner rim of the platter.
4.3 Tonearm Balance and Tracking Force
The turntable comes with a pre-mounted OM5e cartridge. Refer to the cartridge manufacturer's instructions for precise tracking force and anti-skating settings. Generally, balance the tonearm until it floats freely, then set the tracking force using the counterweight.

Figure 2: Close-up of the tonearm, showing the Pro-Ject branding.
4.4 オーディオシステムへの接続
The Debut RecordMaster II features a built-in switchable phono preamplifier and USB output. You can connect it to a line-level input on your hi-fi system or directly to a PC/Mac via USB.
- RCA接続: Use the supplied RCA cable to connect the turntable's output to an available line-level input (e.g., AUX, CD) on your amplifier or receiver. Ensure the phono preamplifier switch on the turntable is set to 'Line Out' if connecting to a line-level input, or 'Phono Out' if connecting to an amp専用のフォノ入力を備えたリファイア。
- USB接続: Connect the turntable to your computer using a USB cable (not included). This allows for digital recording of your vinyl.
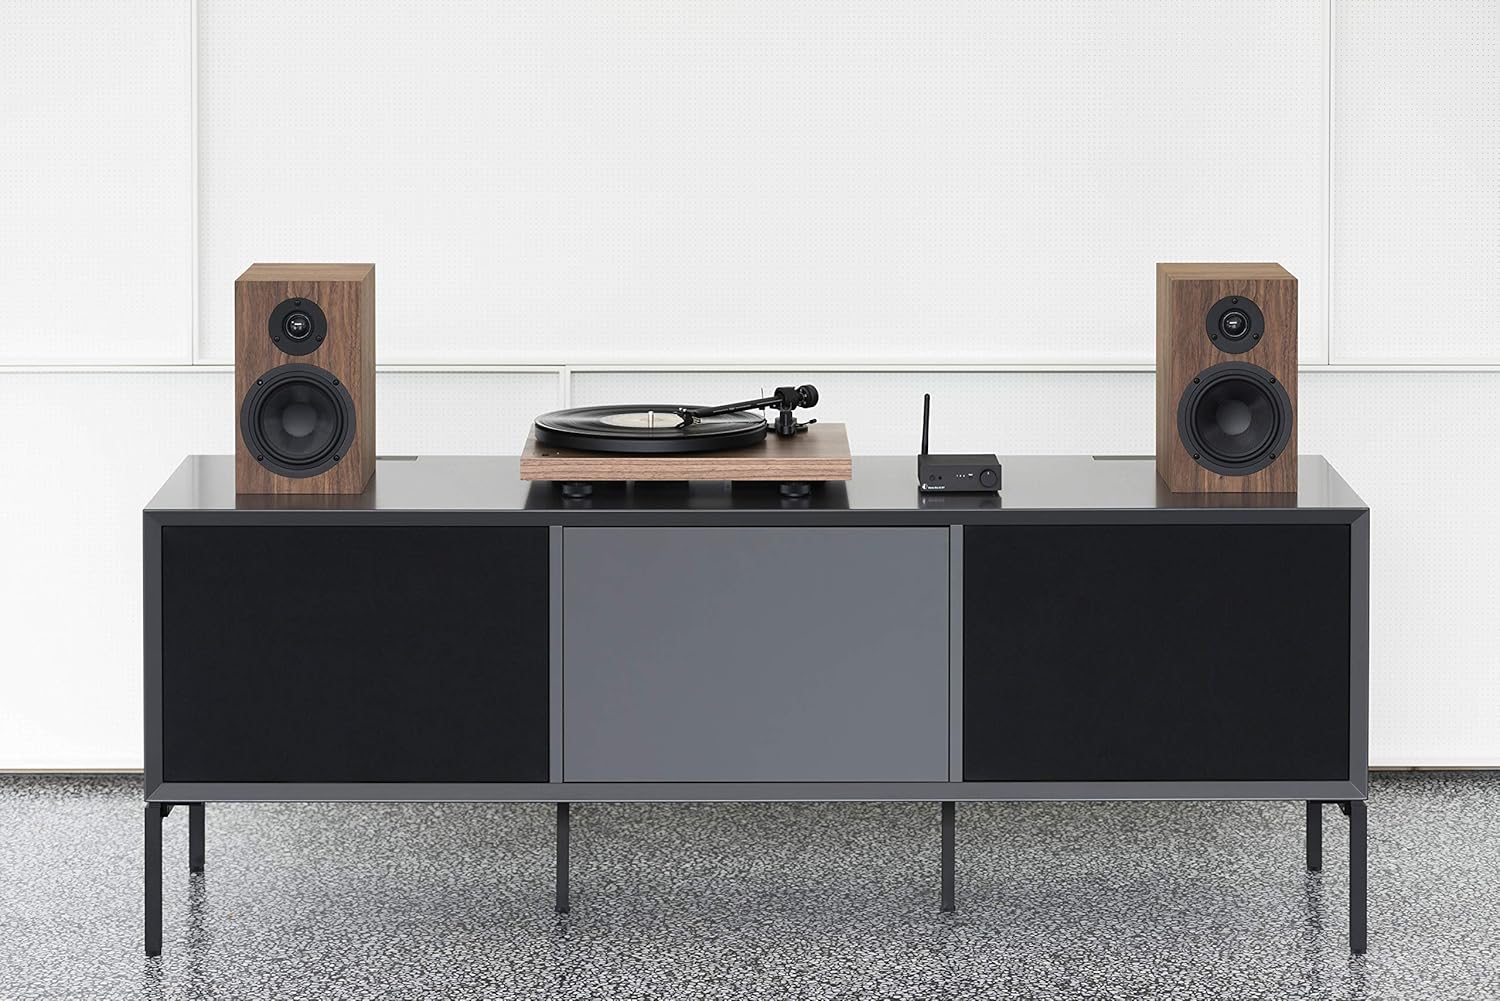
Figure 3: Turntable integrated into a home audio setup with speakers.

Figure 4: Turntable connected to a laptop, demonstrating USB recording capability.
4.5 Dustcover Installation
Attach the dustcover hinges to the designated slots on the rear of the turntable. The dustcover protects the turntable from dust and debris when not in use.
5. 操作手順
5.1 電源のオン/オフ
Locate the power switch, typically on the underside or rear of the plinth. Turn the switch to the 'On' position to power the turntable. Turn it 'Off' when not in use.

Figure 5: Detail of the power switch for the turntable.
5.2 スピード選択
The turntable supports 33, 45, and 78 RPM playback. Use the electronic speed change function to select the appropriate speed for your record. For 78 RPM records, a specific OM78 stylus (not included) and a drive belt turnover to a larger diameter of the pulley are required.
5.3 レコードの再生
- 大皿に記録を置きます。
- 正しい再生速度が選択されていることを確認してください。
- トーンアームリフトレバーを使用してトーンアームを上げます。
- トーンアームをレコードの希望する開始溝の上にゆっくり動かします。
- Slowly lower the tonearm using the lift lever. The stylus will descend onto the record and playback will begin.
5.4 再生の停止
- トーンアームリフトレバーを使用してトーンアームを上げます。
- Move the tonearm back to its rest position.
- Lower the tonearm onto its rest using the lift lever.
- ターンテーブルをオフにします。
5.5 USB 録音
To record vinyl to your PC/Mac, connect the turntable via USB. Use appropriate audio recording software (not included) on your computer to capture the audio signal. Ensure the turntable's phono preamplifier is set to 'Line Out' for USB recording.
6. メンテナンス
6.1 スタイラスのクリーニング
Regularly clean the stylus using a soft brush or a dedicated stylus cleaning fluid. Brush gently from back to front to remove dust and debris.
6.2 クリーニング記録
Use a carbon fiber brush or a record cleaning solution to keep your vinyl records free of dust and static. Clean records before each play to minimize wear on the stylus and improve sound quality.
6.3 Dustcover Care
Clean the dustcover with a soft, damp 布。 表面を傷つける可能性がある研磨剤入りのクリーナーは避けてください。
7。 トラブルシューティング
If you encounter issues with your turntable, consult the following common problems and solutions:
| 問題 | 考えられる原因 | 解決 |
|---|---|---|
| 音が出ない、または音量が非常に小さい | 入力の選択が間違っています amplifier; Phono preamp switch incorrect; Loose cables. | Select correct input; Adjust phono preamp switch; Check all cable connections. |
| 歪んだ音 | Dirty stylus; Incorrect tracking force or anti-skating; Damaged stylus. | Clean stylus; Re-adjust tracking force/anti-skating; Replace stylus if damaged. |
| 再生速度が正しくありません | 間違った速度が選択されました。ドライブ ベルトに問題があります。 | Select correct speed (33/45/78 RPM); Check drive belt for proper placement or wear. |
| ハミング音 | アース線が接続されていない。他の電子機器からの干渉がある。 | Ensure ground wire is securely connected; Move turntable away from other electronic devices. |
8. 仕様
| 特徴 | 詳細 |
|---|---|
| ブランド | プロジェクト |
| モデル名 | Recordmaster II |
| 商品型番 | RM II Om5e |
| モータータイプ | ACモーター |
| 最高回転数 | 78 回転 |
| 特集 | USB Output, Built-in Phono Preamplifier, Electronic Speed Change |
| 対応デバイス | パソコン |
| コネクタタイプ | USB |
| 材料 | プラスチック |
| 製品寸法 | 32 x 41.5 x 11.8 cm; 7.7 kg |
| 電源タイプ | コード式電気 |
| 電池付属 | いいえ |
| 電池が必要 | いいえ |
9. 保証とサポート
For detailed warranty information, please refer to the documentation included with your product or visit the official Pro-Ject Audio Systems website. For technical support or service inquiries, please contact Pro-Ject customer service through their official channels.


