
1. はじめに
Thank you for choosing the HOFTRONIC Esto 2-Light GU10 Black LED Spotlight. This product is designed for indoor use, providing adjustable lighting with two GU10 LED bulbs. Constructed from high-quality aluminum, this spotlight offers a modern aesthetic and reliable performance. Please read this manual carefully before installation and use to ensure safe and optimal operation.
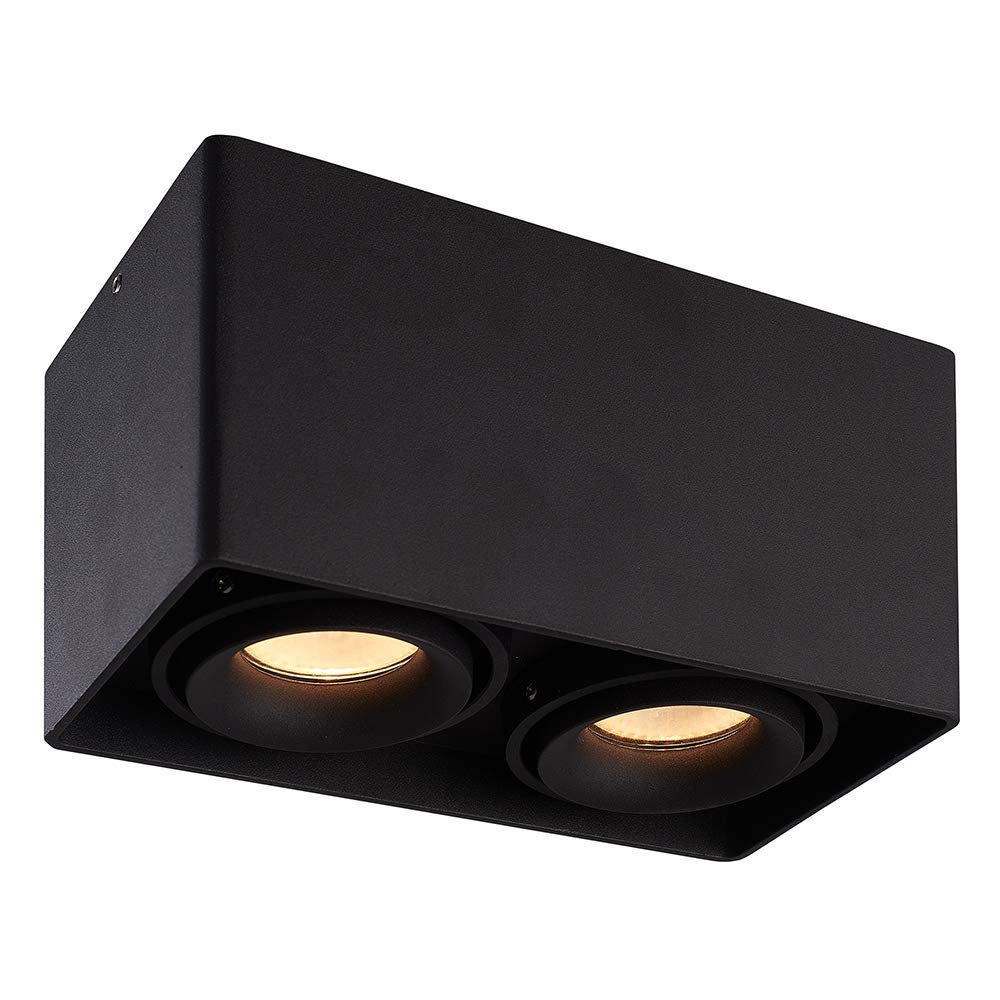
Image: The HOFTRONIC Esto 2-Light GU10 Black LED Spotlight installed on a ceiling, providing illumination in a modern interior setting.
2. 安全に関する注意事項
- Always disconnect the main power supply before attempting any installation, maintenance, or bulb replacement.
- 設置は、地域の電気規則および安全基準に準拠するために、資格のある電気技師が行う必要があります。
- This product is rated IP20 and is suitable for 屋内使用のみ. Do not expose to moisture or direct water.
- ボリュームを確保するtage supply matches the product's requirements (230V AC).
- 最大ワット数を超えないでくださいtage of 35 Watts per GU10 LED bulb.
- 過熱を防ぐために器具の周囲に十分な換気を確保してください。
- 特に設計されていない限り、器具を断熱材で覆わないでください。
3.ボックスの内容
インストールを続行する前に、すべてのコンポーネントが揃っていて損傷がないことを確認してください。

Image: Contents of the product box, including the spotlight fixture and mounting hardware.
- 1x HOFTRONIC Esto Double Black LED Ceiling Spot Fixture
- 1xアレンキー
- ネジ4本
- 4xワッシャー
- 4x壁プラグ
4. セットアップとインストール
Follow these steps for safe and correct installation of your LED spotlight.
- インストールの準備: 設置エリアへの主電源が回路ブレーカーでオフになっていることを確認してください。
- 掘削ポイントをマークする: Position the fixture on the ceiling at the desired location. Use the mounting holes on the base of the fixture to mark the drilling points. Refer to the diagram below for mounting dimensions.
- ドリル穴: 印を付けた箇所にドリルで穴を開けます。付属の壁プラグを穴に差し込みます。
- 配線を接続: Open the terminal cover on the fixture. Carefully connect the electrical wires from your ceiling to the terminal block inside the fixture. Ensure correct connections: Live (L), Neutral (N), and Earth (⌀). The cable inlet supports a maximum diameter of 12mm.
- 器具を取り付ける: Align the fixture's mounting holes with the wall plugs. Secure the fixture to the ceiling using the provided screws and washers. Do not overtighten.
- GU10電球を挿入します: Insert two GU10 LED bulbs (not included) into the lamp holders. Ensure they are securely twisted into place. Do not exceed 35 Watts per bulb.
- 電力を回復する: Once installation is complete and all connections are secure, restore the main power supply.

Image: Detailed diagram of the spotlight's base with mounting hole dimensions (69mm x 69mm spacing, 4mm diameter holes, 13mm edge distance, max 12mm cable inlet).
5. 操作手順
The HOFTRONIC Esto spotlight is designed for simple operation.
- 電源オン/オフ: Control the spotlight using your standard wall light switch.
- ライトの方向を調整する: The GU10 fittings are tiltable, allowing you to adjust the light direction by up to 30 degrees. Gently pivot the inner lamp holders to direct the light as desired.

Image: Illustration of the adjustable light direction, demonstrating the 30-degree tilt capability of the GU10 fittings.
6. メンテナンス
Regular maintenance will help prolong the life and appearance of your spotlight.
- クリーニング: Ensure the power is off and the fixture is cool before cleaning. Wipe the exterior of the spotlight with a soft, dry, or slightly damp 布で拭いてください。研磨剤入りの洗剤、溶剤、または刺激の強い化学薬品は、仕上げを傷める可能性があるため、使用しないでください。
- 電球の交換:
- 器具の電源をオフにします。
- 最近使用していた電球は完全に冷めるまでお待ちください。
- Gently push the GU10 bulb into its fitting and twist it counter-clockwise to remove.
- Insert a new GU10 LED bulb (max 35W) by pushing it into the fitting and twisting clockwise until secure.
- 電源を復旧します。
7。 トラブルシューティング
スポットライトで問題が発生した場合は、次の一般的な問題と解決策を参照してください。
- ライトが点灯しない:
- 主電源がオンになっているか確認してください。
- 壁のスイッチが「オン」の位置になっていることを確認してください。
- Verify that the GU10 bulbs are correctly inserted and not faulty.
- Inspect wiring connections for looseness or damage (ensure power is off before inspection).
- 光のちらつき:
- Ensure GU10 bulbs are fully seated in their sockets.
- Try replacing the bulb to rule out a faulty bulb.
- 配線接続の緩みがないか確認します(電源をオフにした状態)。
- Fixture feels hot:
- Confirm that the installed GU10 bulbs do not exceed the maximum wattag35Wのe。
- Ensure there is no obstruction preventing proper heat dissipation.
問題が解決しない場合は、カスタマー サポートまたは資格のある電気技師に連絡してください。
8. 仕様
| ブランド | ホフトロニック |
| モデル番号 | 446496 |
| 色 | 黒 |
| 材料 | アルミニウム |
| スタイル | モダンな |
| 具体的な用途 | 屋内使用のみ |
| 電源 | 交流230V |
| 電球タイプ | 導かれた |
| 巻tage | 230ボルト(AC) |
| 最大ワットtage(電球1個あたり) | 35ワット |
| 電球ベース | GU10 |
| エネルギー効率ラベル | A+ |
| 取り付けタイプ | 天井取り付け |
| 製品重量 | 5グラム |
| 寸法(長さ×幅×高さ) | 187mm x 94mm x 105mm |
| IP 定格 | IP20 |

Image: Overall dimensions of the HOFTRONIC Esto 2-Light GU10 Black LED Spotlight.
9. 保証
This HOFTRONIC product comes with a 3年間保証, reflecting our commitment to quality and durable construction. The robust aluminum enclosure ensures a long lifespan for your ceiling light.

Image: Warranty information, indicating a 3-year warranty and durable build quality.
10. サポート
For further assistance, technical support, or warranty claims, please contact your retailer or the HOFTRONIC customer service department. Refer to your purchase documentation for contact details.
