
導入
ご購入ありがとうございますasing the Hunter 52 inch Indoor Traditional New Bronze Ceiling Fan with Light Kit. This manual provides detailed instructions for the safe installation, operation, and maintenance of your new ceiling fan. Please read this manual thoroughly before beginning installation and keep it for future reference.

画像: フル view of the Hunter 52 inch Indoor Traditional New Bronze Ceiling Fan with Light Kit, showcasing its five engineered wood blades and three frosted glass light shades.
安全情報
警告: 火災、感電、または人的傷害のリスクを軽減するために、常に以下の指示に従ってください。
- 新しいファンを取り付ける前に、すべての指示と安全情報をお読みください。
- Ensure the installation site is suitable for a ceiling fan. The support structure must be capable of supporting the fan's weight (approximately 19.4 pounds).
- すべての配線は、国および地域の電気工事規定に従って行ってください。配線に慣れていない場合は、資格のある電気技師にご相談ください。
- Before installation or servicing, disconnect power by turning off the circuit breakers to the fan and light switch.
- 部品が損傷しているファンを運転しないでください。取り付け前にファンに損傷がないか点検してください。
- ファンが作動している間は、ファンブレードの経路に物を挿入しないでください。
- ファンブレードが床から少なくとも 7 フィート (2.1 メートル) 離れたところに設置されていることを確認してください。
パッケージ内容
Carefully unpack your fan and check to ensure all contents are present. Refer to the list below:
- ファンモーターアセンブリ
- Five (5) Fan Blades (Engineered Wood)
- ライトキットアセンブリ
- Three (3) Light Bulbs
- プルチェーン(ファン速度とライト制御用)
- 取り付けブラケットとハードウェア
- ダウンロッド
- 取扱説明書

画像: クローズアップ view of the fan's motor housing in New Bronze finish, showing the attachment points for the engineered wood blades.
セットアップとインストール
このセクションでは、シーリングファンの取り付け手順を説明します。取り付けは2人で行うことを推奨します。
1. インストールの準備
- 電源をオフにします。 開始する前に、回路ブレーカーで電源が切断されていることを確認してください。
- 取り付け場所: Select a location where the fan blades will be at least 7 feet from the floor and have at least 30 inches of clearance from walls or other obstructions.
- サポート体制: The outlet box and support structure must be securely mounted and capable of supporting the fan's weight.
2.取り付けブラケットを取り付けます
- Attach the mounting bracket to the ceiling outlet box using the screws provided. Ensure it is firmly secured.
3. Assemble the Fan Motor and Downrod
- ファンモーターからの電線をダウンロッドに通します。
- ダウンロッドをファンモーターアセンブリに固定します。
- Carefully lift the fan assembly and hang it from the mounting bracket using the ball joint.
4. 電気配線
- Connect the fan's electrical wires to the household wiring according to the wiring diagram in your separate wiring guide (if provided) or standard electrical practices (e.g., black to black, white to white, green/bare to ground).
- すべての接続が安全かつ適切に絶縁されていることを確認してください。
5. Install Fan Blades
- 付属のネジを使用して、各ファンブレードをブレードアームに取り付けます。
- Secure the blade arms to the fan motor housing.

画像: 詳細 view of an engineered wood fan blade attached to its arm, ready for installation onto the motor housing.
6. ライトキットの取り付け
- ライト キットのワイヤをファン モーターからの対応するワイヤに接続します。
- ライトキットアセンブリをファンモーターの下部に固定します。
- Install the light bulbs and attach the glass shades.
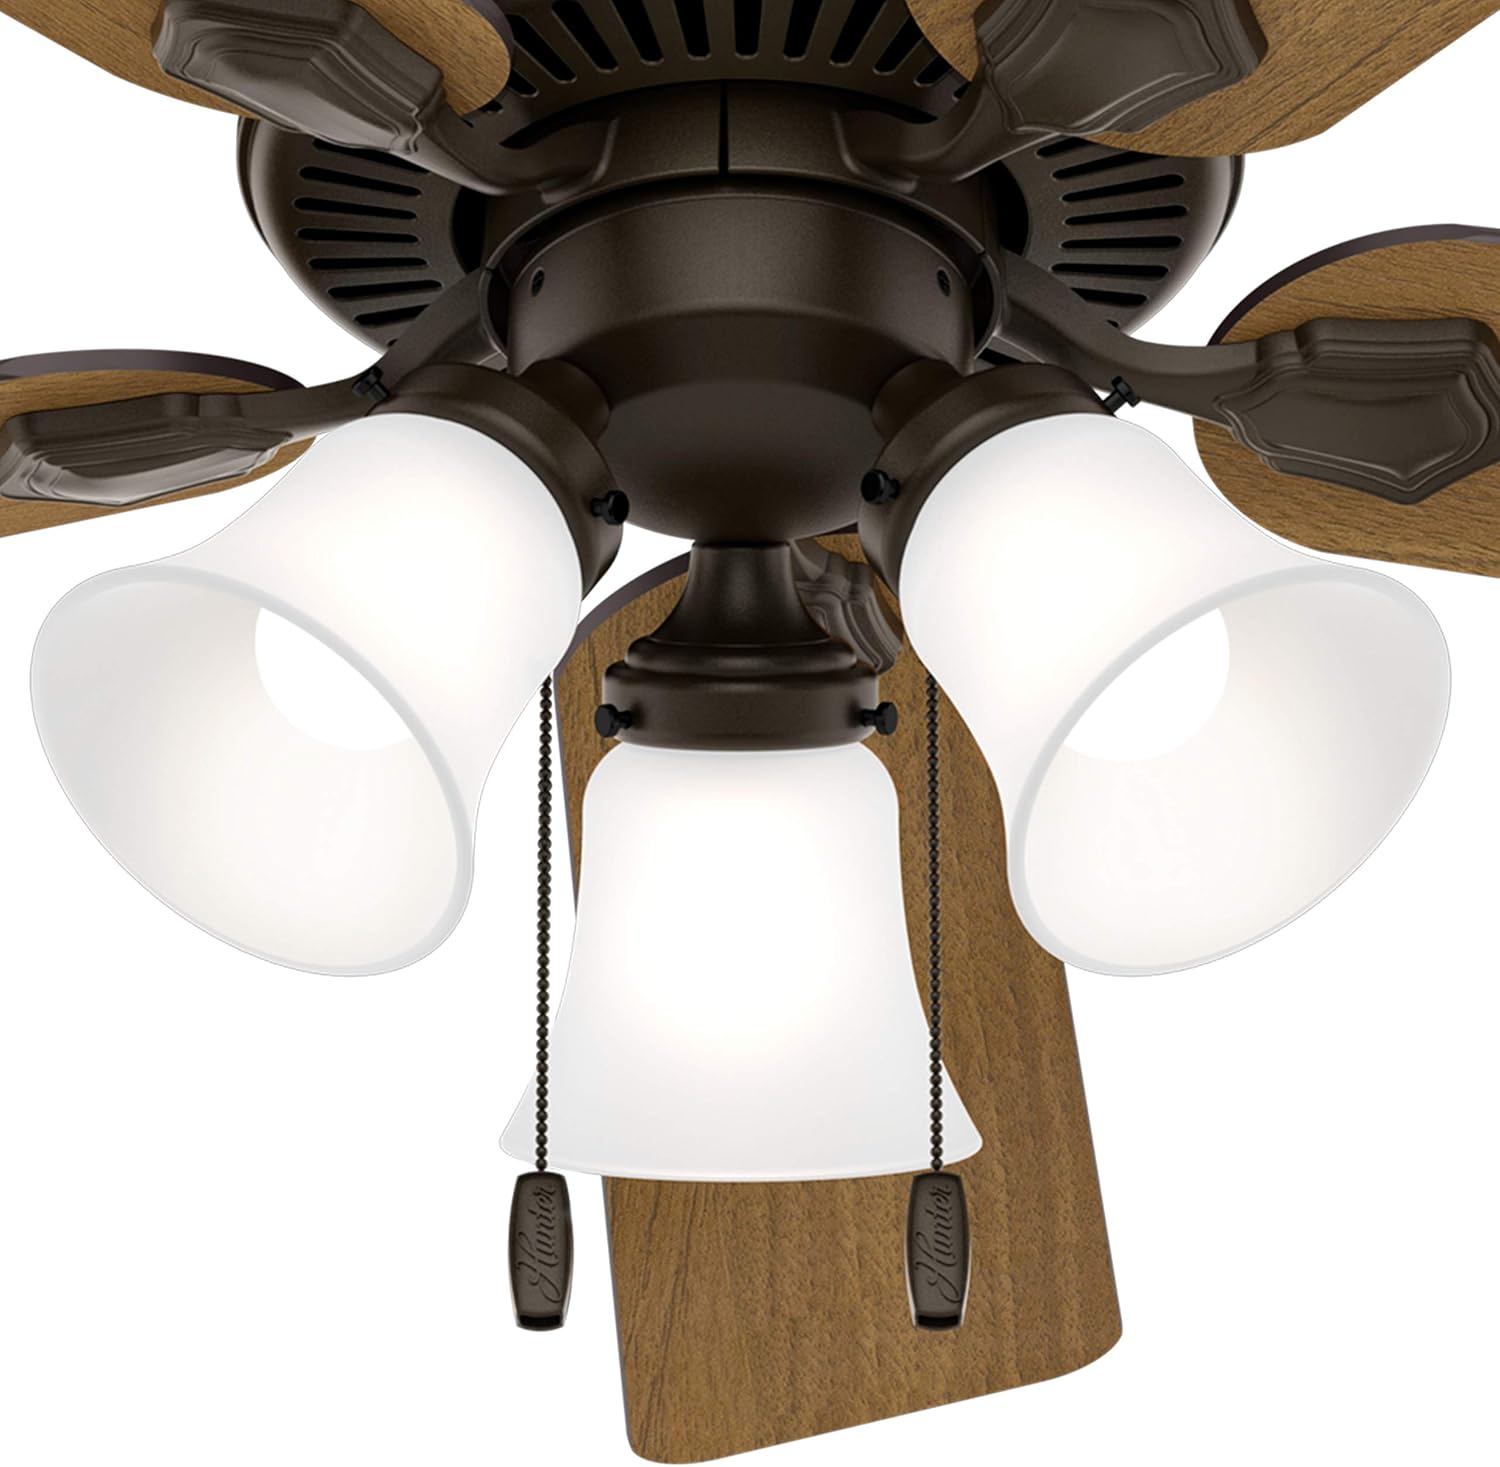
Image: Close-up of the fan's light kit, showing three frosted glass shades and the two pull chains for fan speed and light control.
7. 最終組立
- Attach the canopy to the mounting bracket, covering the wiring connections.
- 回路ブレーカーで電源を復旧します。
操作手順
Your Hunter ceiling fan is controlled by pull chains.
ファン速度制御
- Locate the pull chain for fan speed (typically marked or shorter).
- Pull the chain once for High speed.
- Pull the chain a second time for Medium speed.
- Pull the chain a third time for Low speed.
- チェーンを4回目に引くとファンがオフになります。
照明制御
- Locate the pull chain for the light kit (typically longer or with a light icon).
- チェーンを1回引くとライトが点灯します。
- Pull the chain again to turn the light off.
可逆的な運動機能
Your fan features a reversible motor for year-round comfort. A switch on the fan motor housing controls the direction of blade rotation.
- サマーモード(反時計回り): Push the switch to the "down" position. This creates a downward airflow, producing a cooling effect.
- 冬モード(時計回り): Push the switch to the "up" position. This creates an upward airflow, circulating warm air trapped near the ceiling.
- Note: Always turn off the fan and wait for the blades to stop completely before changing the direction of rotation.
メンテナンス
定期的なメンテナンスにより、最適なパフォーマンスが確保され、ファンの寿命が延びます。
- クリーニング: ファンを定期的に柔らかくてきれいな布で掃除してください。amp 布で拭いてください。研磨剤入りの洗剤や溶剤は、仕上げを傷める恐れがあるため使用しないでください。
- ブレードクリーニング: 柔らかい布でファンの羽根を拭いてほこりを取り除きます。
- ネジを締めます: Periodically check all screws on the fan housing and blades to ensure they are tight. Loose screws can cause noise or wobble.
- 電球: Replace light bulbs as needed. Ensure the power is off before replacing bulbs.
- Note: No lubrication is required for the motor.
トラブルシューティング
Before contacting support, refer to this troubleshooting guide for common issues.
| 問題 | 考えられる原因 | 解決 |
|---|---|---|
| ファンが始動しない |
|
|
| ファンがぐらつく |
|
|
| ライトキットが動作しない |
|
|
仕様
| ブランド | ハンター |
| モデル番号 | CC5C08C87 |
| 寸法(D x W x H) | 奥行き52インチ x 幅52インチ x 高さ16.93インチ |
| 重さ | 19.4ポンド |
| 色 | ニューブロンズ |
| ブレード数 | 5 |
| ブレード材質 | エンジニアリングウッド |
| モータータイプ | AC Motor, Reversible |
| 速度の数 | 3 (高、中、低) |
| 制御方法 | プルチェーン制御 |
| 巻tage | 120ボルト |
| 風量 | 2396立方フィート |
| 屋内/屋外での使用 | 屋内 |
| 含まれるコンポーネント | Bulb Included, Fan Blade included, Light Kit, Motor, Pull Chain |
保証とサポート
For warranty information or technical support, please refer to the documentation provided with your purchase or contact Hunter Fan Company customer service. Keep your proof of purchase for warranty claims.
メーカー: ハンターファンカンパニー


