
導入
This manual provides comprehensive instructions for the setup, operation, and maintenance of your Hansong Vanity Mirror with Lights and Bluetooth. This extra-large Hollywood-style makeup mirror features 18 LED bulbs, three color lighting modes, USB charging capabilities, and integrated Bluetooth speakers for an enhanced user experience. Please read this manual thoroughly before use to ensure proper functionality and safety.
安全情報
- Ensure the mirror is placed on a stable, flat surface or securely mounted to a wall to prevent tipping.
- Do not expose the mirror to excessive moisture or direct water spray. This product is designed for indoor use only.
- Handle the mirror with care. Although made with tempered glass for enhanced durability, improper handling can still cause damage.
- Unplug the mirror from the power outlet before cleaning or performing any maintenance.
- Keep the power cord away from heat sources and sharp edges. Do not place heavy objects on the cord.
- Do not attempt to disassemble or repair the mirror yourself. Refer all servicing to qualified personnel.
- If the mirror arrives damaged or experiences any issues, contact customer support immediately.
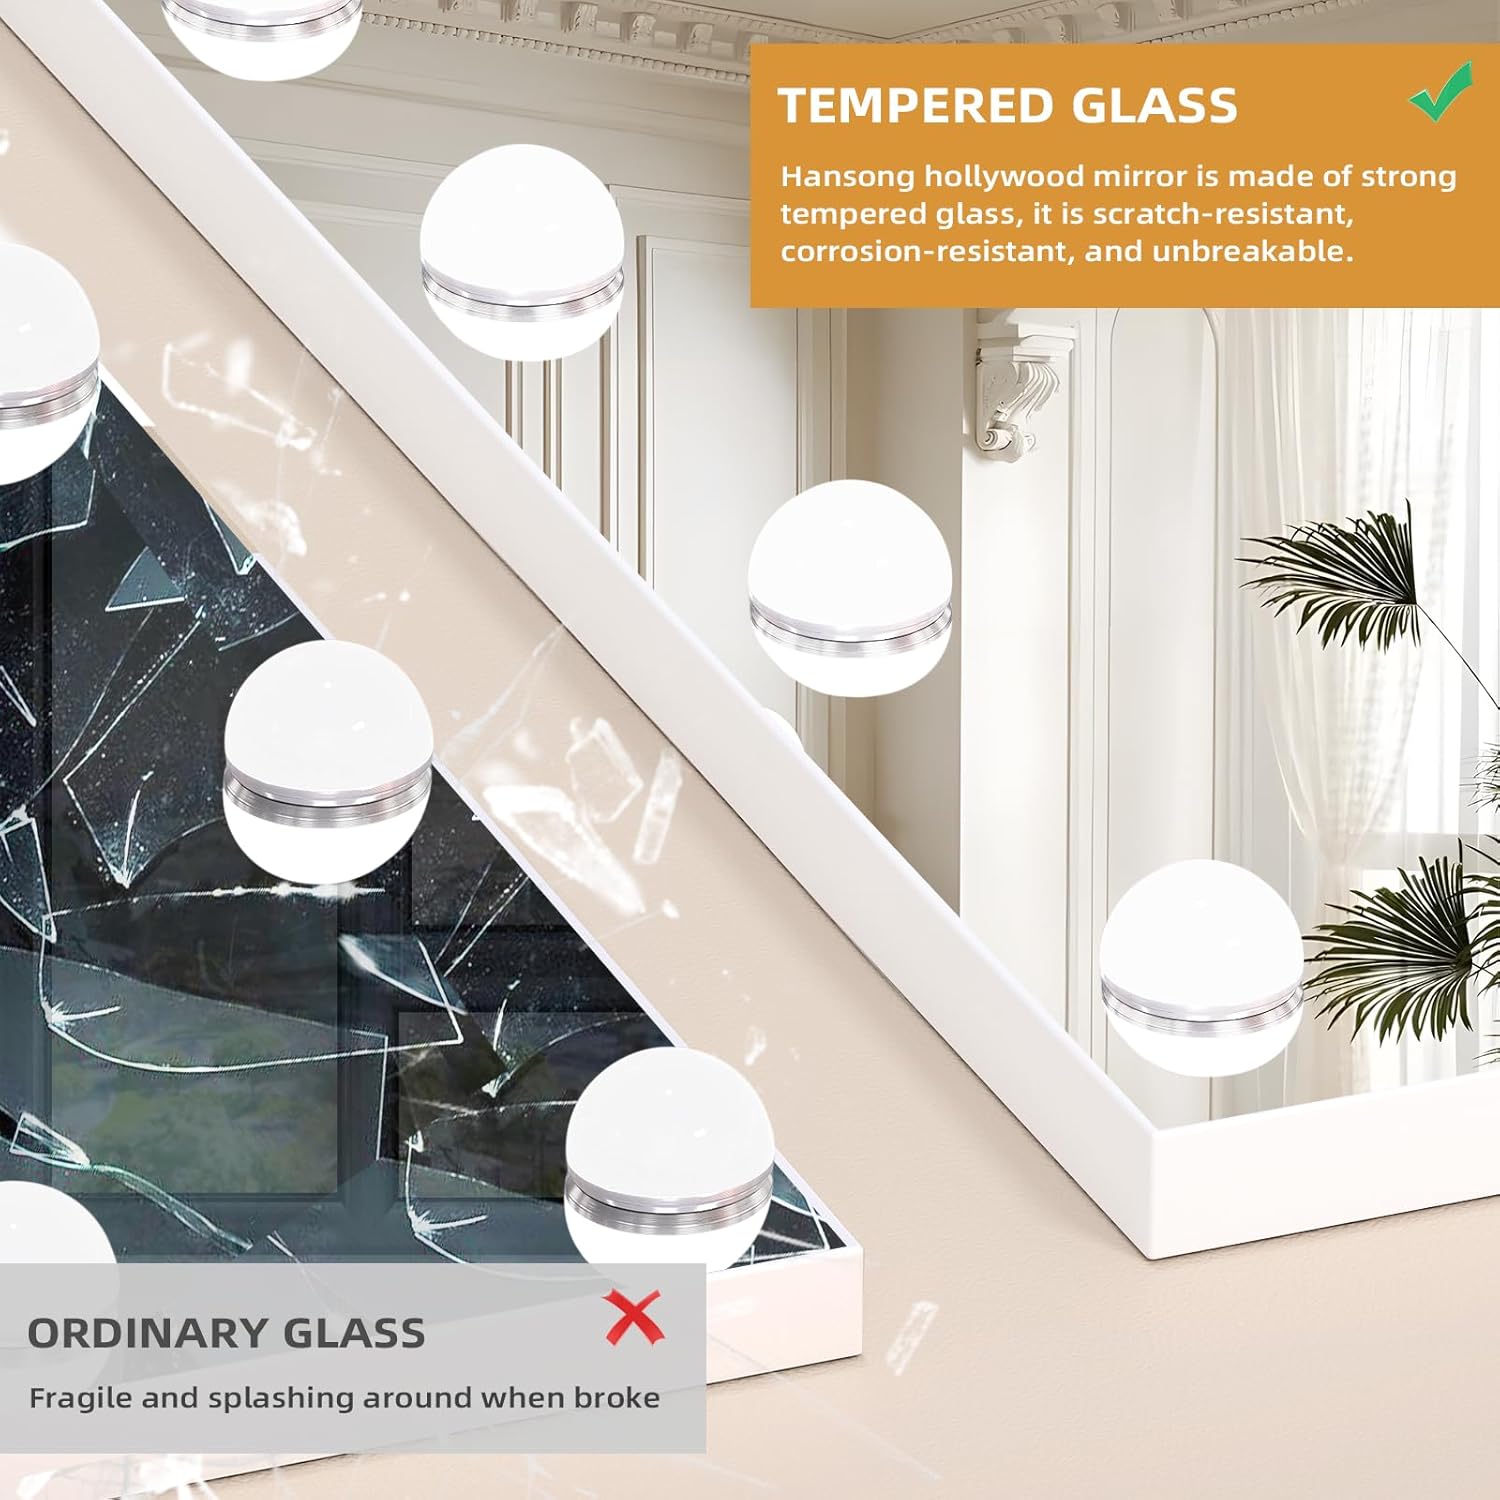
Figure 1: Tempered Glass for Enhanced Safety
パッケージ内容
パッケージを開封したら、すべてのコンポーネントが揃っていて良好な状態であることを確認します。
- Hansong Vanity Mirror with Lights and Bluetooth
- 取り外し可能なベース
- 電源アダプター
- 10X Magnifying Mirror (with suction cups)
- Mounting Hardware (for wall installation)
- ユーザーマニュアル(このドキュメント)
設定
卓上設置
- Carefully remove the mirror from its packaging.
- Locate the screws at the bottom of the mirror frame. Unscrew them if they are pre-installed.
- Align the holes in the detachable base with the corresponding holes at the bottom of the mirror.
- Insert and tighten the screws to secure the base firmly to the mirror.
- Place the assembled mirror on a stable, flat surface.
- Connect the power adapter to the mirror's power input port and then plug it into a standard electrical outlet.

Figure 2: Tabletop Installation Steps
壁掛け設置
The mirror is designed with two back holes for wall mounting. Ensure the wall can support the mirror's weight (approximately 18.08 pounds). Professional installation is recommended for wall mounting.
- Identify the desired location on the wall. Ensure it is a sturdy surface.
- Measure the distance between the two mounting holes on the back of the mirror.
- Mark the corresponding points on the wall using a pencil and a level to ensure horizontal alignment.
- Drill pilot holes at the marked locations. Insert wall anchors if necessary (e.g., for drywall).
- Screw the provided mounting hardware (screws) into the wall, leaving a small portion protruding to hang the mirror.
- Carefully lift the mirror and align the back holes with the screws on the wall. Gently lower the mirror until it is securely seated.
- Connect the power adapter to the mirror's power input port and then plug it into a standard electrical outlet.
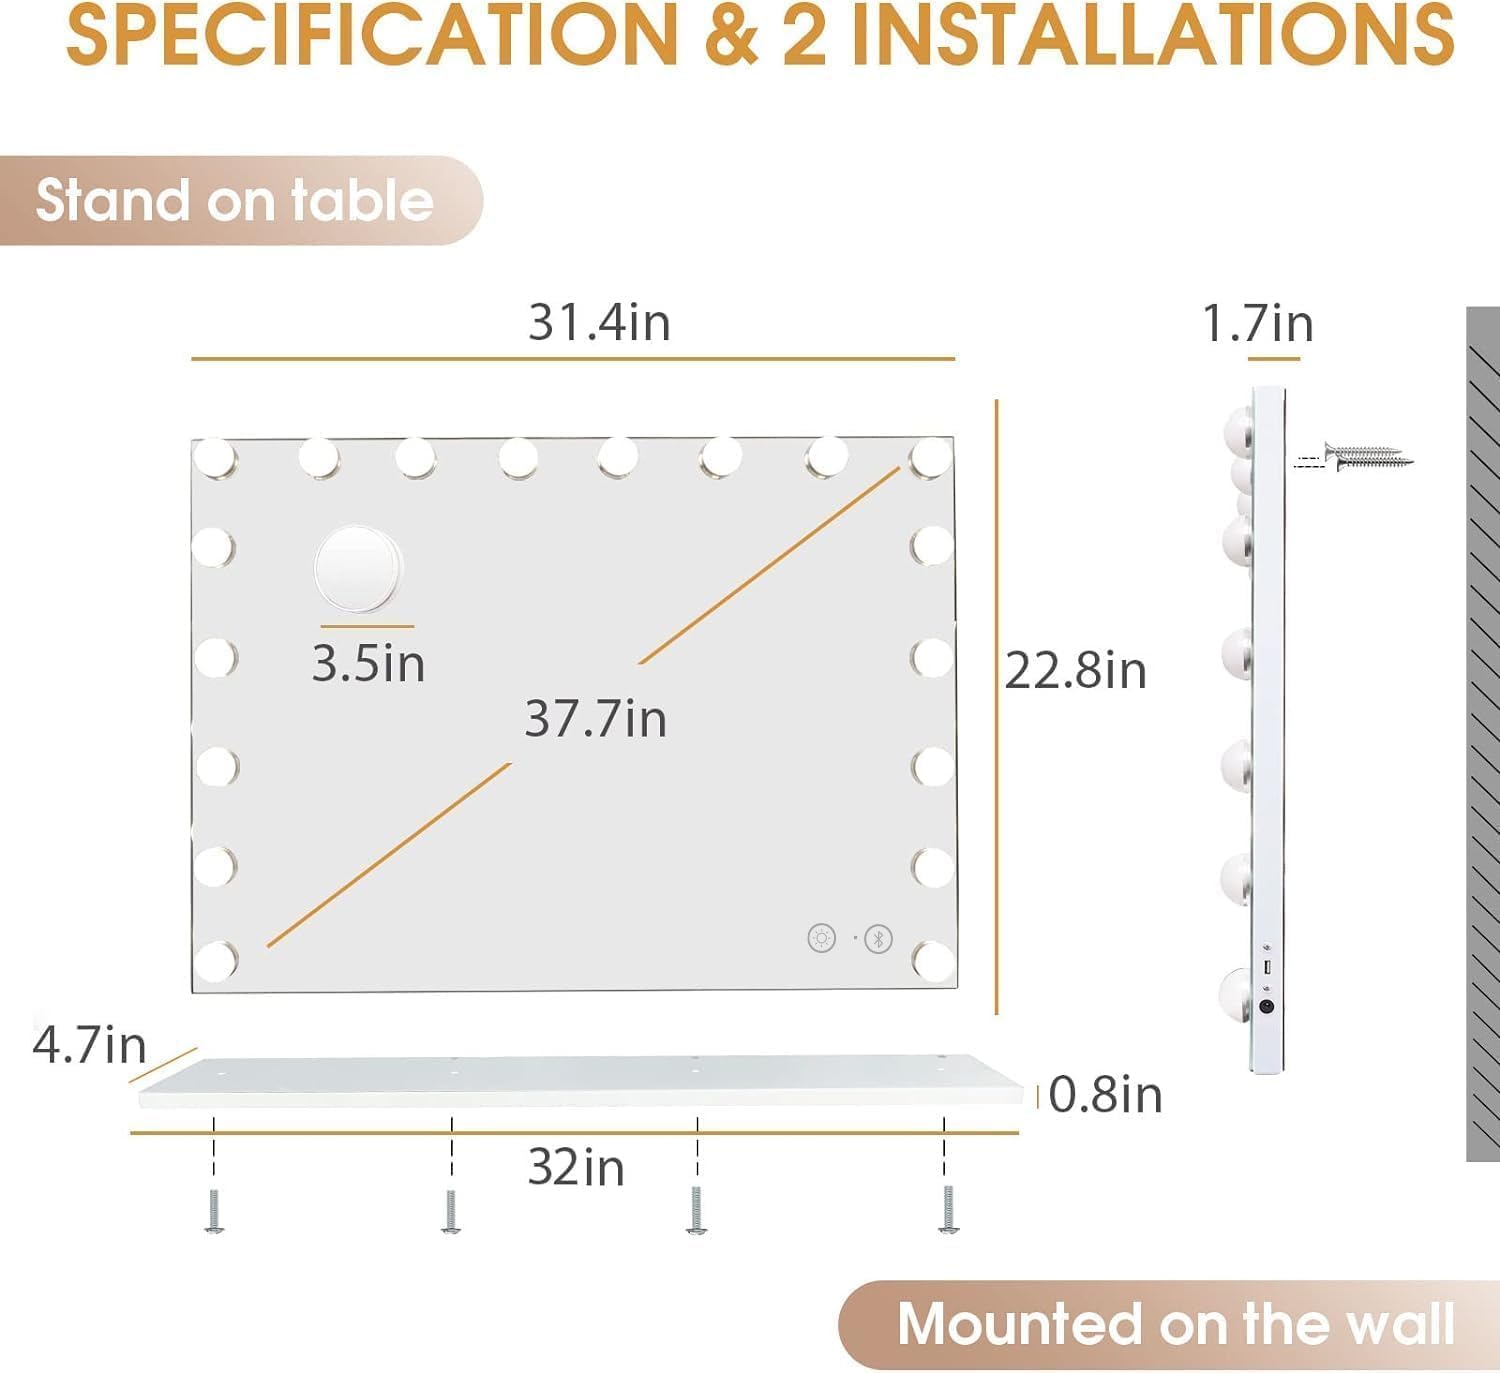
Figure 3: Mirror Dimensions and Installation Options
操作手順
1. Power On/Off and Lighting Modes
The mirror features touch-sensitive controls located on the mirror surface.
- 電源オン/オフ: 電源アイコン(⏻) to turn the lights on or off.
- 照明モードの変更: 電球アイコン(💡) to cycle through the three color lighting modes:
- クールライト: Suitable for office makeup.
- 自然光: Ideal for outdoor makeup.
- 暖かい光: Best for party and date makeup.
- 明るさを調整: Press and hold the light bulb icon (💡) to dim or brighten the lights to your desired level.

Figure 4: Three Color Lighting Modes
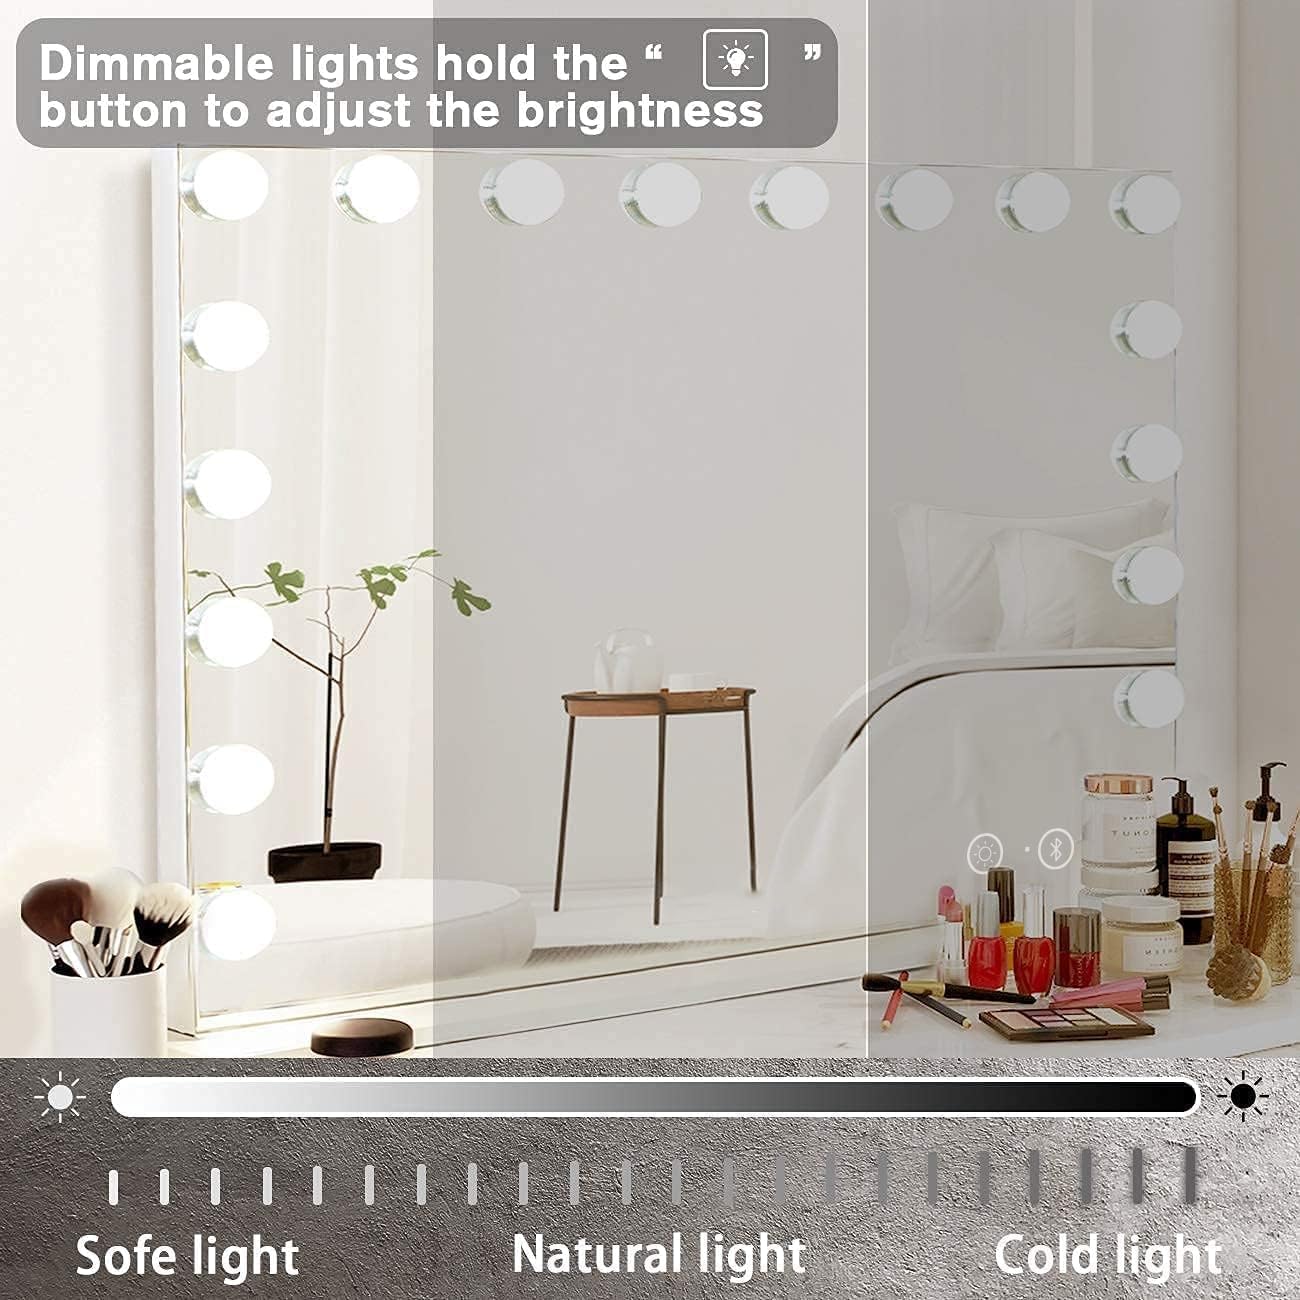
図5: 明るさ調整
2. Bluetooth接続
The mirror is equipped with two Bluetooth speakers and a microphone, allowing you to play music and answer calls.
- ミラーの電源がオンになっていることを確認します。
- Activate Bluetooth on your smartphone or other Bluetooth-enabled device.
- 検索する available Bluetooth devices. The mirror will appear as "Hansong Mirror" or similar.
- Select the mirror from the list to pair. A confirmation sound will indicate successful pairing.
- Once paired, you can play audio through the mirror's speakers and use the integrated microphone for calls.
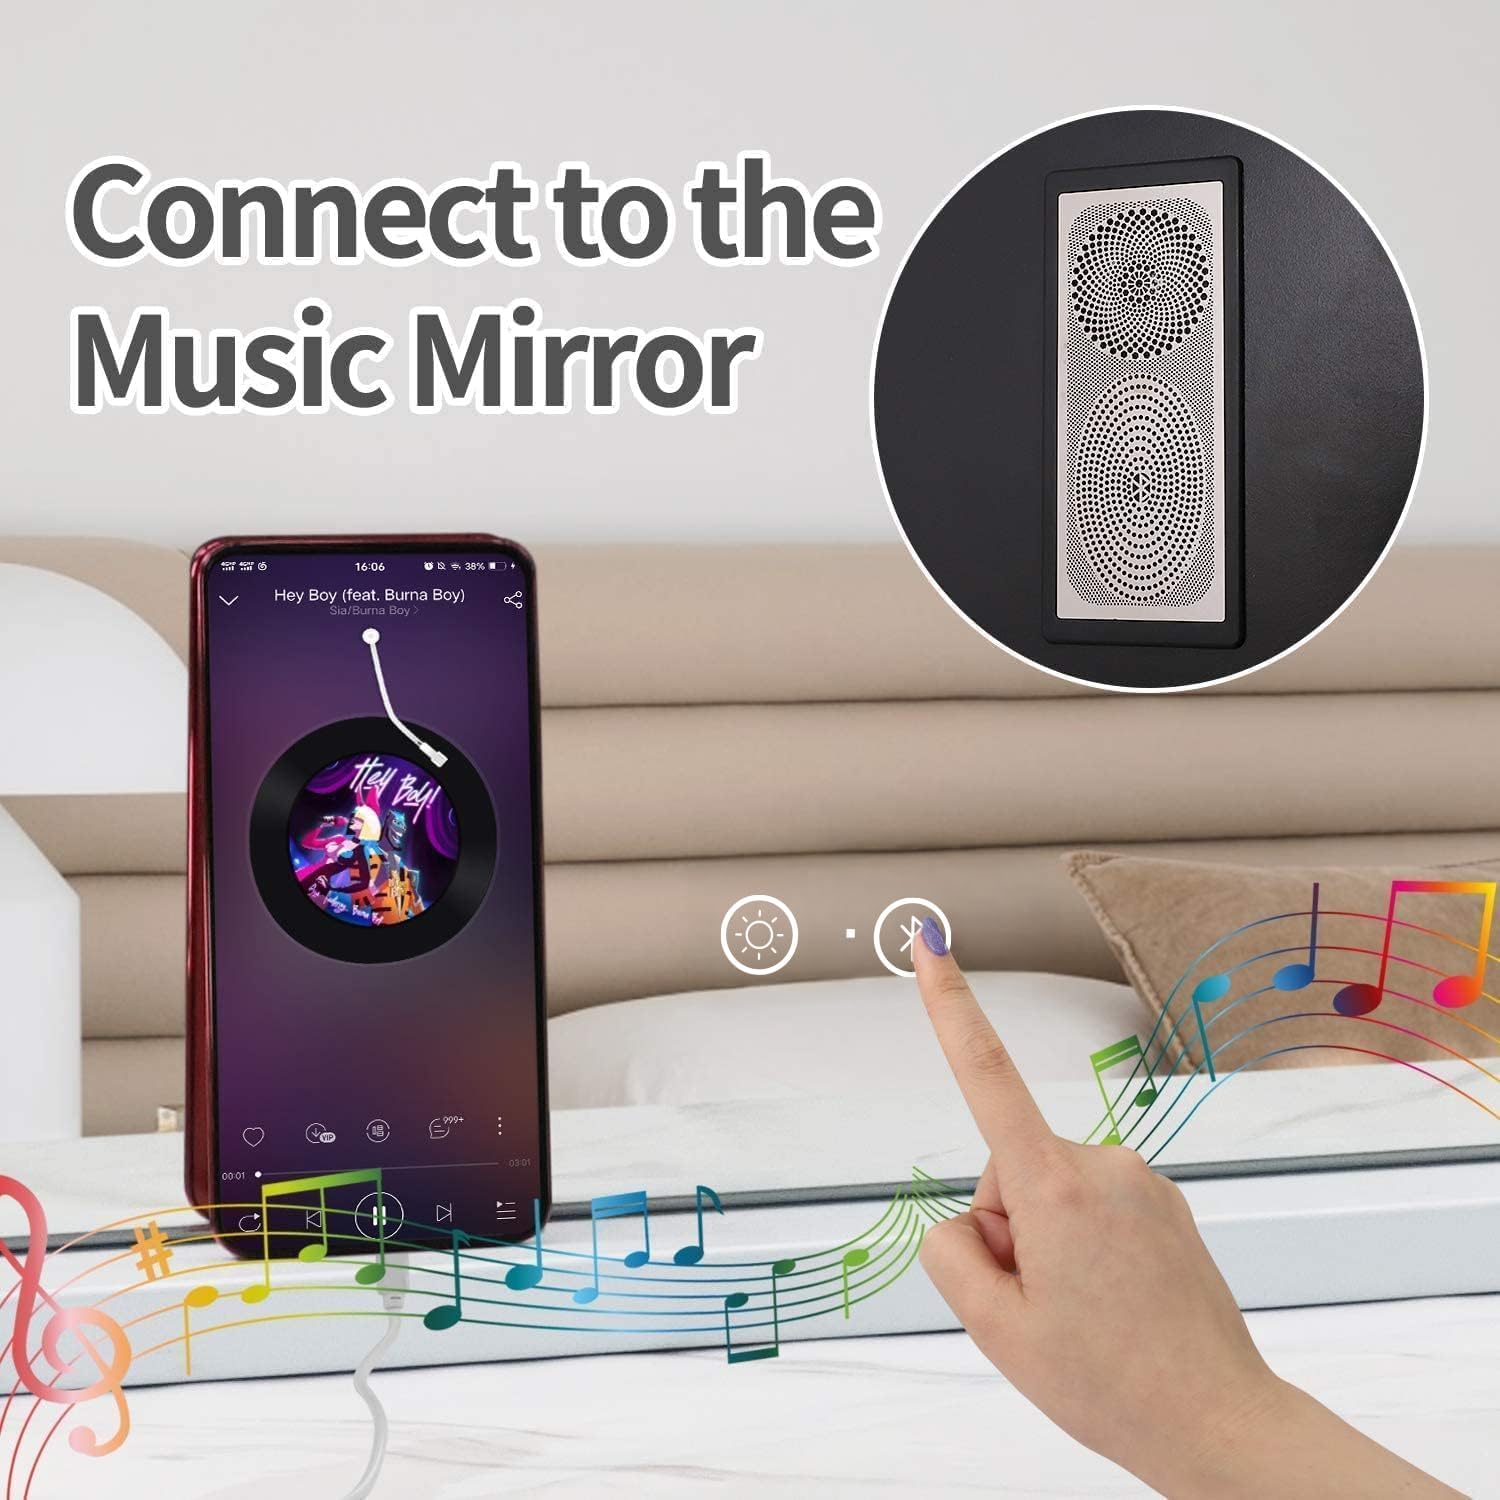
Figure 6: Connecting to Bluetooth Speakers
3.USB充電ポート
A USB output charging port is located on the side of the mirror, allowing you to charge your phone or other USB-powered devices.
- Connect your device's USB charging cable to the USB port on the mirror.
- Ensure the mirror is plugged into a power outlet for the USB charging function to work.

Figure 7: USB Output Charging Port
4. 10X Magnifying Mirror
The included 10X magnifying mirror is detachable and features suction cups for easy attachment to the main mirror or any smooth surface. It is useful for detailed tasks such as eyebrow plucking or precise eye and lip makeup application.
- To attach, press the suction cups firmly against the main mirror surface.
- To remove, gently lift the edge of the suction cups to release the vacuum.

Figure 8: 10X Magnifying Mirror
メンテナンス
- 鏡面の掃除: 柔らかく糸くずの出ない布と、研磨剤を含まないガラスクリーナーを使用してください。液体が電気部品に浸透するのを防ぐため、鏡に直接クリーナーを吹き付けるのではなく、布にクリーナーを吹き付けてください。
- フレームの掃除: 金属フレームを柔らかくて乾いた布で拭いてください。amp 布で拭いてください。刺激の強い化学薬品や研磨剤入りの洗剤は使用しないでください。
- 電球の交換: The LED bulbs are integrated and designed for long-term use. They are not user-replaceable.
- ストレージ: If storing the mirror for an extended period, unplug it and store it in a dry, cool place, preferably in its original packaging to protect it from dust and damage.
トラブルシューティング
| 問題 | 考えられる原因 | 解決 |
|---|---|---|
| ミラーライトが点灯しません。 |
|
|
| Bluetoothが接続されません。 |
|
|
| USB充電が機能しません。 |
|
|
仕様
| ブランド | ハンソン |
| モデル | A-white With Bluetooth-32x23in |
| 製品寸法 | 長さ23インチ x 幅32インチ |
| フレーム素材 | 金属 |
| 取り付けタイプ | 卓上/壁掛け |
| 特集 | Lighted, Touch Sensor, USB Charging, Bluetooth Speakers |
| 照明モード | 3 Color (Warm, Cool, Natural) |
| 倍率 | 10倍(取り外し可能なミラー) |
| アイテム重量 | 18.08ポンド |
| 欧州連合 | 194230337378 |
保証とサポート
Hansong is committed to providing high-quality products. While the mirror is designed for durability with tempered glass, unforeseen issues may occur.
For any product-related inquiries, technical support, or warranty claims, please contact Hansong customer service directly. Please have your purchase details and model information ready when contacting support.
Contact information can typically be found on the Hansong official webサイトまたは購入場所を通じてご購入いただけます。