
1. はじめに
Thank you for choosing the SYNCWIRE Magnetic Phone Car Mount. This manual provides essential information for the proper installation, operation, and maintenance of your new car mount. Please read these instructions carefully before use and retain them for future reference.
2. 箱の中身
パッケージにすべてのコンポーネントが含まれていることを確認します。
- 1 x SYNCWIRE Magnetic Phone Mount
- Metal Plates (various shapes)
- 3M VHB Adhesive Pads (extra included)
- Protective Films
- ウェットティッシュ
- 取扱説明書

Image: Included components of the SYNCWIRE Magnetic Phone Car Mount.
3. 主な特徴
- 4th Generation Neodymium Magnets (N52): Provides strong magnetic force to securely hold smartphones, even with cases.
- Solid Alloy Body: Constructed from aluminum alloy and soft silicone with an antioxidant surface for durability and a smooth touch.
- Super Stick Force: Utilizes a reliable 3M VHB adhesive pad for strong attachment to the dashboard, maintaining stability during braking, bumps, and rough roads.
- 自由に調整可能: Features a solid metal ball joint for 360° rotation, allowing adjustment to any preferred view角度。
- Mini Size and Space Saving: Compact design ensures it does not obstruct driving view.

Image: Enhanced N52 Neodymium Magnets for superior hold.
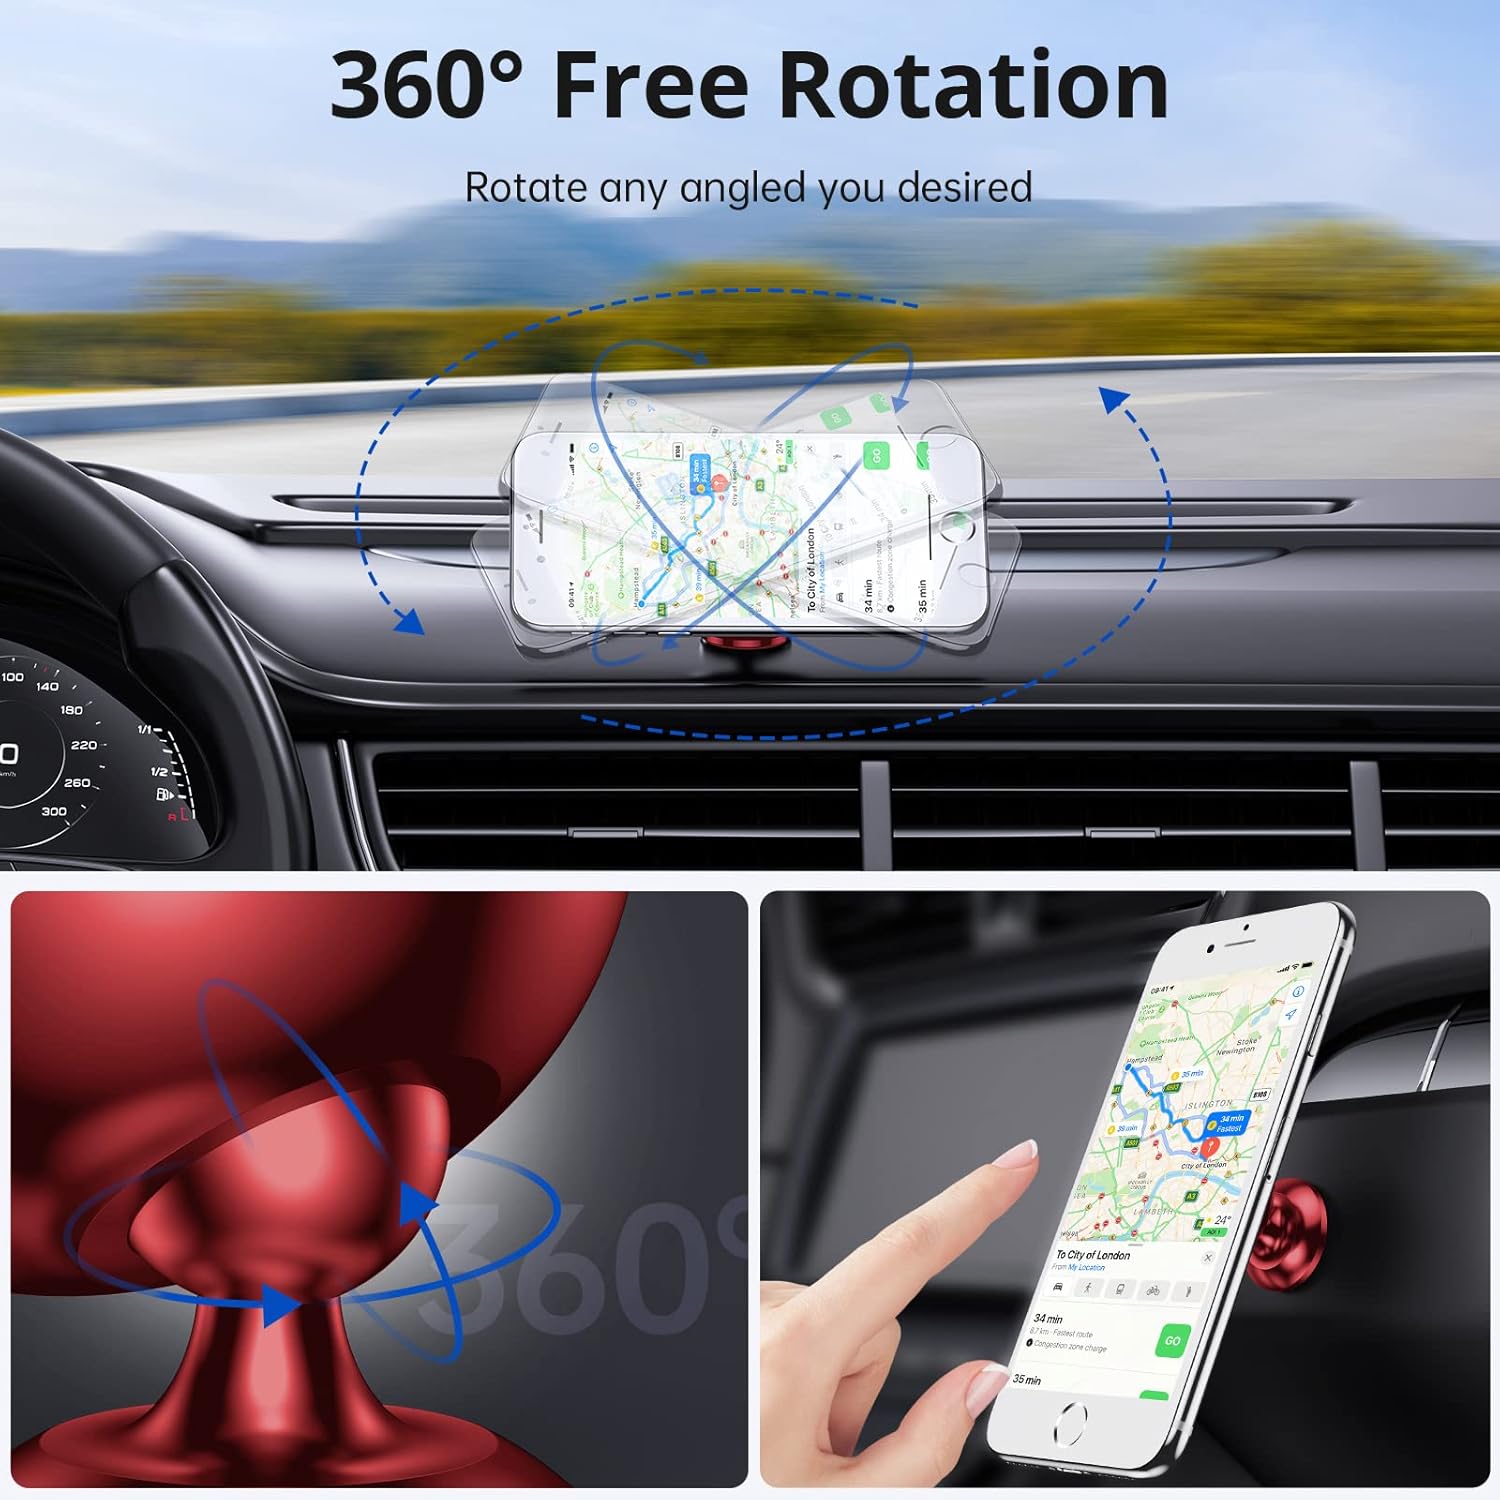
Image: 360° Free Rotation for optimal view角度を変える。

Image: Mini size and space-saving design.
4. セットアップとインストール
Follow these steps for proper installation of your magnetic phone car mount:
4.1. Preparing Your Phone for Magnetic Attachment
- Clean Phone Surface: Use the provided wet wipe to clean the back of your phone or phone case where the metal plate will be attached. Ensure the surface is dry.

Image: Cleaning the phone surface.
- 保護フィルムを貼る: Peel off the backing from one of the transparent protective films and carefully apply it to the cleaned area on your phone or case. This film protects your phone's surface from the adhesive.

Image: Applying the protective film.
- 金属プレートを取り付ける: Select a metal plate (round or rectangular) and peel off the adhesive backing. Carefully center it over the protective film. Press firmly for 30 seconds to ensure strong adhesion.


Image: Attaching the metal plate to the phone.
Note on Wireless Charging: Attaching a metal plate directly to your phone may interfere with wireless charging capabilities. If wireless charging is essential, consider placing the metal plate between your phone and a non-metallic case, ensuring it does not cover the wireless charging coil area.
4.2. Installing the Car Mount on Your Dashboard
- 平らな面を選択してください: Identify a flat, smooth surface on your car's dashboard that does not obstruct your view or interfere with airbags. Avoid leatherette surfaces as the adhesive may not bond effectively.

Image: Recommended dashboard surfaces for installation.
- Clean Dashboard Surface: Use a wet wipe to thoroughly clean the chosen area on your dashboard. Allow it to dry completely.

Image: Cleaning the dashboard surface.
- 剥がせる粘着剤付き裏地: Remove the red protective film from the 3M VHB adhesive pad on the base of the car mount.

Image: Removing adhesive backing.
- マウントを取り付ける: Firmly press the car mount onto the cleaned dashboard surface for at least 30 seconds.

Image: Attaching the mount to the dashboard.
- 接着時間: For optimal adhesion, allow the mount to cure for 24 hours before attaching your phone. This ensures maximum stick force.

Image: Wait 24 hours for adhesive to set.
5. 操作手順
- 電話機の接続: Once the mount is securely installed and the metal plate is on your phone/case, simply bring your phone close to the magnetic surface of the mount. The strong magnets will automatically secure your device.
- 調整中 View角度: The mount features a 360° rotatable ball joint. Gently swivel or tilt your phone to achieve your desired viewing angle (portrait or landscape). The joint is designed to hold its position firmly.
- 携帯電話の取り外し: 携帯電話を取り外すには、磁気面から引き離すだけです。
6. デバイスの互換性
The SYNCWIRE Magnetic Phone Car Mount is compatible with all smartphones up to 7 inches, including but not limited to:
- iPhone 17/17 Pro/17 Pro Max/iPhone Air, iPhone 16/16 Pro/16 Pro Max/15/15 Pro/15 Pro Max/14/14 Pro/14 Pro Max/13/13 Pro/13 Pro Max/12/12 Pro/12 Pro Max/12 Mini/11 Pro Max/11 Pro/11/Xs Max/XR/XS/X/8 Plus/8/7 Plus/7
- Samsung Galaxy S22/S21/S20/Note10+/Note10/S10/S10e/S10+/S9+/S9/Note 9/Note 8/S8
- Google Pixel 7/6
- LG, OnePlus, Sony, and other similar sized smartphones.

Image: Broad compatibility with smartphones up to 7 inches.
7. メンテナンス
- クリーニング: Wipe the mount and magnetic surface with a soft, dry cloth to remove dust or smudges. Do not use harsh chemicals or abrasive cleaners.
- 接着剤の寿命: If the adhesive pad loses its stickiness over time, use one of the included extra 3M VHB adhesive pads for re-installation. Ensure the surface is clean and dry before applying.
- 温度: Avoid exposing the mount to extreme temperatures for prolonged periods, as this may affect the adhesive's performance.
8。 トラブルシューティング
| 問題 | 考えられる原因 | 解決 |
|---|---|---|
| Phone does not stick firmly to the mount. | Metal plate not properly attached or positioned. Phone case is too thick. | Ensure the metal plate is centered on your phone/case. If using a thick case, ensure the metal plate is on the outside of the case or use a thinner case. |
| Mount falls off the dashboard. | Dashboard surface was not clean/dry, or adhesive did not cure for 24 hours. Incompatible dashboard material. | Re-clean the dashboard surface thoroughly. Use a new 3M VHB adhesive pad and allow 24 hours for curing. Ensure the surface is not leatherette. |
| ワイヤレス充電が機能しません。 | Metal plate is interfering with the wireless charging coil. | Adjust the position of the metal plate to avoid the wireless charging coil, or place it between the phone and a non-metallic case. |
9. 仕様
| 属性 | 詳細 |
|---|---|
| ブランド | 同期線 |
| モデル番号 | SW-MPH536 |
| 取り付けタイプ | ダッシュボード接着剤 |
| 特集 | 360° Rotatable, Strong N52 Magnets |
| 材料 | アルミニウム合金、シリコン |
| アイテム重量 | 2.47オンス(約70g) |
| 寸法 | 2.87 x 2.48 x 2.05インチ(約7.3 x 6.3 x 5.2 cm) |
| 対応デバイス | Smartphones up to 7 inches |
10.保証とサポート
The SYNCWIRE Magnetic Phone Car Mount comes with a 3-year support period. If you encounter any issues such as the phone holder not securely holding your device, missing accessories, breakage, or incompatibility with your car, please contact SYNCWIRE customer support for assistance or a replacement.
For further assistance, please visit the official SYNCWIRE webサイトをご覧いただくか、カスタマー サービスに直接お問い合わせください。