
1. はじめに
This manual provides essential information for the safe and effective installation, operation, and maintenance of your Mad Mars 12V LED Motorcycle Scooter Turn Signals. Please read this manual thoroughly before installation and keep it for future reference.
2. 安全情報
- 電気安全: ショートや感電を防ぐため、電気作業を行う前に必ず車両のバッテリーを外してください。
- 専門家による設置: If you are not familiar with motorcycle or scooter electrical systems, it is highly recommended to have these turn signals installed by a qualified professional.
- 巻tage互換性: These turn signals are designed for 12V DC systems only. Do not connect to higher voltage システム。
- 安全な取り付け: Ensure the turn signals are securely mounted to prevent detachment during vehicle operation.
- CE Homologation: These turn signals are CE approved, indicating compliance with European safety standards.
3. パッケージ内容
- One (1) Pair of Mad Mars 12V LED Motorcycle Scooter Turn Signals (Orange)
4. 仕様
| 特徴 | 仕様 |
|---|---|
| ブランド | 狂った |
| モデル | 火星 |
| 巻tage | 12ボルトDC |
| 光源の種類 | 導かれた |
| ライトカラー | オレンジ |
| Mounting Thread Diameter | 8mm |
| Length (excluding thread) | 64mm |
| 深さ | 22mm |
| 身長 | 18mm |
| 重量(1個あたり) | 100g(約) |
| 組み立てが必要 | はい |
| 認証 | CE認証 |
5. セットアップとインストール
正しく設置するには、以下の手順を慎重に実行してください。専門家による設置をお勧めします。
- 車両の準備: 電気的な危険を防ぐために、車両のイグニッションがオフになっており、バッテリーが取り外されていることを確認してください。
- Remove Old Turn Signals: Carefully remove the existing turn signals from your motorcycle or scooter. Note the wiring connections.
- Mount New Turn Signals: Insert the threaded bolt of the Mad Mars turn signal into the mounting hole. Secure it with the provided nut, ensuring it is tight but not overtightened. The thread diameter is 8mm.
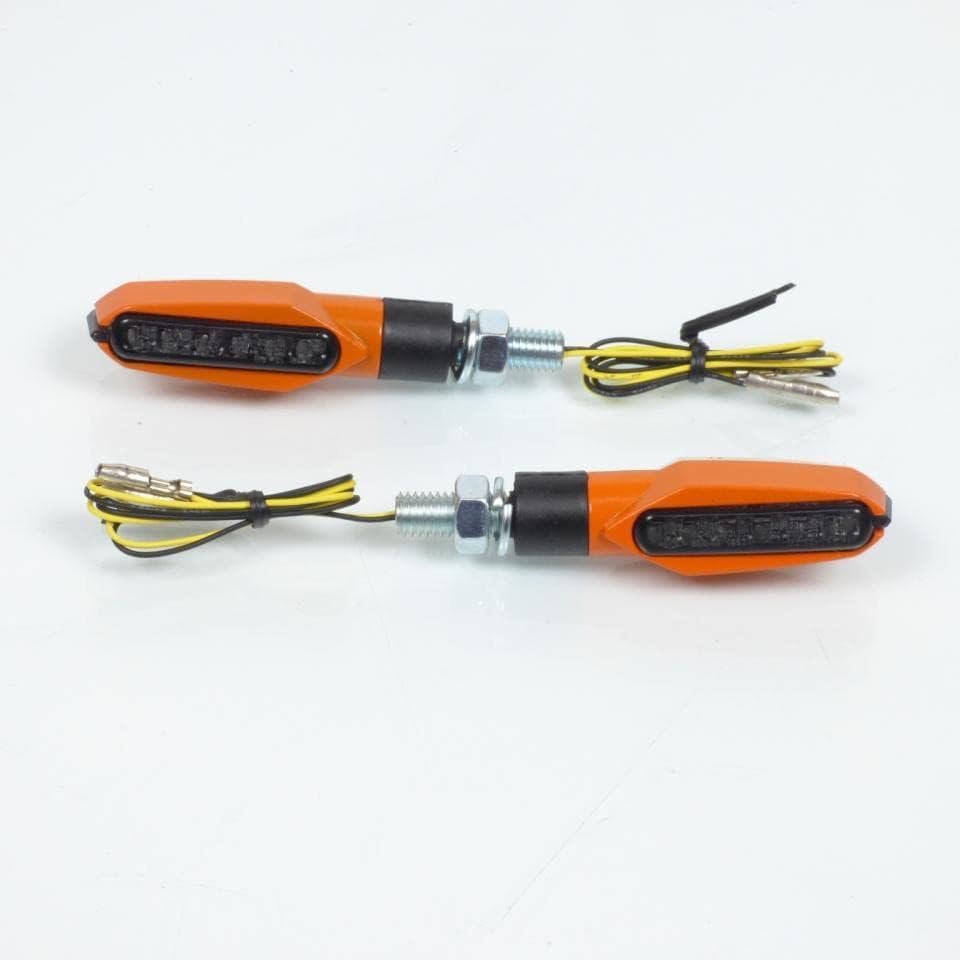
Image 1: Mad Mars 12V LED Turn Signals. This image shows a pair of orange LED turn signals with their wiring and mounting hardware.
- 配線接続:
- Identify the positive wire of the Mad Mars turn signal (typically yellow or red) and the negative/ground wire (typically black).
- Connect the positive wire of the turn signal to the vehicle's positive turn signal wire.
- Connect the negative wire of the turn signal to the vehicle's negative or ground wire.
- Use appropriate electrical connectors (not included) and ensure all connections are secure and insulated to prevent short circuits.
- Repeat for Second Turn Signal: Follow the same steps for the other turn signal.
- バッテリーを再接続してテストします。 Reconnect the vehicle's battery. Turn on the ignition and test both turn signals to ensure they flash correctly. If they do not flash or flash too quickly/slowly, you may need a load resistor or an LED flasher relay (not included).

Image 2: Mad Mars 12V LED Turn Signals (Alternate View). This image provides another view of the orange LED turn signals, highlighting their compact design.
6. 操作手順
Once properly installed, the Mad Mars 12V LED Turn Signals operate in conjunction with your motorcycle or scooter's existing turn signal switch. Activate the left or right turn signal switch as you normally would to indicate a turn or lane change. The LED lights will flash to provide clear visibility to other road users.
7. メンテナンス
- クリーニング: Clean the turn signal lenses periodically with a soft, damp 布で拭いてください。プラスチックを傷つける可能性のある研磨剤入りの洗剤や溶剤は使用しないでください。
- 検査: Regularly check the mounting bolts for tightness and inspect the wiring for any signs of wear, fraying, or corrosion. Ensure the connections remain secure.
- LED寿命: LED lights have a long lifespan and typically do not require replacement under normal operating conditions.
8。 トラブルシューティング
- Turn Signals Not Lighting Up:
- Check all wiring connections for proper contact and insulation.
- Verify that the vehicle's battery is charged and providing 12V power.
- Inspect the vehicle's turn signal fuse.
- Turn Signals Flashing Too Fast (Hyper-flashing):
- LED turn signals draw less power than traditional incandescent bulbs, which can cause the vehicle's flasher relay to interpret a bulb outage, resulting in hyper-flashing.
- This can typically be resolved by installing a load resistor (not included) in parallel with each LED turn signal or by replacing the stock flasher relay with an LED-compatible flasher relay (not included).
- Turn Signals Not Flashing (Solid On):
- This can also be caused by incompatibility with the vehicle's flasher relay. Consider installing a load resistor or an LED-compatible flasher relay.
9. 保証とサポート
保証情報やテクニカルサポートについては、ご購入時の文書をご参照いただくか、販売元に直接お問い合わせください。保証請求の際に必要となるため、購入証明書は保管してください。