1. はじめに
This user manual provides comprehensive instructions for the installation, operation, and maintenance of your MSI B450 TOMAHAWK MAX motherboard. Designed for DIY users, this motherboard offers convenient features and robust performance for various computing needs, especially gaming rigs.
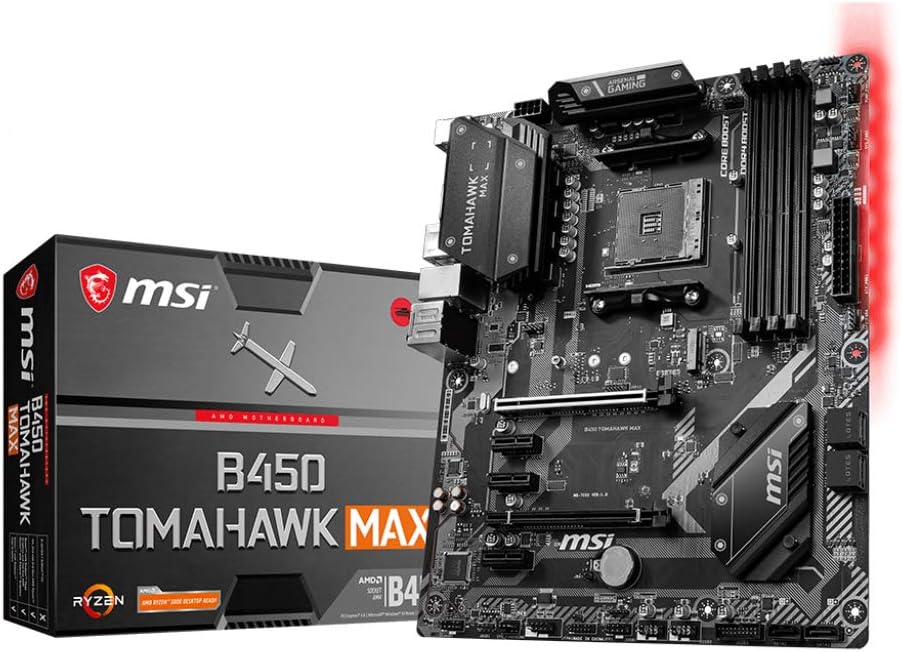
Figure 1.1: MSI B450 TOMAHAWK MAX Motherboard and its retail packaging.
The MSI B450 TOMAHAWK MAX is built with a focus on user-friendly design, including optimized pin-header placement and convenient SATA and USB port locations, ensuring a smooth building experience. It supports AMD Ryzen processors and DDR4 memory, providing a solid foundation for high-performance systems.
2. セットアップ
Before beginning the installation, ensure your workspace is clean, well-lit, and static-free. It is recommended to use an anti-static wrist strap.
2.1マザーボードのレイアウト

図2.1: トップダウン view of the MSI B450 TOMAHAWK MAX motherboard, highlighting key components like the CPU socket, RAM slots, and PCIe slots.
Familiarize yourself with the motherboard's layout, including the CPU socket (AM4), DDR4 DIMM slots, PCIe slots, M.2 slot, SATA ports, and various headers for front panel connections.
2.2 コンポーネントのインストール
- CPUのインストール: Carefully align your AMD AM4 processor with the socket, ensuring the golden triangle on the CPU matches the triangle on the socket. Gently lower the CPU into the socket and secure it with the retention lever.
- CPUクーラーの取り付け: CPUクーラーはメーカーの指示に従って取り付けてください。放熱グリスが適切に塗布され、しっかりと固定されていることを確認してください。
- メモリ(RAM)のインストール: Open the clips on both ends of the DDR4 DIMM slots. Align the memory module with the slot's key notch and press firmly until the clips snap into place. This motherboard supports up to 64GB Dual Channel DDR4-SDRAM.
- ストレージデバイスのインストール:
- M.2 SSD: M.2 SSD を M.2 スロットに挿入し、付属のネジで固定します。
- SATAドライブ: SSD/HDD からの SATA データ ケーブルをマザーボードの SATA ポートに接続します。
- グラフィックカード(GPU)のインストール: Insert your graphics card into the primary PCIe x16 slot until it clicks into place. Secure it with the case screw.
- 電源接続: Connect the 24-pin ATX main power connector and the 8-pin CPU power connector from your power supply unit (PSU) to the corresponding ports on the motherboard. Connect power to all other components (GPU, SATA drives).
2.3 External Connections (Rear I/O Panel)

図2.2:詳細 view さまざまな接続オプションを示す背面 I/O パネル。
周辺機器を背面の I/O パネルに接続します。
- USB ポート: Utilize the 2 x USB 2.0, 2 x USB 3.2 Gen 1 Type-A, 1 x USB 3.2 Gen 2 Type-A, and 1 x USB 3.2 Gen 2 Type-C ports for your keyboard, mouse, and other USB devices.
- 表示出力: Connect your monitor to the HDMI or DVI-D port if using an APU (CPU with integrated graphics). If using a dedicated graphics card, connect to the graphics card's ports.
- イーサネットLAN: Connect your network cable to the RJ-45 Ethernet port for internet access.
- オーディオジャック: Connect your speakers or headphones to the audio jacks.
- PS / 2ポート: 従来のキーボードまたはマウス用。
2.4 初期起動
After all components are installed and connected, power on your system. The system should boot to the BIOS/UEFI interface or begin the operating system installation process.
3.運用
3.1 BIOS/UEFI設定
The BIOS (Basic Input/Output System) or UEFI (Unified Extensible Firmware Interface) is the first software your computer runs when it starts. It allows you to configure hardware settings, boot order, and system performance.
- BIOS/UEFI へのアクセス: 起動中に、 デル key to enter the BIOS/UEFI setup.
- 主な設定:
- 起動順序: オペレーティング システムを起動するためのストレージ デバイスの優先順位を設定します。
- XMP プロfile: XMP(エクストリームメモリプロ)を有効にするfile) for your DDR4 RAM to run at its advertised speeds.
- ファンコントロール: 最適な冷却と騒音レベルを得るためにファンカーブを調整します。
- オーバークロック: 上級ユーザーはCPUとメモリの周波数/ボリュームを調整できますtages for increased performance.
- 変更を保存しています: Always save your changes before exiting the BIOS/UEFI.
3.2 ドライバのインストール
After installing your operating system (Windows 7 or later operating systems supported), it is crucial to install the latest drivers for your motherboard components to ensure optimal performance and stability.
- チップセットドライバー: Install the AMD B450 chipset drivers first.
- LAN ドライバー: Install the Ethernet LAN driver for network connectivity.
- オーディオドライバー: Install the audio drivers for sound functionality.
- USBドライバー: Ensure all USB drivers are up to date.
- グラフィックドライバー: Install drivers for your integrated graphics (if using an APU) or dedicated graphics card.
Drivers can be downloaded from the official MSI web特定のマザーボード モデルのサイトをご覧ください。
3.3 MSI Software Utilities
MSI provides various software utilities to enhance your user experience:
- Dragon Center: A centralized software suite for system monitoring, performance tuning, RGB lighting control (Mystic Light), and driver updates.
- ライブアップデート: Helps keep your drivers and BIOS up to date.
- ミスティックライト: Control the RGB lighting effects on your motherboard and compatible peripherals.
4. メンテナンス
定期的なメンテナンスは、マザーボードとシステムの寿命を延ばし、安定した動作を確保するのに役立ちます。
4.1 クリーニング
- ほこりの除去: Periodically clean dust from inside your PC case, especially from fans, heatsinks, and the motherboard surface. Use compressed air or a soft brush. Ensure the system is powered off and unplugged before cleaning.
- サーマルペースト: If replacing your CPU cooler, reapply fresh thermal paste to the CPU.
4.2 BIOS アップデート
MSI regularly releases BIOS updates to improve compatibility, stability, and performance. Refer to the MSI website for the latest BIOS versions and update instructions. Always exercise caution when updating the BIOS, and ensure a stable power supply during the process.
4.3 ドライバーの更新
Keep your system drivers updated to the latest versions available on the MSI support website or through the Dragon Center utility. Updated drivers can resolve issues and improve performance.
5。 トラブルシューティング
このセクションでは、マザーボードで発生する可能性のある一般的な問題について説明します。
5.1 一般的な問題と解決策
- 電源なし/起動なし:
- すべての電源接続(24 ピン ATX、8 ピン CPU、GPU 電源)を確認します。
- PSU スイッチがオンになっていることを確認します。
- フロントパネルの電源ボタンとマザーボードの接続を確認します。
- 表示なし:
- Ensure monitor is connected to the correct display output (GPU or motherboard if using APU).
- グラフィック カードと RAM モジュールを装着し直します。
- RAM スティック 1 個だけで起動してみます。
- システムの不安定性/クラッシュ:
- CPU と GPU の温度を確認します。
- Ensure RAM is properly seated and running at stable speeds (disable XMP temporarily if issues persist).
- ドライバーと BIOS を更新します。
- 周辺機器が検出されません:
- 別のUSBポートを試してください。
- 周辺機器のドライバーがインストールされていることを確認します。
- USB ポートの有効化については BIOS 設定を確認してください。
5.2 EZ Debug LED Indicators
The MSI B450 TOMAHAWK MAX features EZ Debug LEDs (CPU, DRAM, VGA, BOOT) that light up to indicate the source of a problem during startup. If a component fails, the corresponding LED will remain lit.
- CPU LED: CPU に問題があることを示します。
- DRAM LED: メモリに問題があることを示します。
- VGA LED: グラフィック カードに問題があることを示します。
- ブートLED: ブート デバイスに問題があることを示します。
Refer to the motherboard manual for detailed explanations of LED behavior and further troubleshooting steps.
6. 仕様
Key technical specifications for the MSI B450 TOMAHAWK MAX motherboard:
| 特徴 | 詳細 |
|---|---|
| モデル名 | B450 TOMAHAWK MAX |
| チップセット | B450 について |
| CPUソケット | ソケットAM4 |
| 互換性のあるプロセッサ | AMD AM4 プロセッサー |
| RAMメモリ技術 | DDR4 |
| RAMメモリ最大サイズ | 64 GB (Dual Channel) |
| フォームファクター | ATTX |
| 製品寸法 | 12.01 x 9.45 x 1.18インチ |
| アイテム重量 | 2.64ポンド |
| ポート | 2 x USB 2.0, 2 x USB 3.2 Gen 1 Type-A, 1 x USB 3.2 Gen 2 Type-A, 1 x USB 3.2 Gen 2 Type-C, 1 x Ethernet LAN (RJ-45), 1 x PS/2, 1 x HDMI, 1 x DVI-D |
| 主電源コネクタのタイプ | 24ピン |
| 対応OS | Windows 7以降 |
7.保証とサポート
保証の詳細については、製品に付属の保証書を参照するか、MSIの公式ウェブサイトをご覧ください。 webサイトをご覧ください。保証条件は地域によって異なる場合があります。
テクニカルサポート、ドライバーのダウンロード、BIOSアップデート、FAQについては、MSI公式サポートをご覧ください。 webサイト: