1. はじめに
The iConnectivity PlayAUDIO12 is a professional-grade audio and MIDI interface designed for live performance and studio applications. It provides a robust and reliable solution for integrating computer-based audio and MIDI into your setup, featuring fail-safe computer switching and high-quality audio conversion.
This manual provides detailed instructions for setting up, operating, maintaining, and troubleshooting your PlayAUDIO12 device to ensure optimal performance and longevity.

図1.1: 前面 view of the PlayAUDIO12, highlighting its compact design and intuitive controls.
2. パッケージの内容とセットアップ
2.1.開梱
パッケージを開封したら、すべてのコンポーネントが揃っていて損傷がないことをご確認ください。標準パッケージには以下が含まれています。
- iConnectivity PlayAUDIO12 Audio Interface
- USB Cables (Type-B to Type-A)
- 電源アダプター
- クイックスタートガイド(デジタル版はオンラインで入手可能)
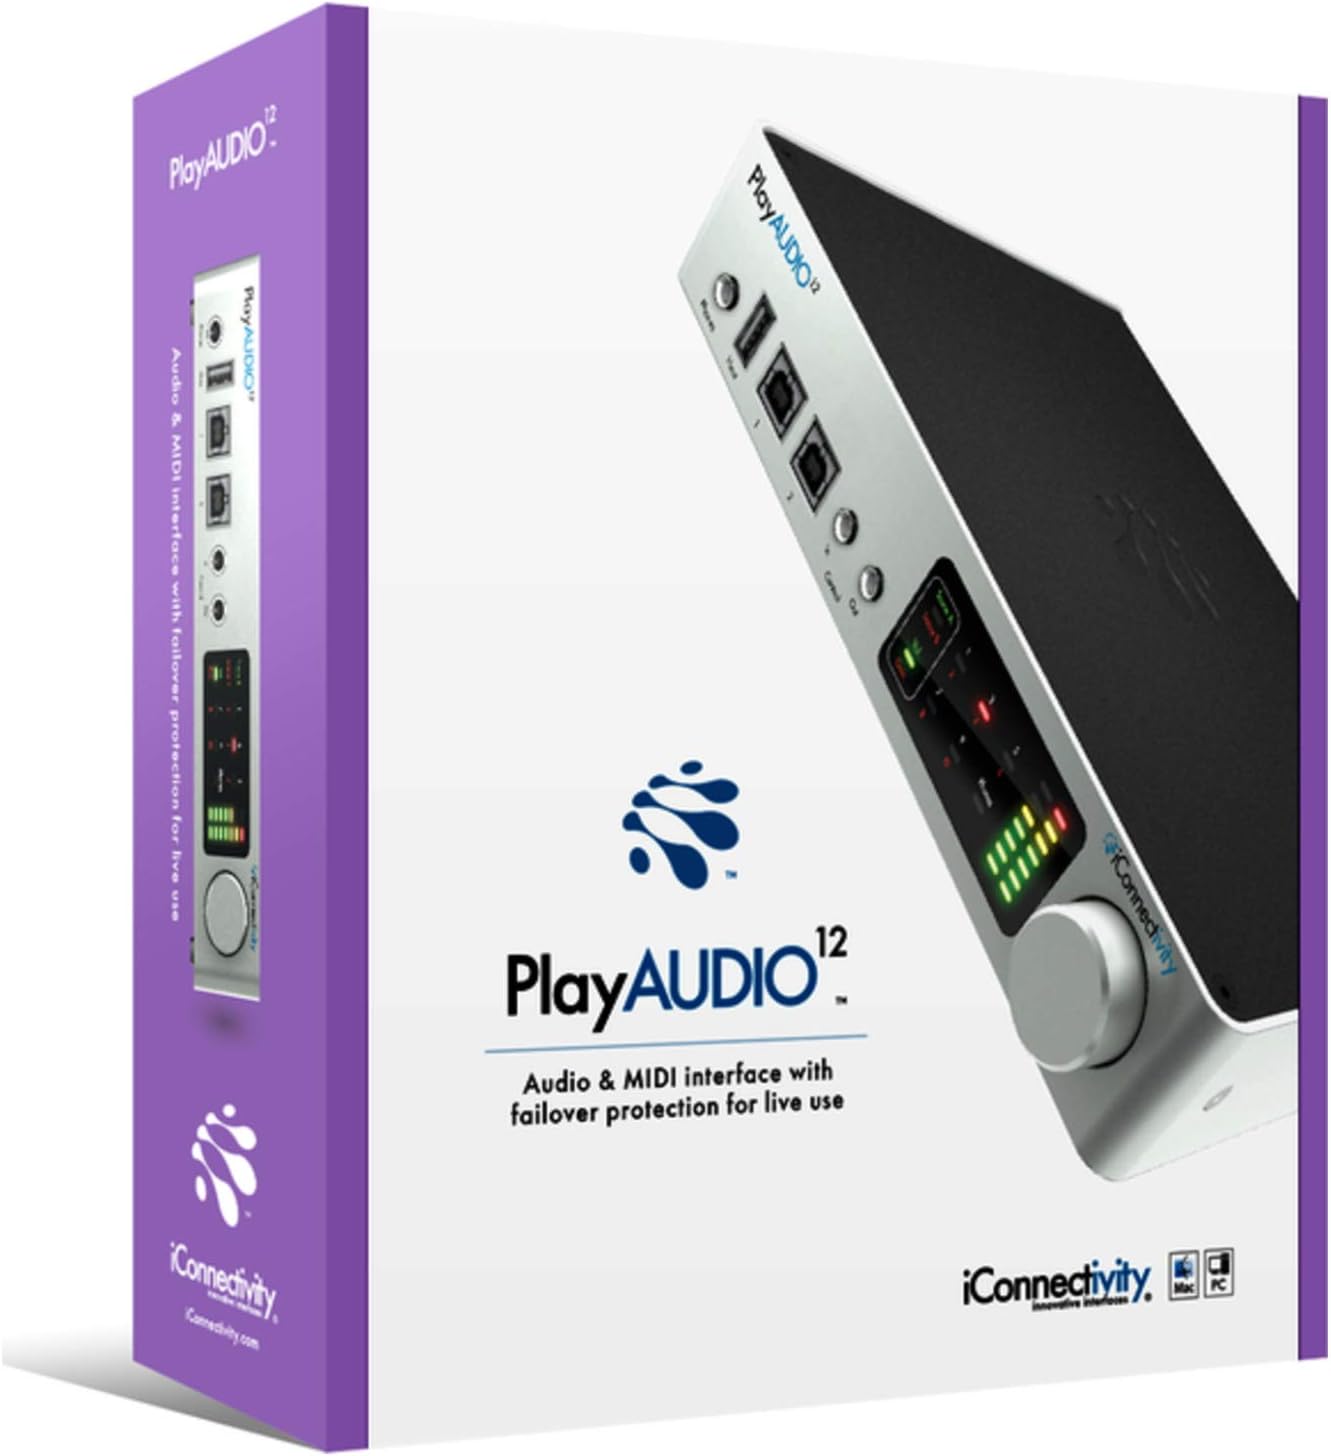
Figure 2.1: The PlayAUDIO12 packaging, ensuring safe transport and clear branding.
2.2. デバイスの接続
Follow these steps to connect your PlayAUDIO12 to your computer and audio system:
- 電源接続: Connect the included power adapter to the DC input on the rear panel of the PlayAUDIO12 and then to a power outlet.
- USB接続: Use the provided USB cables to connect the PlayAUDIO12's "Host 1" and "Host 2" USB ports to your computer(s). For failover protection, connect both ports to two separate computers.
- オーディオ出力: Connect your studio monitors, mixer, or PA system to the 12 ultra-low noise outputs on the rear panel using appropriate cables.
- 制御入力/出力: If using external footswitches or linking additional PlayAUDIO12 units, connect them to the "Control In" and "Control Out" ports on the front panel.

Figure 2.2: Rear panel connections of the PlayAUDIO12, detailing the 12 audio outputs and power input.
2.3. ソフトウェアのインストール
The PlayAUDIO12 is class-compliant on Windows, meaning no specific drivers are typically required for basic functionality. However, for advanced features and firmware updates, it is recommended to download and install the latest iConnectivity software from the official webサイト。
- Visit the official iConnectivity webサイト: www.iconnectivity.com
- Navigate to the Support or Downloads section for PlayAUDIO12.
- Download and install any available drivers, firmware updates, or control applications.
3. Operating the PlayAUDIO12
3.1. フロントパネルコントロール
The front panel of the PlayAUDIO12 features capacitive touch controls and clear metering for easy operation, even in low-light conditions.
- メータリング: Visual indicators for audio levels, allowing you to monitor your signals at a glance.
- 電話出力: Dedicated headphone output for monitoring.
- Host 1 / Host 2 Indicators: 現在アクティブなコンピューターを表示します。
- コントロール入力/出力: Ports for external footswitches or linking additional PlayAUDIO12 units.

図3.1: 角度付き view of the PlayAUDIO12, showcasing the front panel's capacitive touch controls and metering.
3.2. Computer Switching and Failover
The PlayAUDIO12 is designed for seamless computer switching, providing a robust failover solution for live performances. If one connected computer fails, the unit can automatically switch to the secondary computer, ensuring uninterrupted audio and MIDI flow.
- 自動切り替え: Configurable through the iConnectivity software to automatically switch based on signal loss or other parameters.
- 手動切り替え: Utilize the "Control In" footswitch input for manual computer switching, allowing for user-assignable controls.
3.3. MIDI Capabilities
Beyond its audio capabilities, the PlayAUDIO12 offers extensive MIDI connectivity, leveraging iConnectivity's expertise in MIDI technology. It can route MIDI data between connected computers, external MIDI devices, and software applications.
- MIDIルーティング: Flexible routing options for complex MIDI setups.
- MIDI Host Ports: Connect USB MIDI controllers and devices directly to the PlayAUDIO12.
3.4. Expanding Your Setup
For larger productions requiring more outputs, the PlayAUDIO12 can be linked with additional PlayAUDIO12 interfaces. Use the "Control Out" connection to slave additional units, expanding your connectivity as your production needs grow.
4. メンテナンス
Proper maintenance ensures the longevity and reliable performance of your PlayAUDIO12.
- クリーニング: デバイスの外装を清掃する際は、柔らかく乾いた布をご使用ください。研磨剤入りの洗剤や溶剤は使用しないでください。
- ストレージ: 使用しないときは、デバイスを直射日光や極端な温度を避け、涼しく乾燥した場所に保管してください。
- ファームウェアの更新: Regularly check the iConnectivity webファームウェアのアップデートについては、こちらのサイトをご覧ください。デバイスのファームウェアを最新の状態に保つことで、パフォーマンスの向上、新機能の追加、潜在的な問題の解決が可能になります。
5。 トラブルシューティング
If you encounter issues with your PlayAUDIO12, refer to the following common troubleshooting steps:
- オーディオ出力なし:
- すべてのオーディオ ケーブルがしっかりと接続されていることを確認します。
- Check the volume levels on the PlayAUDIO12, your computer, and your audio system.
- Ensure the correct audio output device is selected in your computer's sound settings and DAW.
- コンピュータがデバイスを認識しない:
- コンピューターの別のUSBポートに接続してみてください。
- Ensure USB cables are not damaged.
- Restart your computer and the PlayAUDIO12.
- Verify that the necessary drivers or software are installed (if applicable).
- MIDIの問題:
- Check MIDI routing settings within your DAW or iConnectivity software.
- Ensure MIDI devices are properly connected and powered.
- 断続的な接続:
- Ensure power supply is stable.
- Avoid using unpowered USB hubs.
For more complex issues, consult the detailed troubleshooting guide on the iConnectivity webサイトをご覧いただくか、カスタマー サポートにお問い合わせください。
6. 仕様
| 特徴 | 詳細 |
|---|---|
| モデル番号 | オーディオ12 |
| アイテム重量 | 2.29ポンド |
| 製品寸法 | 3 x 3 x 3インチ |
| 接続技術 | USB |
| チャンネル数 | 12 |
| サポートされているソフトウェア | Windows (class compliant) |
| オペレーティング·システム | ウィンドウズ |
| 対応デバイス | パソコン |
| AD / DA変換 | 最大24ビット/96kHz |
7. 保証とサポート
7.1. 保証情報
iConnectivity products typically come with a limited manufacturer's warranty covering defects in materials and workmanship. Please refer to the warranty card included with your product or visit the official iConnectivity web最新かつ詳細な保証条件については、こちらのサイトをご覧ください。
注記: Warranty terms may vary by region and retailer. Keep your proof of purchase for warranty claims.
7.2. カスタマーサポート
For technical assistance, product registration, or further inquiries, please contact iConnectivity customer support through their official channels:
- Webサイト: www.iconnectivity.com/support
- オンラインリソース: FAQs, knowledge base, and user forums may be available on their webサイト。
When contacting support, please have your product model (AUDIO12) and serial number ready.


