導入
The Cooler Master Hyper 212 LED CPU Cooler is designed to provide efficient cooling for your desktop processor. Featuring a 120mm XtraFlo 'Fire Red' LED PWM fan and four direct contact copper heat pipes, this cooler offers a balanced performance between cooling efficiency and low noise operation. Its universal mounting system ensures compatibility with a wide range of Intel sockets.
Please read this manual carefully before installation and use to ensure proper setup and optimal performance.
パッケージ内容
以下にリストされているすべてのアイテムがパッケージに含まれていることを確認してください。
- 1 x Cooler Master Hyper 212 LED CPU Cooler Unit
- 1 x Mounting Kit (for Intel sockets)
- 1 x Thermal Grease Pack
- ユーザーマニュアル x 1

Image: Illustrative view of the Cooler Master Hyper 212 LED CPU Cooler and its main components.
セットアップとインストール
This cooler is compatible with Intel sockets: LGA 2066, 2011-v3, 2011, 1156, 1155, 1151, 1150, 1366, and 775. The installation process involves securing the backplate, applying thermal paste, mounting the heatsink, and attaching the fan.
- マザーボードを準備します。 Ensure your motherboard is removed from the PC case if necessary for backplate installation. Identify the correct mounting holes for your Intel socket type.
- バックプレートの取り付け: Attach the universal Intel backplate to the rear of your motherboard, aligning the screws with the appropriate holes.
- サーマルペーストを塗布します。 Clean the CPU surface and apply a small amount of thermal grease (included) to the center of the CPU. Spread it evenly or allow the cooler's pressure to distribute it.
- ヒートシンクの取り付け: Carefully place the heatsink onto the CPU, ensuring the direct contact heat pipes make full contact. Secure the heatsink using the provided mounting brackets and screws, tightening them in a diagonal pattern until snug. Do not overtighten.
- ファンを取り付ける: Use the quick-snap fan brackets to attach the 120mm XtraFlo fan to the heatsink. Ensure the fan is oriented to blow air through the heatsink fins towards the rear of your PC case.
- ファンケーブルを接続します: 4 ピン PWM ファン ケーブルをマザーボードの CPU_FAN ヘッダーに接続します。

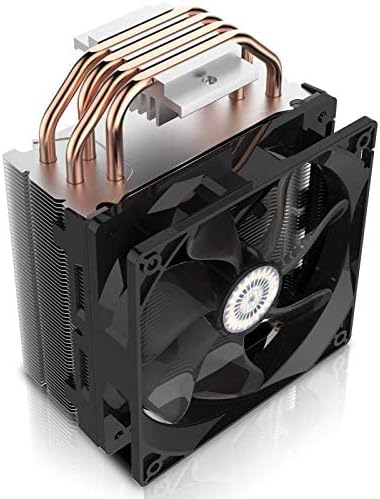
画像: サイド view of the cooler, showing the copper heat pipes extending from the base through the aluminum fins.
操作手順
The Cooler Master Hyper 212 LED CPU Cooler operates automatically once connected to the motherboard's CPU_FAN header. The 4-pin PWM fan allows your motherboard to dynamically control the fan speed based on CPU temperature, optimizing for both cooling performance and noise levels.
- 自動速度制御: The fan speed will adjust between 600 and 1600 RPM (±10%) depending on the CPU load and temperature.
- LED照明: The 'Fire Red' LEDs on the fan will illuminate when the fan is operating, providing aesthetic lighting inside your PC case.
- BIOS/UEFI設定: You can fine-tune fan control settings through your motherboard's BIOS/UEFI interface for custom performance profiles, if desired.
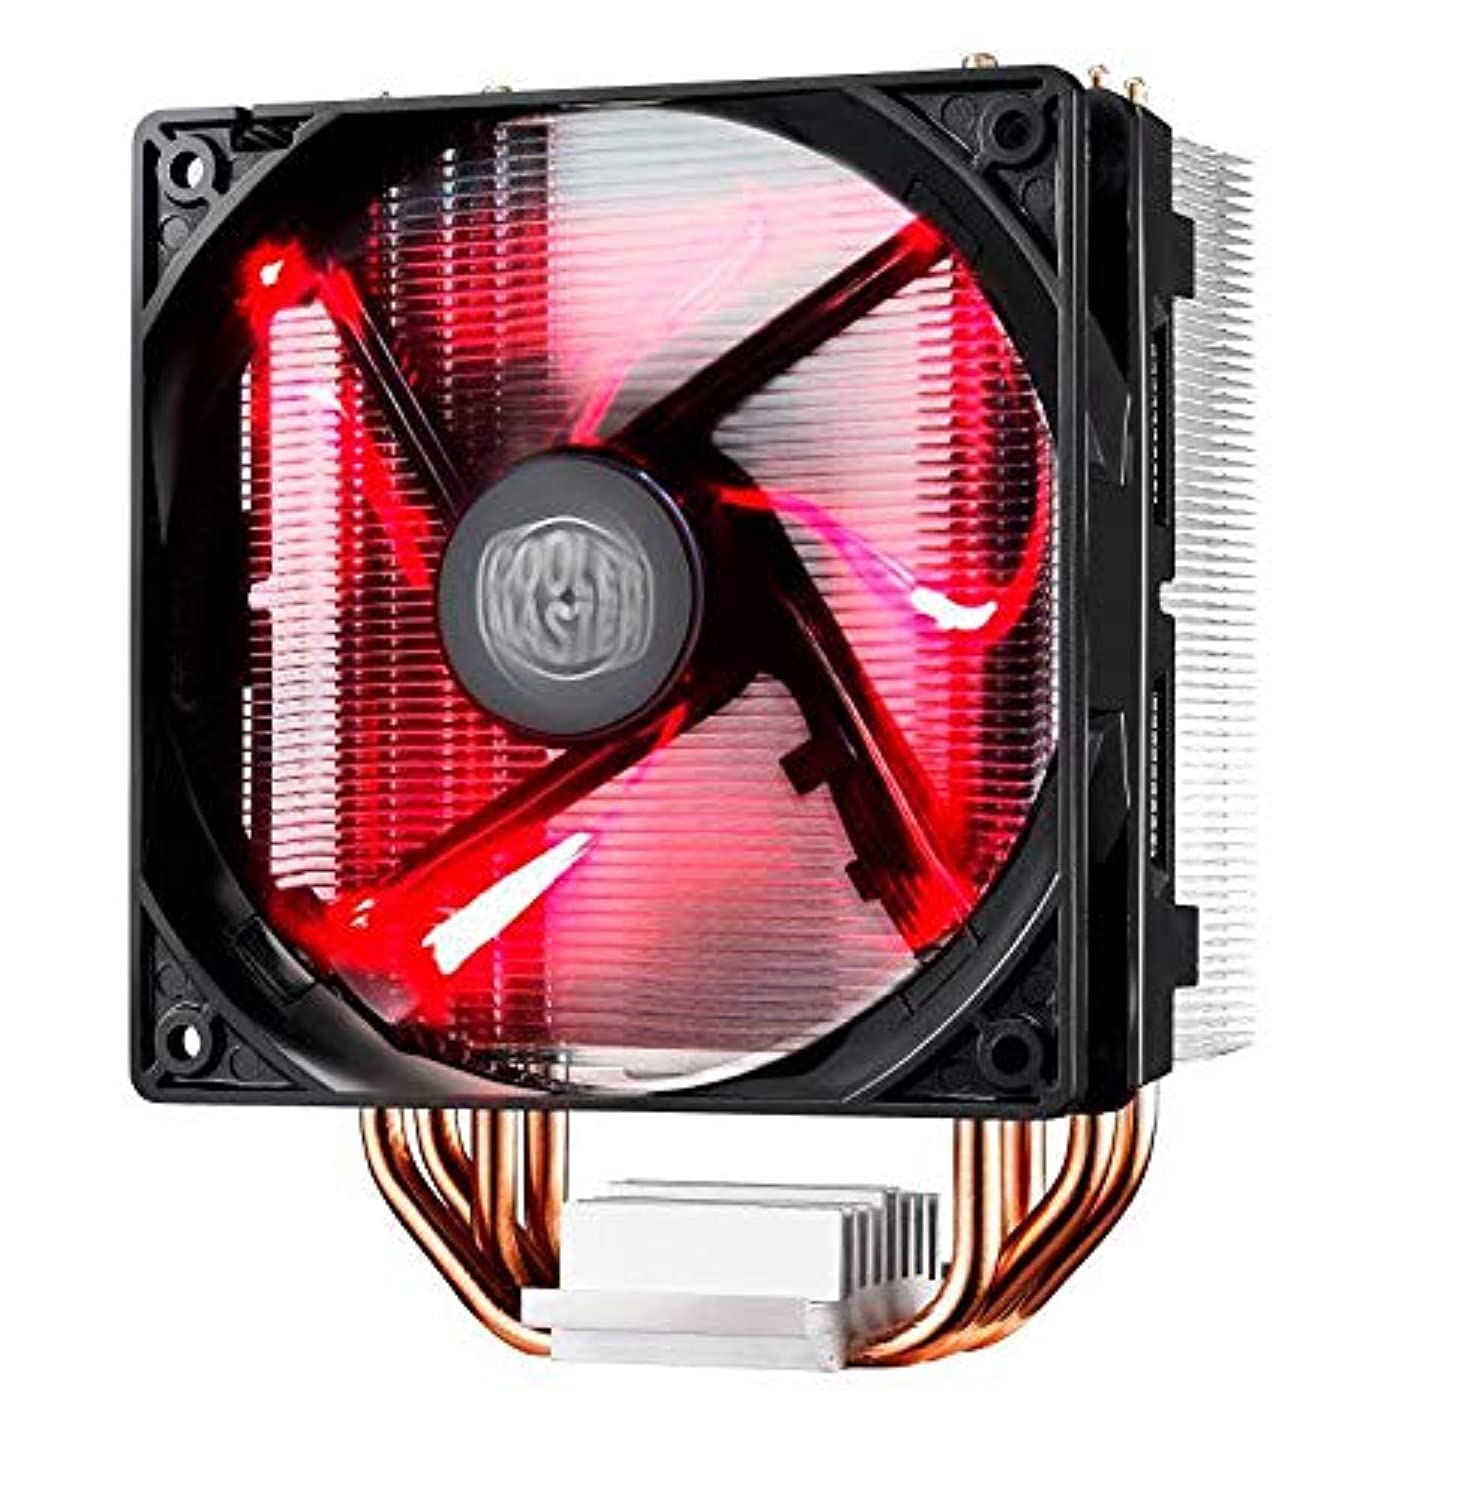
Image: The Cooler Master Hyper 212 LED CPU Cooler with its 'Fire Red' LED fan glowing.
メンテナンス
定期的なメンテナンスにより、最適な冷却性能が確保され、CPU クーラーの寿命が延びます。
- ほこりの除去: Periodically clean dust from the heatsink fins and fan blades using compressed air or a soft brush. Ensure the fan is powered off before cleaning.
- Fan Cleaning/Replacement: The quick-snap fan bracket allows for easy removal of the fan for thorough cleaning or replacement if needed. Gently unclip the fan from the heatsink, clean, and reattach.
- サーマルペースト: If you remove the heatsink for any reason, it is recommended to clean off the old thermal paste from both the CPU and the cooler base and apply a fresh layer before reinstallation.
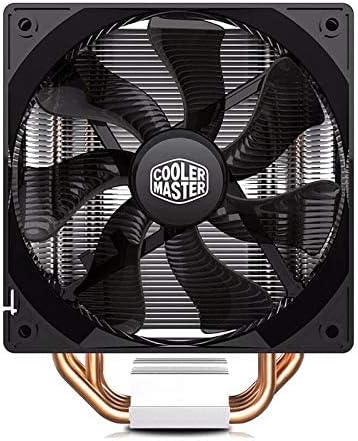
画像: 正面 view of the 120mm XtraFlo fan, showing its blade design.
トラブルシューティング
| 問題 | 考えられる原因 | 解決 |
|---|---|---|
| 高いCPU温度 |
|
|
| ファンの騒音が大きすぎる |
|
|
| Cooler Does Not Fit in Case |
仕様
| 特徴 | 詳細 |
|---|---|
| 製品モデル | RR-212L-16PR-R1 |
| 互換性のあるソケット | Intel LGA 2066 / 2011-v3 / 2011 / 1156 / 1155 / 1151 / 1150 / 1366 / 775 |
| 全体寸法(長さ x 幅 x 高さ) | 120 x 84 x 160 mm (4.7 x 3.3 x 6.3 インチ) |
| 総重量 | 705 g (1.55 ポンド) |
| ヒートシンク寸法(長さ x 幅 x 高さ) | 116 x 60 x 160 mm (4.6 x 2.4 x 6.3 インチ) |
| ヒートシンク材質 | 4 Direct Contact Copper Heat Pipes, Aluminum Fins |
| Heat Pipe Dimensions | Ø6mm |
| ファン寸法(長さ x 幅 x 高さ) | 120 x 120 x 25 mm(4.7 x 4.7 x 1インチ) |
| ファン速度 | 600 - 1600 RPM (PWM) ±10% |
| ファンの気流 | 66.3 CFM ±10% (@ 1600RPM) |
| ファン空気圧 | 1.7 mm H2O ±10% (@ 1600RPM) |
| ファンの寿命 | 40,000時間 |
| ファンの騒音レベル | 9~31dB |
| ベアリングタイプ | ライフルベアリング |
| 電源コネクタ | 4ピンPWM |
| ファン定格巻tage | 12VDC |
| 定格電流 | 0.19A |
| 消費電力 | 2.28ワット |
画像: トップダウン view of the heatsink, showing the aluminum fins and the ends of the copper heat pipes.
保証とサポート
保証情報およびテクニカルサポートについては、Cooler Masterの公式ウェブサイトをご覧ください。 web購入サイトをご覧いただくか、カスタマーサービス部門にお問い合わせください。購入証明書としてレシートを保管してください。
クーラーマスター公式 Webサイト: www.coolermaster.com