
Kerbl B 480
Kerbl TITAN B 480 Electric Fence Energizer Instruction Manual
Model: B 480 | Article No.: 392504
導入
This manual provides essential instructions for the safe and efficient operation of your Kerbl TITAN B 480 electric fence energizer. Please read these instructions carefully before installation and use to ensure proper function and to prevent injury or damage. The Kerbl TITAN B 480 is a highly efficient 9V battery-powered energizer designed for pasture fences with light to medium vegetation, suitable for standard fence applications.
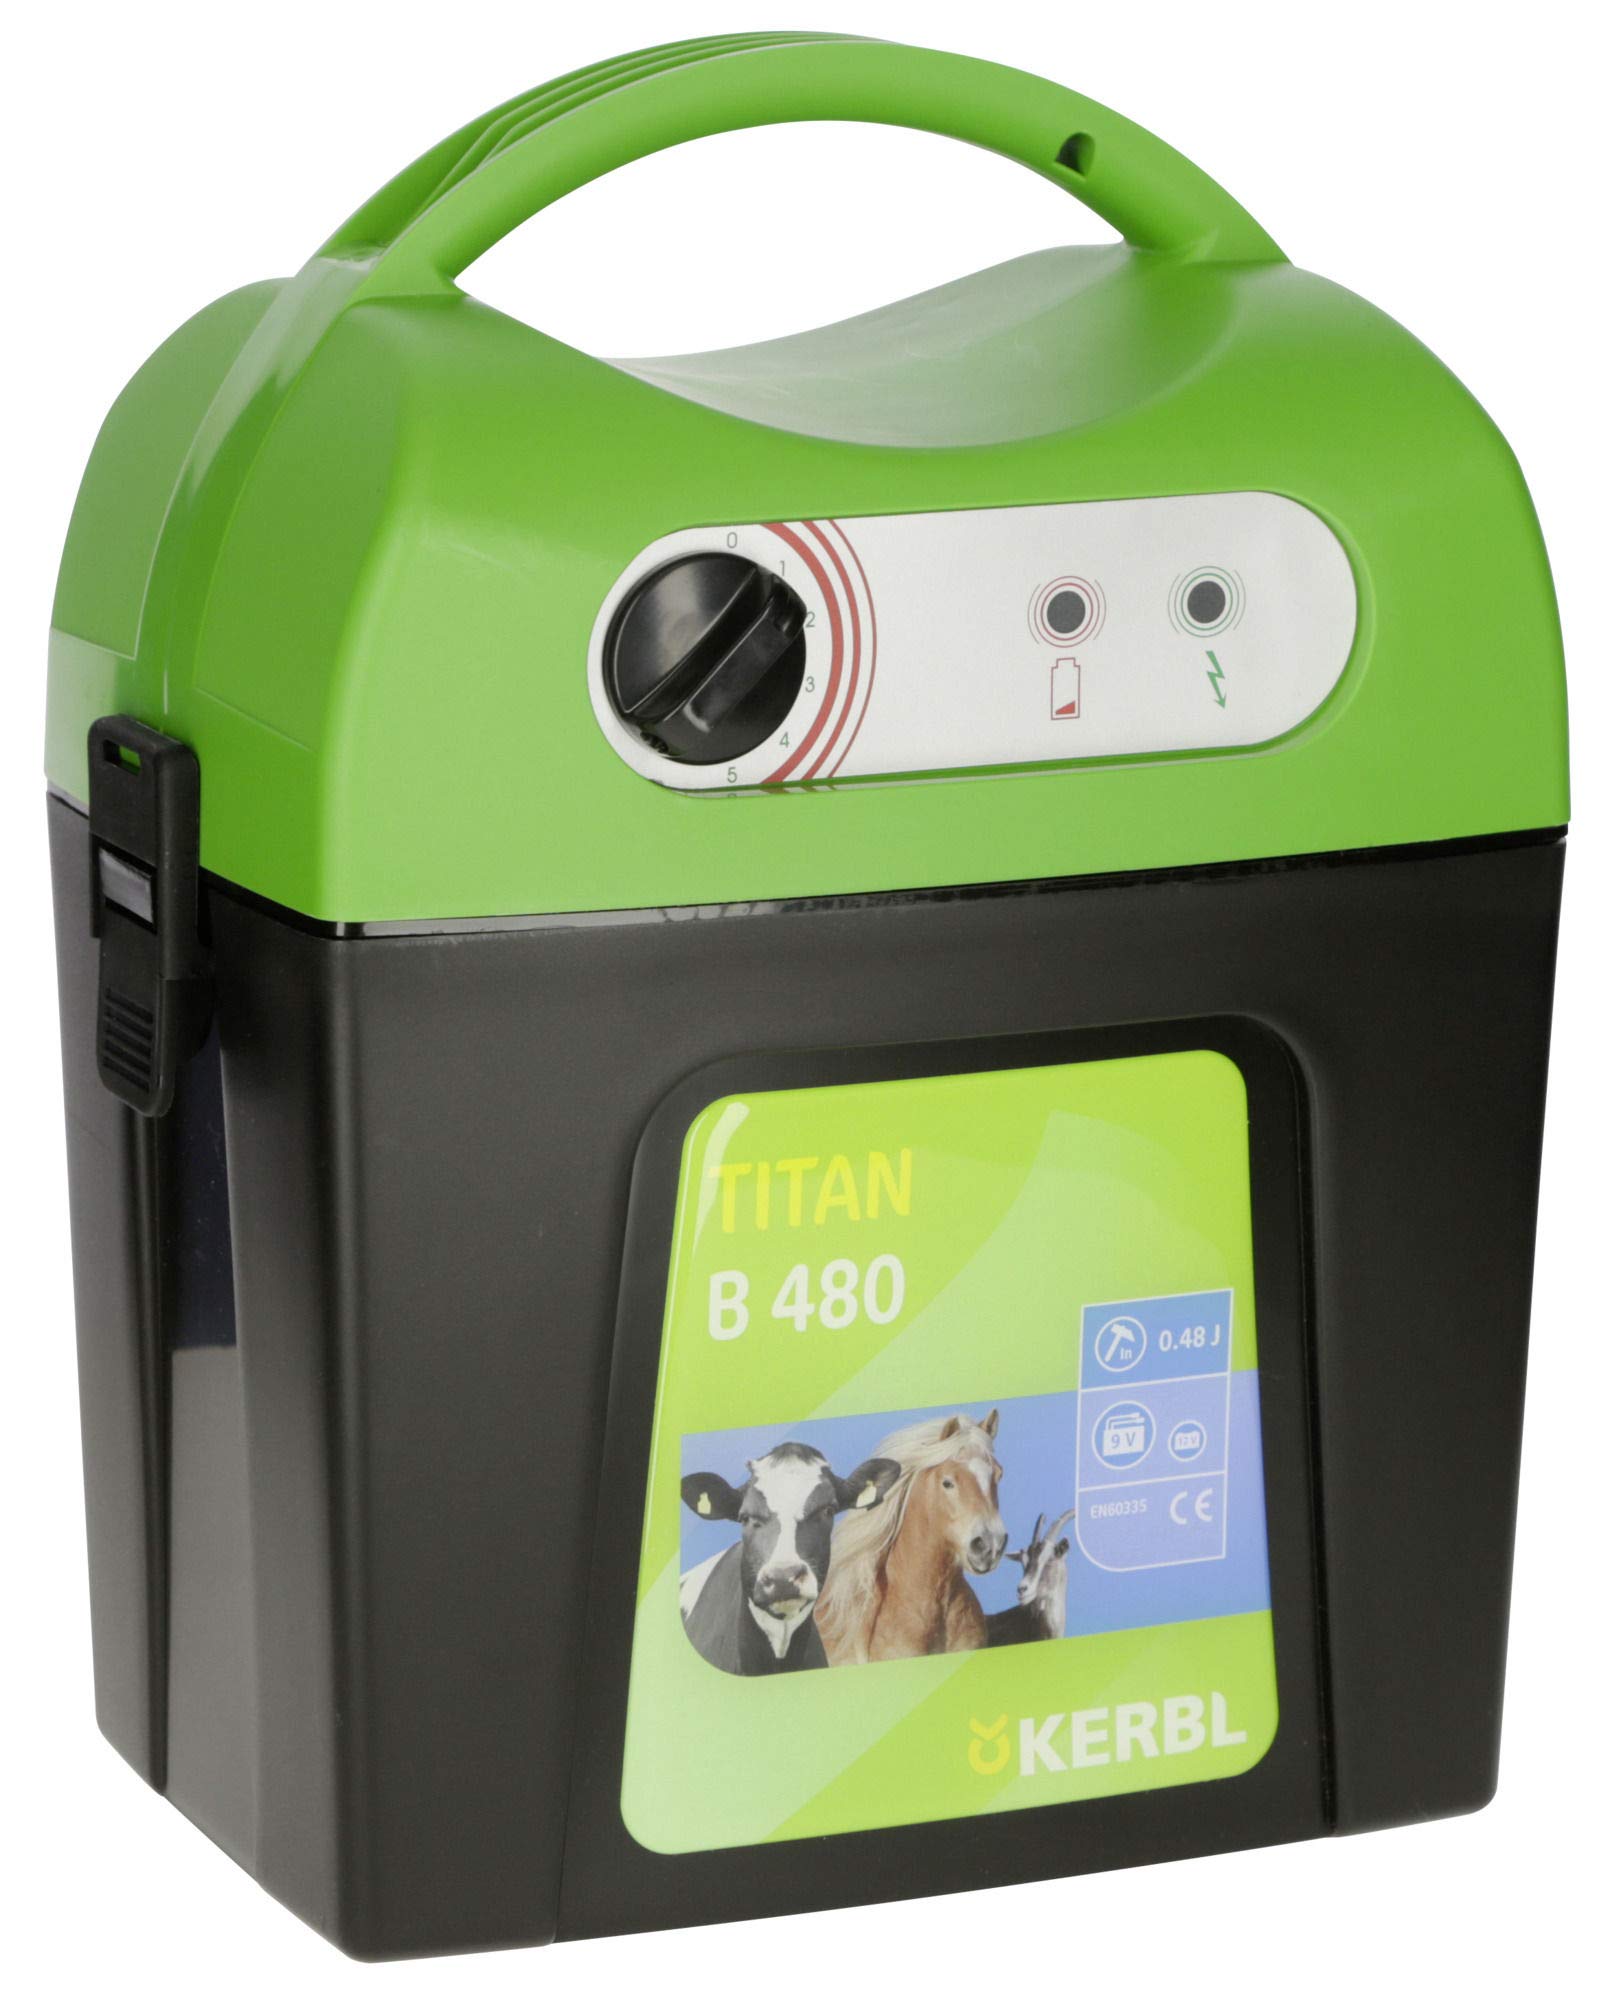
Image: The main unit of the Kerbl TITAN B 480 electric fence energizer, showing its compact design.
安全に関する注意事項
- Always disconnect the energizer from the battery before performing any maintenance or adjustments.
- Do not install the energizer in wet or damp conditions unless specifically designed for such environments.
- Ensure all fence connections are secure and insulated to prevent accidental shocks.
- 子供や関係者以外の人を電気柵のそばに近づけないでください。
- Install warning signs at appropriate intervals along the fence line, as required by local regulations. A warning sign is included with your purchase.
- Do not connect more than one energizer to the same fence system.
- Avoid touching the fence with bare hands or wet clothing.
設定
- 開梱: Carefully remove all components from the packaging. Verify that all parts listed in the "Contents" section are present.
- バッテリーの取り付け: The Kerbl TITAN B 480 operates on a 9V battery (not included). Open the battery compartment, insert the 9V battery, ensuring correct polarity. Close the compartment securely.
- 接地: Connect the included ground connection cable to the energizer's ground terminal (usually marked with a ground symbol or "EARTH"). Drive a suitable ground rod (minimum 1 meter in length, not included) into the earth at least 10 meters away from any other grounding systems (e.g., building foundations, water pipes). Connect the other end of the ground cable to the ground rod. Ensure a good electrical connection.
- フェンス接続: Connect the included fence connection cable to the energizer's fence terminal (usually marked with a lightning bolt or "FENCE"). Connect the other end of this cable to your electric fence line. Ensure the fence line is properly installed and insulated from posts and vegetation.
- 取り付け: Mount the energizer in a dry, protected location, away from direct sunlight and rain. Use appropriate mounting hardware (not included) to secure it firmly.

Image: The Kerbl TITAN B 480 energizer showing its terminals for fence and ground connections, along with the included cables.
オペレーティング
Once the energizer is properly installed and connected, it will begin operation automatically when the battery is inserted. There is no separate on/off switch.
- フェンスVol。tage Control LED: The energizer features an optical control LED for fence voltage. A flashing green LED indicates that the fence is operating correctly and producing sufficient voltage.
- バッテリー巻tage Control LED: A separate LED monitors the battery voltage. This LED will flash red when the battery capacity drops to approximately 40% remaining, indicating that the battery should be replaced soon.
Regularly check both LEDs to ensure continuous and effective operation of your electric fence.
メンテナンス
- バッテリー交換: バッテリーの容量がtage control LED flashes red, replace the 9V battery. Disconnect the energizer from the fence and ground, open the battery compartment, replace the old battery with a new 9V battery, ensuring correct polarity, and close the compartment. Reconnect the fence and ground cables.
- クリーニング: Periodically clean the energizer casin広告付きgamp cloth. Do not use abrasive cleaners or immerse the unit in water. Ensure terminals are free of dirt and corrosion.
- 接続チェック: Regularly inspect all connections (fence, ground, battery) for corrosion, damage, or looseness. Ensure they are secure and making good contact.
- Vegetation Control: Keep vegetation clear from the fence line. Excessive vegetation can reduce fence voltage and drain the battery more quickly.
トラブルシューティング
| 問題 | 考えられる原因 | 解決 |
|---|---|---|
| フェンスvoltage control LED is not flashing or flashing weakly. |
|
|
| バッテリーvoltage control LED flashes red shortly after battery replacement. |
|
|
| No power output from the energizer. |
|
|
仕様
The following table provides the technical specifications for the Kerbl TITAN B 480 electric fence energizer:
| 特性 | 価値 |
|---|---|
| モデル | B480 XNUMX XNUMX XNUMX XNUMX XNUMX XNUMX XNUMX XNUMX XNUMX XNUMX XNUMX XNUMX |
| 記事番号 | 392504 |
| Charge Energy (In) | 0.48 ジェフ |
| Discharge Energy (Out max) | 0.30 ジェフ |
| マックスVoltage | 11,000ボルト |
| 無負荷ボリュームtage | 10,000ボルト |
| 巻tage at 500 Ohm | 3,300ボルト |
| Theoretical Fence Length | 8.5キロ |
| Max Fence Length (light vegetation) | 4.5キロ |
| Max Fence Length (medium vegetation) | 1.5キロ |
| Required Ground Rods (1m) | 1 |
| 消費電力 | 14~36mA |
| メーカー | アルバートKerblGmbH |
| 寸法(パッケージ) | 39.9 x 29.3 x 19.6 cm |
| 重量(パッケージ) | 2.56キロ |
| 原産国 | ドイツ |
保証とサポート
For warranty information and customer support, please refer to the retailer where the product was purchased or contact Kerbl directly. Information regarding spare parts availability is not provided in this manual. Please retain your proof of purchase for any warranty claims.
The product is subject to a return policy of 30 days from the date of purchase, as per the retailer's terms.
Ask a question about this manual
Ask about setup, troubleshooting, compatibility, parts, safety, or missing instructions. Manuals+ will review the question and use this page’s manual context to help answer it.