1. はじめに
This manual provides essential information for the safe and efficient operation of your Masterbuilt 40-inch ThermoTemp Propane Gas Vertical Smoker. Please read all instructions carefully before assembly, setup, and use. Proper use and maintenance will ensure optimal performance and longevity of your smoker.

画像: 正面 view of the Masterbuilt 40-inch ThermoTemp Propane Gas Vertical Smoker with the main door open, revealing the internal chrome-coated racks, water bowl, and wood chip tray.
2. 安全情報
Always operate the smoker outdoors in a well-ventilated area. Keep children and pets away from the smoker. Ensure the smoker is placed on a level, non-combustible surface. Do not store or use gasoline or other flammable vapors and liquids in the vicinity of this or any other appliance. Always check for gas leaks before each use by applying a soapy water solution to connections; bubbles indicate a leak.
Video: An official Masterbuilt video demonstrating the features and safe operation of the ThermoTemp Smoker, including connecting the propane tank and using the temperature control.
3. 組み立て
Refer to the detailed assembly instructions provided in the product packaging. Ensure all components are securely fastened before use. Assembly typically requires basic tools and can take approximately 2 hours. Verify all gas connections are tight and free of leaks.
4. セットアップ
4.1 プロパンタンクの接続
- コントロールノブがオフの位置にあることを確認してください。
- Connect the propane hose to the gas cylinder valve.
- Tighten securely by hand. Do not use tools.
- Perform a leak test using soapy water on all connections.
4.2 スモーカーの味付け
Before initial use, season your smoker to remove manufacturing oils and odors. This process involves heating the smoker empty for a few hours. Follow the detailed seasoning instructions in your product manual.
5. 操作手順
5.1 スモーカーの点火
- スモーカーのドアを開けます。
- Turn the gas cylinder valve ON.
- Push and rotate the control knob counter-clockwise to the desired temperature setting (e.g., 175°F).
- Push the IGNITOR button while continuing to hold the control knob pressed in. The burner should ignite.
- If ignition does not occur within 5 seconds, turn the control knob to OFF, wait 5 minutes, and repeat the procedure.
- Once the burner has ignited, continue pressing the control knob for 5 seconds to activate the flame sensor.
画像: クローズアップ view of the Masterbuilt smoker's control panel, highlighting the orange temperature dial and the red ignitor button, with clear lighting instructions printed on the panel.
5.2 温度制御
The ThermoTemp technology allows you to set your desired smoking temperature up to 375°F using the adjustable temperature dial. The smoker will maintain this temperature consistently throughout your cook.
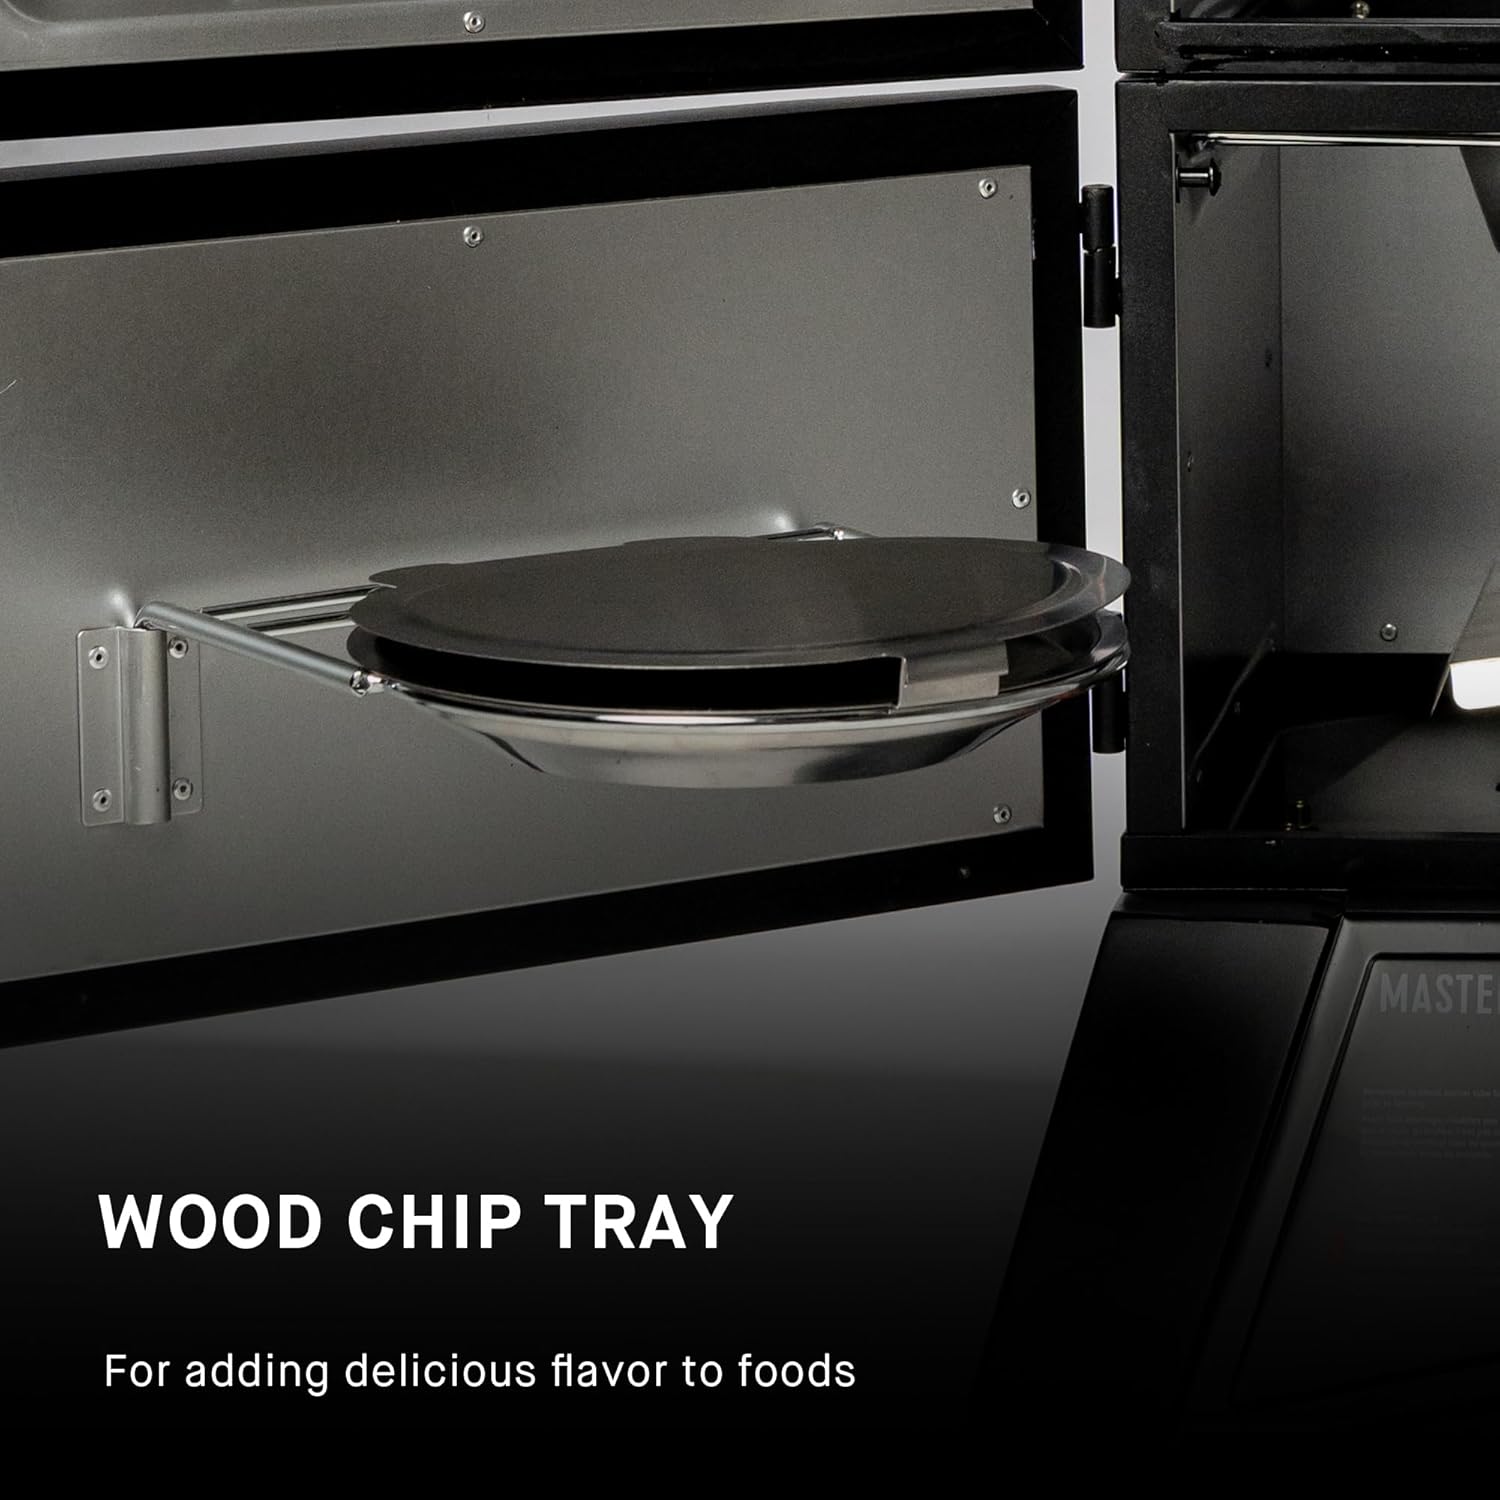
5.3 Adding Wood Chips and Water
Use the wood chip tray to add your preferred wood chips for smoky flavor. The removable water bowl adds moisture to your food and catches drippings. Ensure the water bowl is filled appropriately for longer cooks.
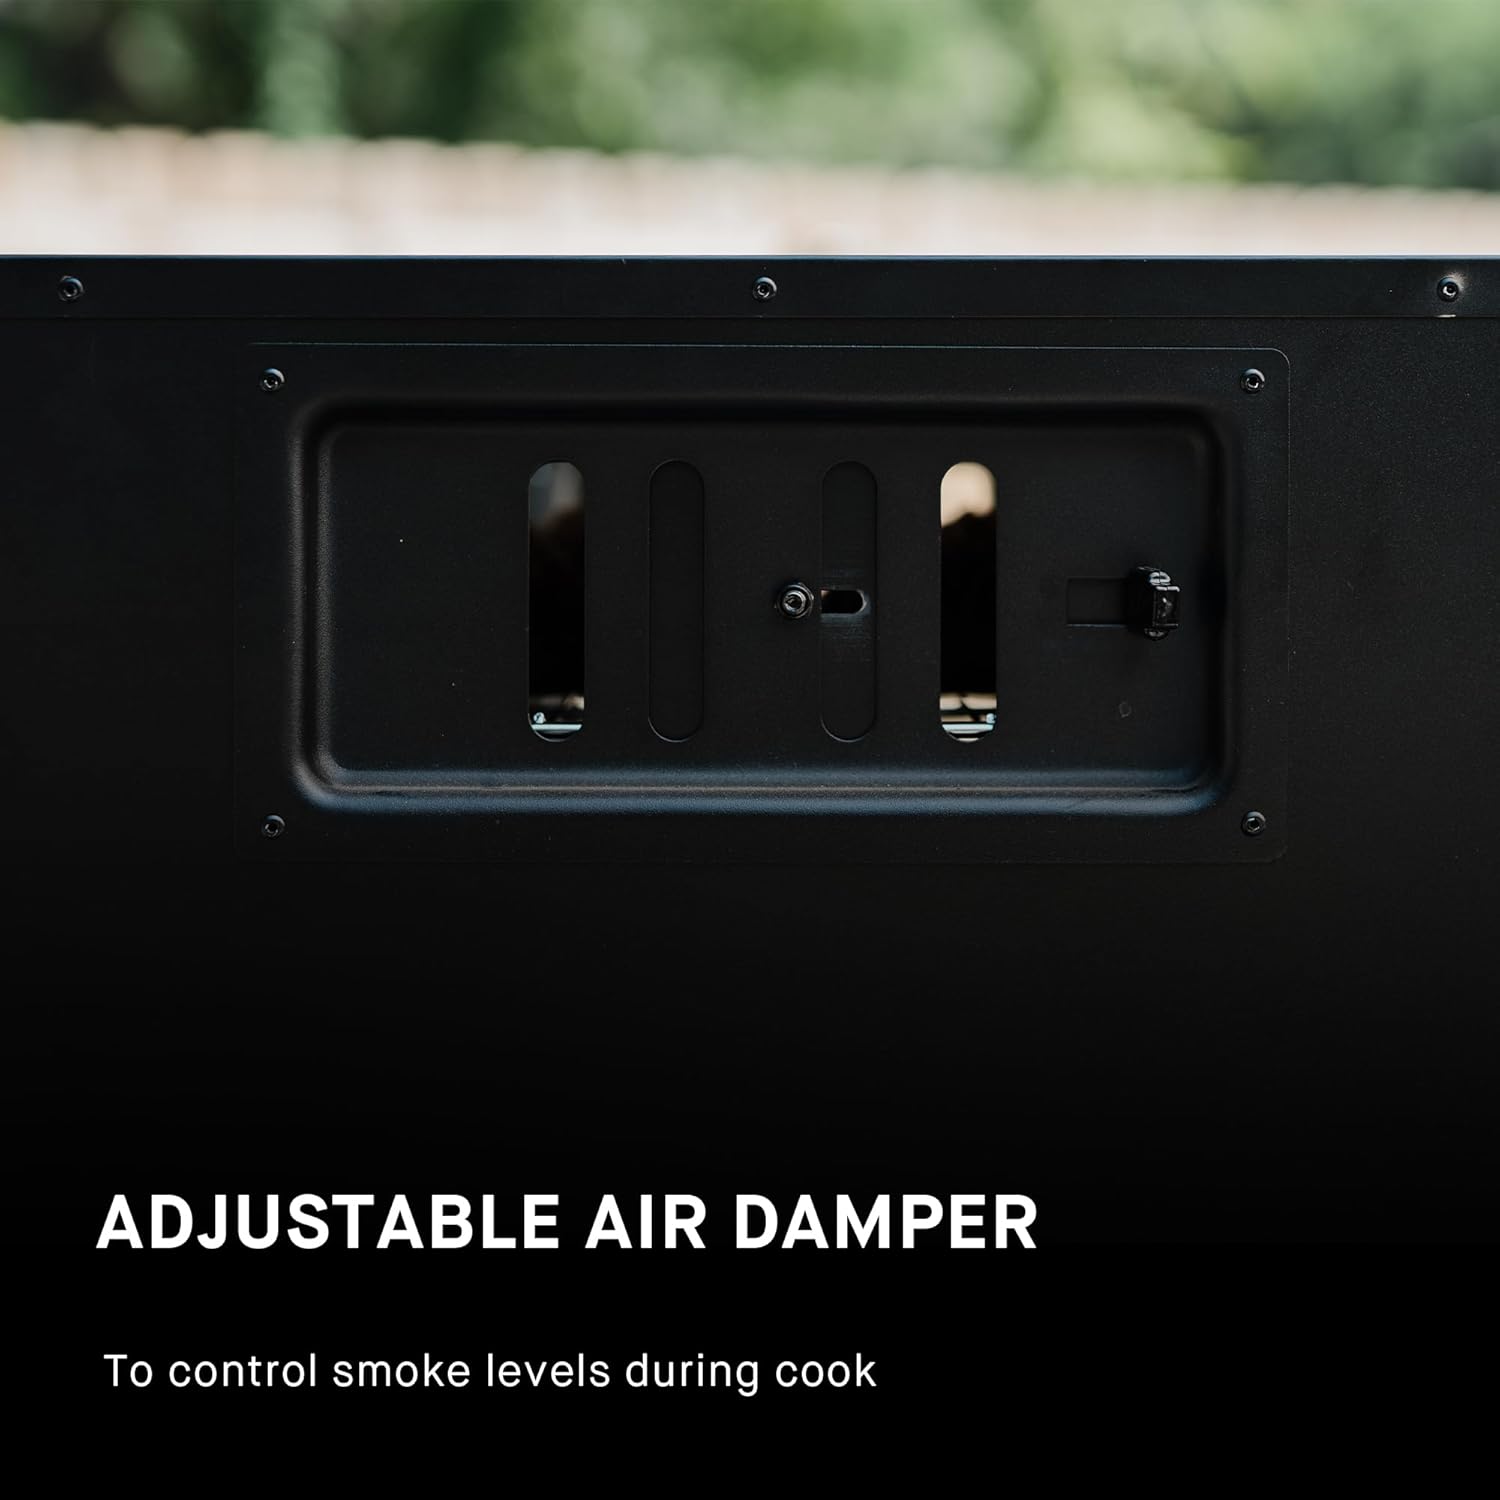
Image: A close-up of the Masterbuilt smoker's external wood chip tray, which slides out for convenient loading of wood chips without opening the main door.

Image: A close-up of the removable water bowl inside the Masterbuilt smoker, designed to hold water for moisture during smoking and to catch food drippings.
5.4 Smoke Control
調整可能な空気damper located at the top of the smoker allows you to control the amount of smoke released, enabling fine-tuning of flavor intensity.

Image: A close-up of the adjustable air damper on the top of the Masterbuilt smoker, which can be opened or closed to regulate smoke intensity during cooking.
6. メンテナンス
6.1 クリーニング
Regular cleaning is crucial for optimal performance and hygiene. After each use, allow the smoker to cool completely. Remove racks, water bowl, and wood chip tray for cleaning. Wash with warm, soapy water. Wipe down the interior and exterior with a damp 布で拭いてください。組み立てや保管の前に、すべての部品が乾いていることを確認してください。
6.2 ストレージ
Store the smoker in a dry, protected area when not in use. If storing outdoors, use a weather-resistant cover to protect it from the elements.
7。 トラブルシューティング
If you experience issues with your smoker, refer to the following common troubleshooting tips:
- Low Flame or Failure to Ignite: Ensure the propane tank valve is fully open. Check for blockages in the burner tube or gas line. Perform a leak test on all gas connections.
- 一貫性のない温度: Verify that the air damper is set correctly. Ensure the smoker door is properly latched to maintain heat. Check propane levels in the tank.
- 煙不足: Ensure wood chips are properly placed in the tray and are not overly wet. Adjust the air damper to retain more smoke.
For further assistance, contact Masterbuilt customer support.
8. 仕様
| 特徴 | 詳細 |
|---|---|
| モデル番号 | MB20051316 |
| 調理スペース | 960平方インチ |
| ラック | 4 chrome-coated smoking racks |
| 燃料の種類 | プロパンガス |
| 温度制御 | Analog, up to 375°F |
| 寸法(D x W x H) | 22.8インチ x 28.7インチ x 53インチ |
| アイテム重量 | 92 ポンド |
| 材料 | 合金鋼 |

Image: A visual representation of the Masterbuilt 40-inch ThermoTemp Propane Smoker's dimensions (Height 53", Depth 23", Width 29") and capacity, indicating it fits up to 4 turkeys, 4 pork butts, 6 chickens, or 8 racks of ribs.
9. 保証とサポート
For warranty information and customer support, please refer to the documentation included with your product or visit the official Masterbuilt webサイトでご確認ください。保証請求に備えて購入証明書を保管してください。