
1. はじめに
The StarTech.com SV231DPU34K is a 2-Port DisplayPort KVM Switch designed to allow control of two DisplayPort-enabled computers from a single monitor, keyboard, and mouse. This device supports high-resolution video up to 4K at 60Hz and includes an integrated USB 3.0 hub for sharing additional USB peripherals between connected systems. It also features 3.5mm analog audio switching and offers flexible control via front-panel push buttons or hotkey commands.
2. パッケージ内容
- 1x KVM Switch (SV231DPU34K)
- 1x Universal Power Adapter (NA/JP, EU, UK, ANZ)
- 4x Rubber Foot Pads
3.製品オーバーview
3.1フロントパネル
The front panel provides convenient access to a USB HID port, a USB 3.0 port, and selection buttons for switching between connected computers.

画像1: Front Panel of the SV231DPU34K KVM Switch. Features include a USB HID port, a USB 3.0 port, and two computer selection buttons (1 and 2) with a 'SELECT' button.
3.2 背面パネル
The rear panel houses the power input, console DisplayPort and USB HID ports, and dedicated DisplayPort, USB, and audio ports for each connected PC.
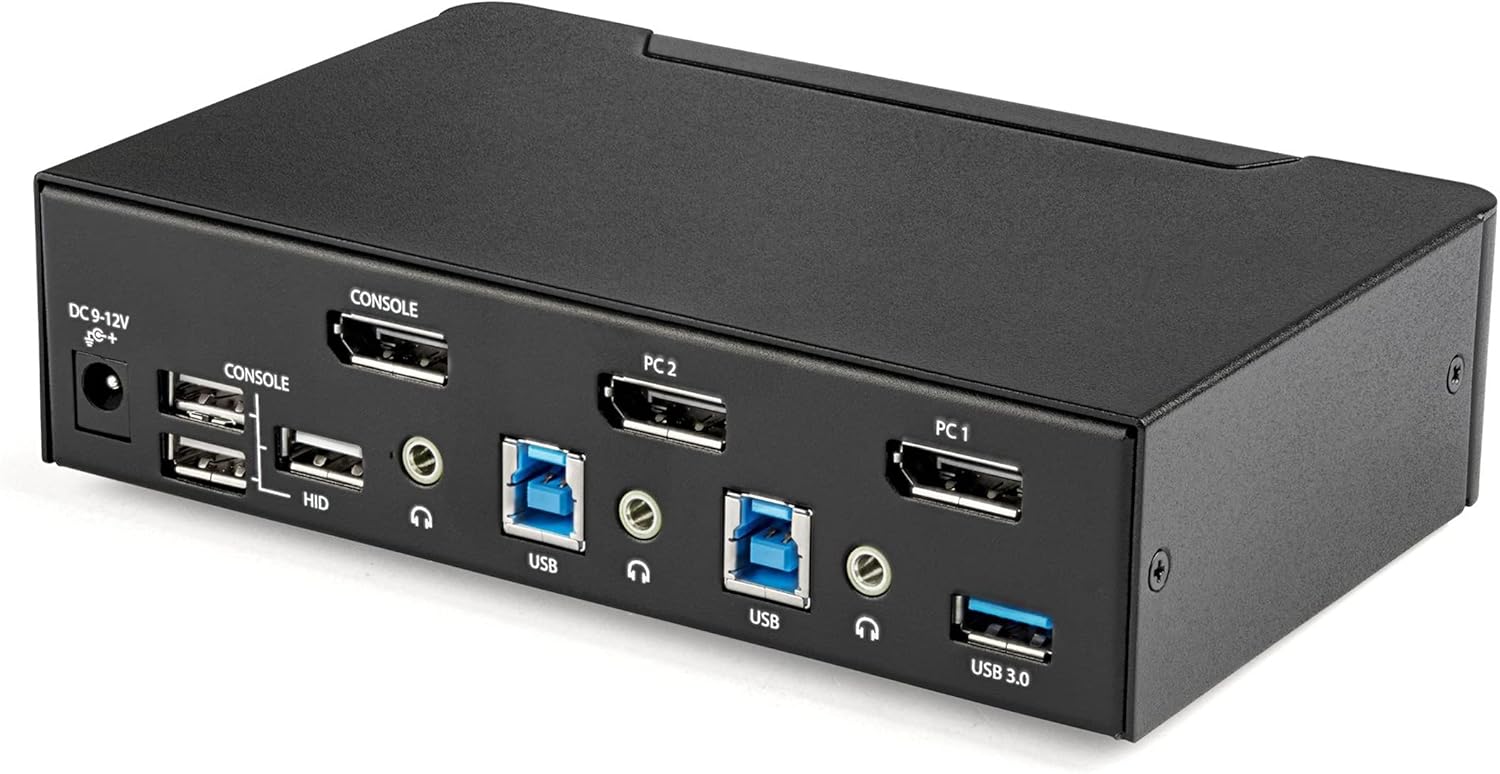
画像2: Rear Panel of the SV231DPU34K KVM Switch. Connections include DC 9-12V power, Console DisplayPort, Console USB HID ports, and individual DisplayPort, USB 3.0 Type-B, and 3.5mm audio jacks for PC1 and PC2.
3.3 Labeled Diagram
This diagram provides a comprehensive view of all ports and their functions on both the front and rear panels.

画像3: Labeled diagram illustrating all ports on the SV231DPU34K KVM Switch, including console connections for monitor, keyboard, and mouse, and PC connections for two computers.
4. セットアップ手順
Follow these steps to set up your StarTech.com SV231DPU34K KVM Switch:
- デバイスの電源を切ります: Ensure all computers, monitors, and peripherals are powered off before beginning the installation.
- コンソールデバイスを接続します。
- DisplayPortモニターを CONSOLE DisplayPort on the rear of the KVM switch.
- USBキーボードとマウスを CONSOLE HID USB Type-A ports on the rear of the KVM switch.
- If using external speakers or a microphone, connect them to the CONSOLE 3.5mm audio jacks 後部に。
- Connect Computers (PC1 and PC2): 各コンピュータについて:
- Connect a DisplayPort cable from your computer's DisplayPort output to the corresponding PC1 DisplayPort or PC2 DisplayPort input on the KVM switch.
- Connect a USB 3.0 Type-A to Type-B cable from your computer's USB 3.0 port to the corresponding PC1 USB 3.0 Type-B or PC2 USB 3.0 Type-B input on the KVM switch.
- If using audio, connect 3.5mm audio cables from your computer's audio output/input to the corresponding PC1/PC2 3.5mm audio jacks.
- USB周辺機器を接続する: Connect any additional USB 3.0 peripherals (e.g., USB hub, printer, flash drive) to the USB 3.0Type-Aポート on the front or rear of the KVM switch.
- 接続電源: Connect the included universal power adapter to the DC 9-12V電源入力 on the rear of the KVM switch, then plug it into a power outlet.
- 電源オン: Power on the KVM switch, then power on your monitor, and finally power on your connected computers.
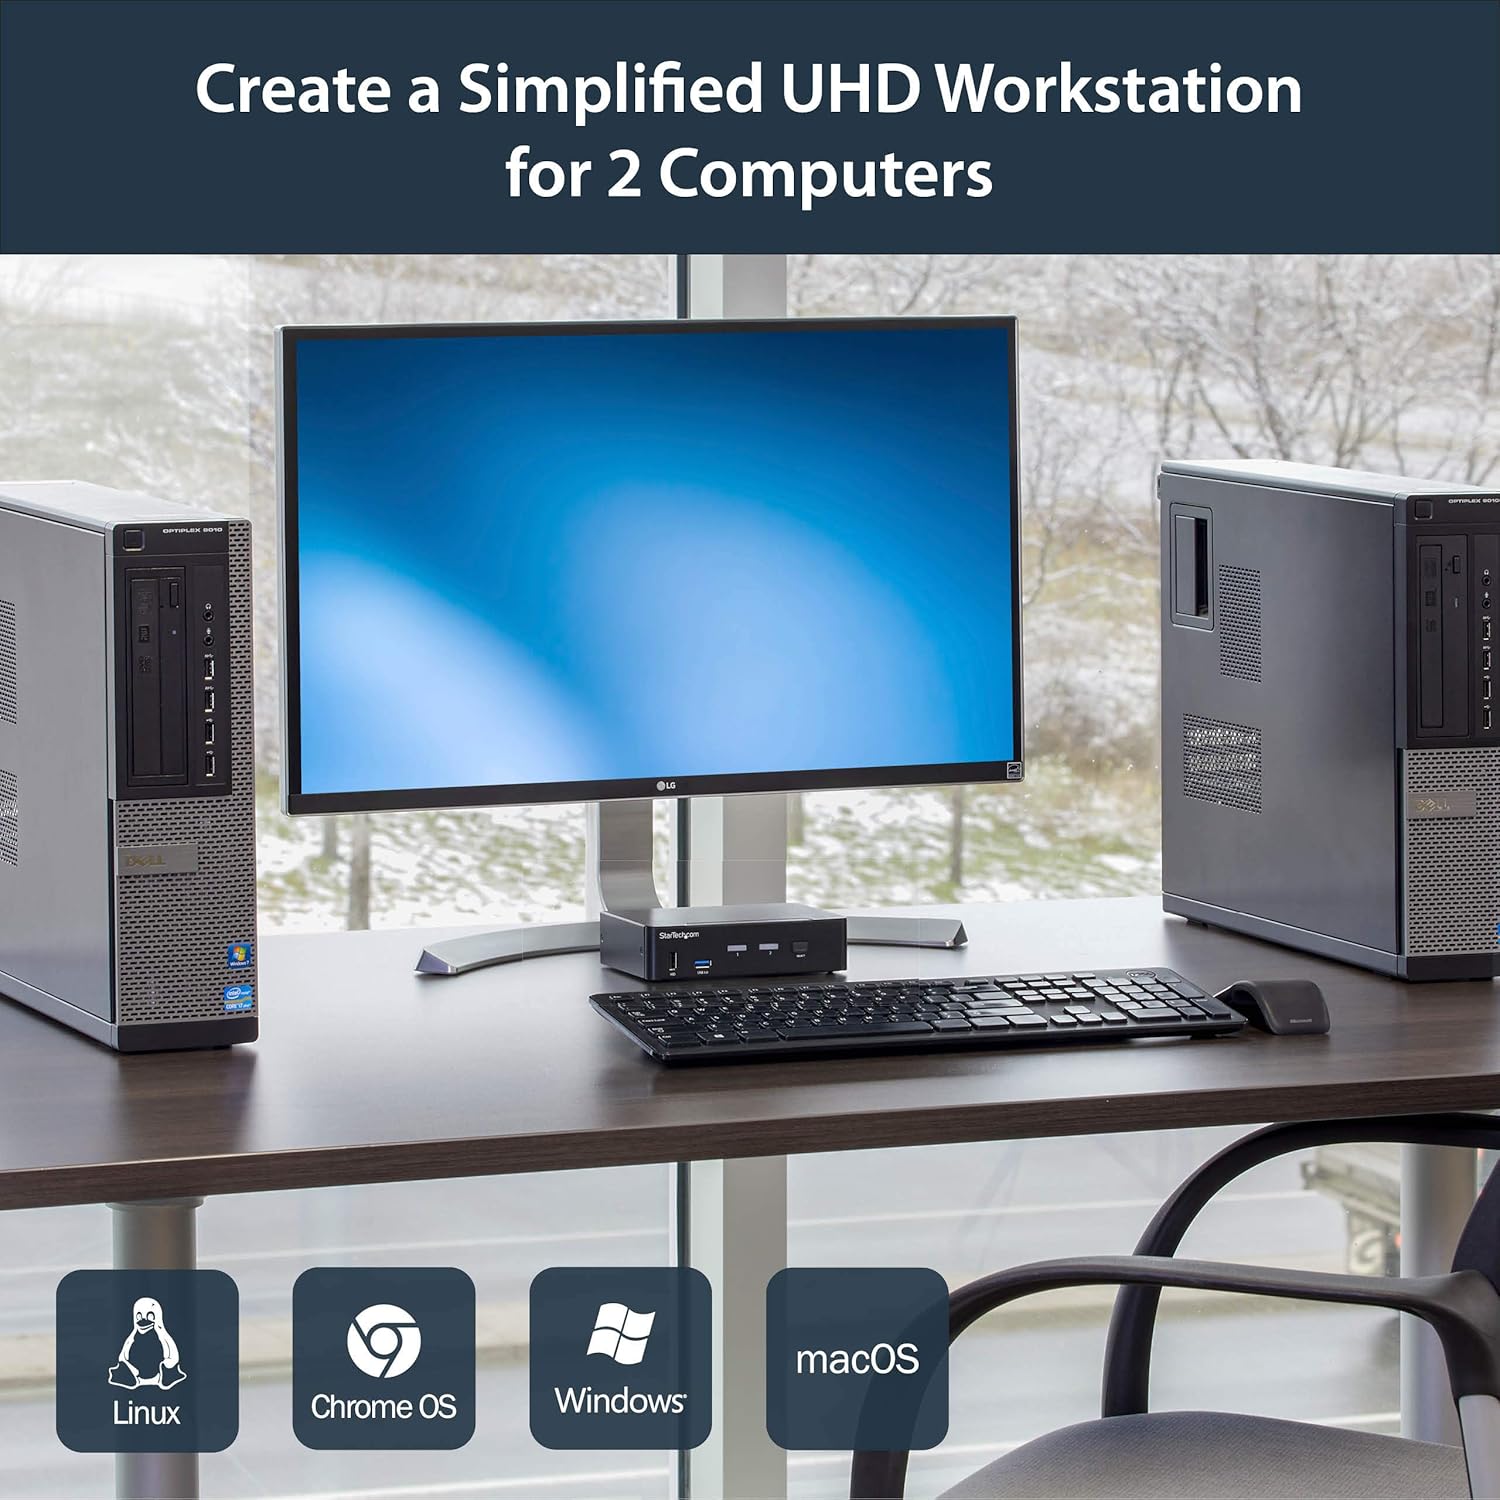
画像4: Connection diagram for the SV231DPU34K KVM Switch, showing how two computers share one display and peripherals.
5. 操作手順
The SV231DPU34K KVM Switch offers two methods for switching between connected computers:
5.1 Front Panel Push Buttons
対応するを押します 選択 button on the front panel of the KVM switch to switch to the desired computer (PC1 or PC2). The LED indicator for the selected computer will illuminate.
画像5: Front panel with computer selection buttons.
5.2 ホットキー切り替え
The KVM switch supports hotkey commands for switching between computers. Refer to the quick start guide or the official StarTech.com product page for specific hotkey sequences.
6. メンテナンス
To ensure optimal performance and longevity of your KVM switch, follow these maintenance guidelines:
- クリーニング: Keep the device clean and free from dust. Use a soft, dry, lint-free cloth for cleaning. Avoid using liquid or aerosol cleaners.
- 換気: Ensure adequate airflow around the KVM switch to prevent overheating. Do not block any ventilation openings.
- ケーブル管理 ポートへの負担や誤って切断されることがないようにケーブルを整理します。
- 環境条件: Operate the device within its specified temperature and humidity ranges. Avoid extreme temperatures or moisture.
7。 トラブルシューティング
KVM スイッチで問題が発生した場合は、次の一般的な問題と解決策を参照してください。
| 問題 | 考えられる解決策 |
|---|---|
| No display or flickering display after switching. |
|
| キーボードまたはマウスが応答しません。 |
|
| USB 3.0 devices not detected or working intermittently. |
|
| Audio issues (static, no sound). |
|
| G-Sync or FreeSync not working. |
|
8. 仕様
| 特徴 | 詳細 |
|---|---|
| モデル | SV231DPU34K |
| ブランド | StarTech.com |
| ビデオインターフェイス | ディスプレイポート1.2 |
| 最大解像度 | 3840 x 2160 @ 60Hz (4K UHD) |
| MST Passthrough | サポート |
| USBハブ | 2ポートUSB 3.0ハブ |
| USB HID ポート | 4x USB Type-A (for keyboard/mouse) |
| オーディオ | 3.5mm Analog Audio Switching |
| 切り替え方法 | Push Button, Hotkey |
| 材料 | 鋼鉄 |
| 寸法(長さ×幅×高さ) | 3.9 x 6.3 x 1.6 インチ (9.9 x 16.0 x 4.1 cm) |
| アイテム重量 | 1.3ポンド(0.59kg) |
| 電源入力 | DC 9-12V, 18 Watts |
| 色 | 黒 |
| 動作温度 | 0°C ~ 40°C (32°F ~ 104°F) |
| 保管温度 | -20°C ~ 60°C (-4°F ~ 140°F) |
| 湿度 | 0~80% RH(結露なし) |
9. 保証とサポート
9.1 保証情報
このStarTech.com製品は、 2年間保証. For detailed warranty terms and conditions, please refer to the official StarTech.com webサイト。
9.2 テクニカルサポート
For technical assistance, product documentation, or driver downloads, please visit the official StarTech.com support webサイト: