1. はじめに
Thank you for choosing the Petlibro Automatic Pet Feeder. This device is designed to provide consistent and timely meals for your pet, ensuring they are fed according to a set schedule, even when you are away. Please read this manual thoroughly before use to ensure proper operation and maintenance of your feeder.
2. 重要な安全情報
怪我や製品の損傷を防ぐために、次の安全上の注意事項を守ってください。
- フィーダーを操作する前に、すべての指示をよくお読みください。
- 使用していないときや組み立てているときは、フィーダーを子供やペットの手の届かないところに保管してください。
- 本体を水などの液体に浸さないでください。
- 直径5~15mmのドライフードのみを使用してください。ウェットフード、缶詰、または水分を含むフードは使用しないでください。
- フィーダーが安定した水平な面に設置されていることを確認してください。
- 清掃やメンテナンスを行う前に、フィーダーのプラグを抜いてください。
- Do not attempt to repair or modify the feeder yourself. Contact customer support for assistance.
- 電池は地域の規制に従って責任を持って廃棄してください。
3. パッケージ内容
パッケージの内容をチェックして、すべてのアイテムが揃っていることを確認してください。
- Petlibro Automatic Pet Feeder Main Unit
- フードボウル
- USB-C電源アダプタとケーブル
- 乾燥剤バッグ(プリインストールまたは別売)
- ユーザーマニュアル
4.製品オーバーview
Familiarize yourself with the different parts of your Petlibro Automatic Pet Feeder:
- フードタンク: 乾燥したペットフードを保管します。
- 蓋: Covers the food tank to keep food fresh.
- コントロールパネル: Buttons and display for setting schedules and manual feeding.
- 飲食店: 食べ物がボウルに注がれる場所。
- フードボウル: ペットが食事できる取り外し可能なボウル。
- 電源ポート(USB-C): 電源アダプタに接続します。
- バッテリーコンパートメント: Holds backup batteries (not included).
5. セットアップ
Follow these steps to set up your Petlibro Automatic Pet Feeder:
5.1 組み立て
- 開梱: パッケージからすべてのコンポーネントを慎重に取り出します。
- フードボウルの取り付け: Place the food bowl securely at the base of the feeder.
- Install Food Tank: Align the food tank with the base and twist to lock it into place.
- 乾燥剤袋を挿入します: If not pre-installed, open the desiccant compartment (usually under the lid) and insert the desiccant bag to keep food fresh. Replace every 15-30 days.

Image: Step-by-step assembly guide for the Petlibro Automatic Pet Feeder. It shows how to twist open the lid, take out the food bowl, put the desiccant bag into its compartment, install the food tank, put the lid back on, and finally install the food bowl.
5.2 電源
The feeder can be powered by a USB-C adapter or backup batteries.
- 主電源: Connect the USB-C power adapter to the feeder's power port and plug it into a wall outlet.
- バッテリーバックアップ(オプション): パワーouのためにtages, install 3 D-cell batteries (not included) into the battery compartment at the bottom of the feeder. This ensures continuous operation.
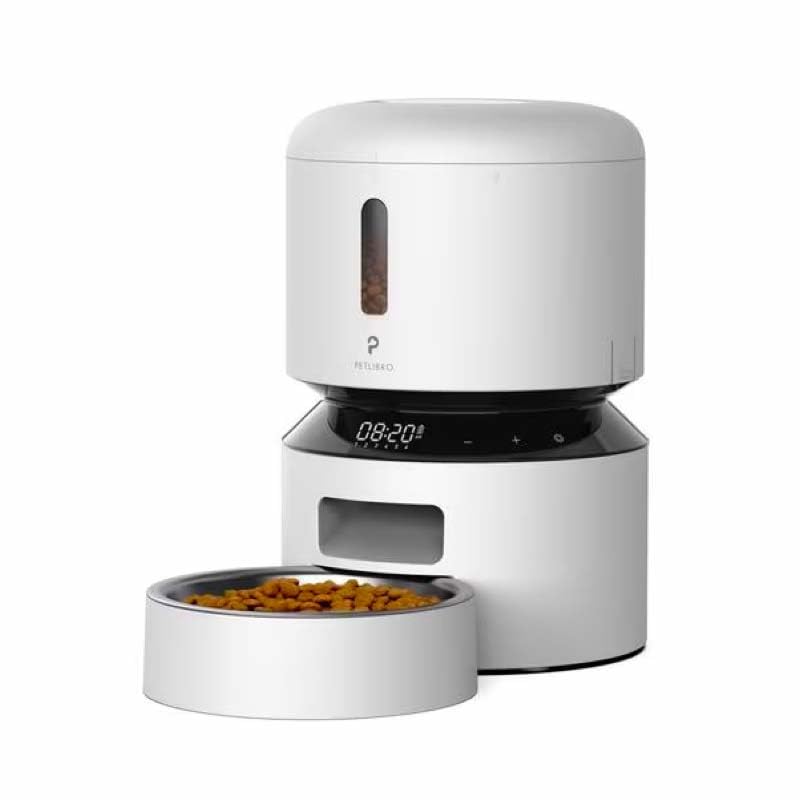
Image: Diagram illustrating the dual power supply system of the Petlibro Automatic Pet Feeder. It shows the USB-C adapter connected for primary power and the battery compartment for backup power. A note indicates that batteries are not included.
6. 操作手順
Once assembled and powered, you can begin programming your feeder.
6.1 フードタンクへの給水
- フードタンクの蓋を開けます。
- Pour dry pet food into the tank. Ensure the food is within the recommended size (5-15mm diameter).
- 鮮度を保つために蓋をしっかり閉めてください。
6.2 Setting Meal Schedules and Portions
The feeder allows you to schedule up to 6 meals per day, with 1 to 50 portions per meal.

Image: A cat eating from the Petlibro Automatic Pet Feeder, illustrating the feeder's function. Text overlays indicate "Portion: 1-50" and "Meals: 1-6", highlighting the customizable feeding schedule.
- 現在の時刻を設定: Use the control panel buttons (e.g., "SET", "UP", "DOWN") to set the current time.
- プログラムの食事時間: Press the "MEAL" button to enter meal programming mode. Select the desired meal number (e.g., Meal 1) and set the feeding time.
- セット分量: For each programmed meal, set the number of portions (1-50) using the "PORTION" or "UP/DOWN" buttons.
- Repeat for all meals: Program up to 6 meals as needed.
- 設定を保存: Ensure all settings are saved according to the feeder's specific interface (usually by pressing "SET" or waiting for auto-save).
6.3 手動給餌
To dispense food instantly, press the manual feed button (often labeled "FEED" or a paw icon) on the control panel. Each press typically dispenses one portion.
7. メンテナンスと清掃
定期的に清掃することで衛生状態が保たれ、給餌器の寿命が延びます。
- プラグを抜く: 清掃する前に必ずフィーダーの電源プラグをコンセントから抜いてください。
- 分解: Remove the food bowl and food tank.
- コンポーネントをクリーンにします: Wash the food bowl and food tank with mild soap and water. Rinse thoroughly and dry completely before reassembling.
- 本体拭き取り: d 柔らかい布で本体を拭くamp 布で拭いてください。本体を水に浸さないでください。
- 乾燥剤の交換: Replace the desiccant bag every 15-30 days to maintain food freshness.
- 組み立て直す: フィーダーを組み立て直す前に、すべての部品が乾いていることを確認してください。
8。 トラブルシューティング
フィーダーで問題が発生した場合は、次の一般的な問題と解決策を参照してください。
| 問題 | 考えられる原因 | 解決 |
|---|---|---|
| フィーダーの電源が入りません。 | No power connection; batteries depleted or incorrectly installed. | Check power adapter connection; replace batteries or ensure correct polarity. |
| 食べ物が出ません。 | Food tank empty; food jammed; dispenser blocked; incorrect schedule settings. | Refill food tank; clear any food jams; check dispenser for blockages; verify meal schedule and portion settings. |
| Food dispenses too much/too little. | 分量の設定が正しくありません。 | Adjust portion settings for each meal. |
| ディスプレイが機能しません。 | 電源の問題、ディスプレイの故障。 | 電源を確認してください。問題が解決しない場合は、カスタマー サポートにお問い合わせください。 |
9. 仕様
| 特徴 | 詳細 |
|---|---|
| 製品名 | Petlibro Automatic Pet Feeder |
| モデル | 3L自動ペットフィーダー |
| 容量 | 3リットル |
| 材料 | Food-grade ABS plastic |
| 電源 | USB-C adapter (5V/1A); 3 x D-cell batteries (backup, not included) |
| 1日の食事数 | 最大6食 |
| XNUMX食あたりの分量 | 1-50 portions (approx. 5-10g per portion, depending on food density) |
| 推奨される食品サイズ | 5~15mmのドライキブル |
| 色 | 白 |
10. 保証とサポート
Your Petlibro Automatic Pet Feeder comes with a standard manufacturer's warranty. For detailed warranty information, please refer to the warranty card included in your package or visit the official Petlibro webサイト。
If you have any questions, require technical support, or need assistance with your product, please contact Petlibro customer service. Contact details can typically be found on the product packaging, the official website, or by searching for "Petlibro customer support" online.