Blackmagic Design CINECAMPOCHDMFT4K
ブラックマジックデザイン ポケットシネマカメラ 4K (CINECAMPOCHDMFT4K) 取扱説明書
Comprehensive guide for setup, operation, and maintenance of your CINECAMPOCHDMFT4K.
製品終了view
The Blackmagic Design Pocket Cinema Camera 4K (model CINECAMPOCHDMFT4K) is a handheld digital film camera designed for professional video production. It features a 4/3" CMOS sensor, 13 stops of dynamic range, and dual native ISO up to 25,600, enabling high-quality video capture in various lighting conditions. The camera supports recording in industry-standard formats such as Apple ProRes and 12-bit Blackmagic RAW.
主な機能は次のとおりです。
- 驚異的な画質: 4/3" image sensor with 4096 x 2160 native resolution, active MFT lens mount, 13 stops dynamic range, and dual native ISO up to 25,600.
- 複数の録音オプション: Records to SD/UHS-II and CFast 2.0 cards, or external SSD via USB-C.
- 多用途 File フォーマット: Supports Apple ProRes (up to 4K) and 12-bit Blackmagic RAW. Includes DaVinci Resolve Studio activation key.
- ユーザーフレンドリーなデザイン: Lightweight carbon fiber polycarbonate composite body with a multifunction handgrip and a large, bright 5" LCD display.
- 広範な接続性: Full-size HDMI, mini XLR with 48-volt phantom power, 3.5mm microphone and headphones connections, USB-C, and Bluetooth.
パッケージ内容
The Blackmagic Design Pocket Cinema Camera 4K package includes:
- Blackmagic Design Pocket Cinema Camera 4K body
- DaVinci Resolve Studio activation key
- Lens turret dust cap
- 30W power supply with locking connector and international adapters
- LP-E6 battery
セットアップガイド
1. バッテリーの取り付け
The camera uses an LP-E6 battery. To install:
- カメラの下部にある電池ボックスを見つけます。
- 電池ボックスのカバーを開きます。
- Insert the LP-E6 battery, ensuring correct orientation.
- 電池カバーをしっかりと閉じてください。

図1:背面 view of the camera, showing the battery compartment location.
2. メモリーカードの挿入
The camera supports SD/UHS-II and CFast 2.0 cards. To insert:
- Locate the memory card slots on the side of the camera.
- メモリーカードスロットカバーを開けます。
- Insert the SD or CFast card into the appropriate slot until it clicks into place.
- メモリーカードスロットカバーを閉じます。

図2:側面 view of the camera, illustrating the memory card slots.
3. レンズアタッチメント
The camera features an active Micro Four Thirds (MFT) lens mount. To attach a lens:
- Remove the lens turret dust cap from the camera body.
- レンズの赤い点をカメラのレンズマウントの赤い点に合わせます。
- レンズをマウントにゆっくりと挿入し、カチッと音がするまで時計回りに回します。
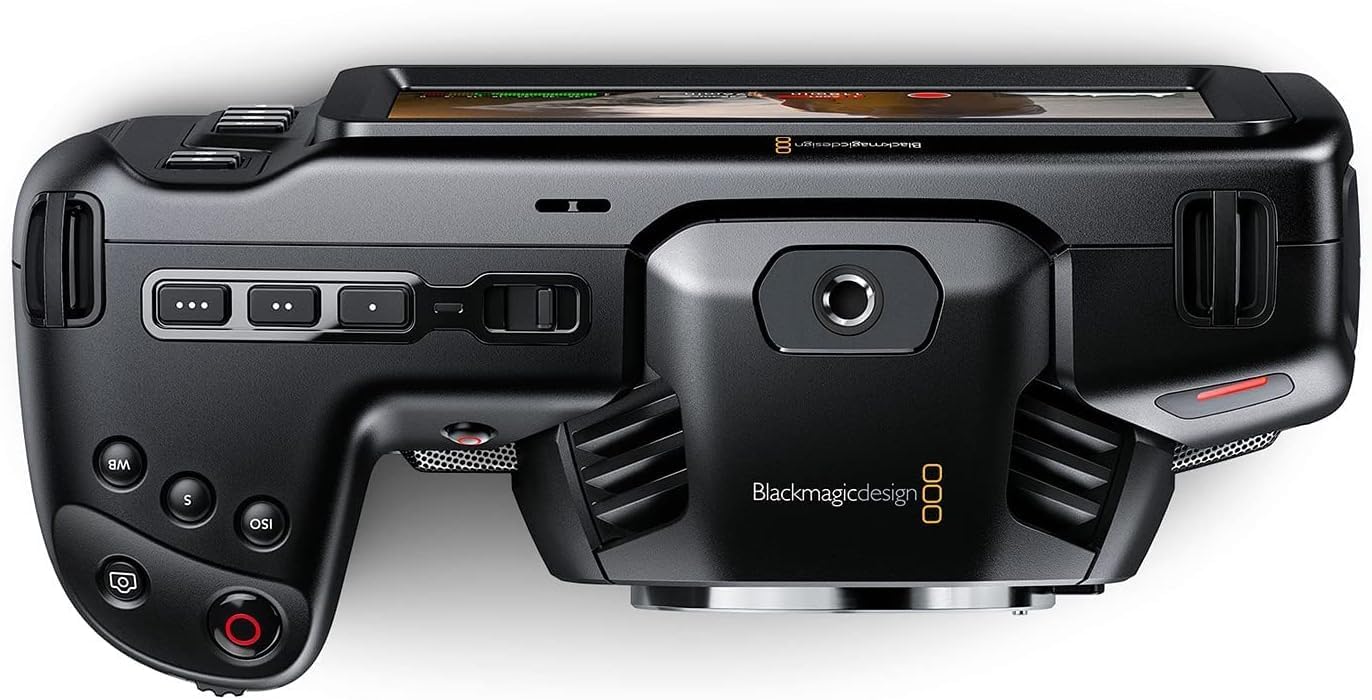
図3: 前面 view of the camera, highlighting the MFT lens mount.
4. 電源接続
For extended operation, connect the included 30W power supply:
- Connect the appropriate international adapter to the power supply.
- 電源を壁のコンセントに差し込みます。
- Connect the locking DC power connector to the 12V input port on the camera.

図4:側面 view of the camera, showing the 12V power input and other connectivity options.
操作手順
1.電源のオン/オフ
To power on the camera, slide the "ON/OFF" switch located on the top left side of the camera body. To power off, slide the switch back to the "OFF" position.
2. Basic Controls and Touchscreen Interface
The camera features a large 5" touchscreen LCD for intuitive control. Physical buttons are also available for quick access to essential functions such as ISO, Shutter, White Balance, and Record.

Figure 5: Camera screen showing various recording settings and options.
3.記録設定
Access recording settings via the touchscreen menu. You can select:
- Codec and Quality: Choose between Blackmagic RAW (Constant Bitrate, Constant Quality Q0, Q5) or Apple ProRes (422 HQ, 422, 422 LT, 422 Proxy).
- 解決: Options include 4K DCI (4096x2160), 4K 2.4:1 (4096x1720), Ultra HD (3840x2160), 2.8K Anamorphic (2880x2160), 2.6K 16:9 (2688x1512), and HD (1920x1080).
- フレームレート: Up to 60fps in 4K and 120fps in HD.

図6:詳細 view of the camera's menu for selecting recording codecs and resolutions.
4。 オーディオ入力
The camera offers versatile audio input options:
- Mini XLR: For professional microphones, with 48-volt phantom power support.
- 3.5mm入力: For external microphones or line-level audio.
- 内蔵ステレオマイク: For convenient on-camera audio capture.
- 3.5mmヘッドフォンジャック: オーディオモニタリング用。
5. External Monitoring and Storage
Connect external monitors via the full-size HDMI port. For extended recording, use the USB-C port to connect external SSD media.
メンテナンス
- クリーニング: Use a soft, dry cloth to clean the camera body. For the lens and sensor, use specialized cleaning kits and follow manufacturer guidelines.
- ストレージ: Store the camera in a dry, dust-free environment, ideally in a protective case when not in use. Remove batteries during long-term storage.
- ファームウェアの更新: Blackmagic Designを定期的にチェックする web最適なパフォーマンスと新機能へのアクセスを確保するために、ファームウェア アップデート サイトにアクセスしてください。
トラブルシューティング
カメラに問題が発生した場合は、次の一般的なトラブルシューティング手順を検討してください。
- 電力の問題: Ensure the battery is fully charged or the power adapter is securely connected. Check battery orientation.
- 録音の問題: Verify that memory cards are correctly inserted and have sufficient free space. Check selected codec and resolution settings for compatibility with your workflow.
- 画質: Ensure the lens is clean and properly attached. Check ISO settings for excessive noise in low light.
- ソフトウェア: If using DaVinci Resolve Studio, ensure it is updated to the latest version.
For more detailed troubleshooting, refer to the comprehensive manual available on the Blackmagic Design support webサイト。
仕様
| 製品寸法 | 7.01 x 3.37 x 3.78インチ |
| アイテム重量 | 1.53ポンド |
| 商品型番 | シネックAMPOCHDMFT4K |
| ブランド | ブラックマジックデザイン |
| フォトセンサー技術 | CCD |
| ビデオキャプチャ解像度 | 4K |
| 最大絞り | 2.8ミリメートル |
| フラッシュメモリタイプ | SD |
| ビデオキャプチャフォーマット | Blackmagic RAW, ProRes 422 |
| サポートされているオーディオ形式 | AAC、MP3、PCM |
| 画面サイズ | 5インチ |
| 接続技術 | USB |
| バッテリー | 1 A 電池が必要です (付属) |
保証とサポート
保証情報およびテクニカルサポートについては、Blackmagic Designの公式ウェブサイトをご覧ください。 web公式サイトをご覧いただくか、カスタマーサービスに直接お問い合わせください。保証請求の際は、購入証明としてレシートを保管してください。
Online resources and additional documentation can be found at: ブラックマジックデザインサポート