GOXAWEE 1337C-IT
GOXAWEE 240W Rotary Tool Instruction Manual
Model: 1337C-IT
導入
This manual provides essential information for the safe and effective operation, maintenance, and troubleshooting of your GOXAWEE 240W Rotary Tool, Model 1337C-IT. Please read this manual thoroughly before using the tool to ensure proper handling and to prevent injury or damage.
安全に関する注意事項
火災、感電、人身傷害の危険を軽減するために、基本的な安全上の注意事項を常に守ってください。
- 目の保護具を着用してください: 常に安全ゴーグルまたはサイド シールド付きの保護メガネを着用してください。
- 聴覚保護具を着用してください: 長時間操作する場合は耳を保護するものを使用してください。
- 安全なワークピース: 常にclamp or secure the workpiece to prevent movement during operation.
- 作業エリアを清潔に保つ: 雑然としたエリアは事故を招きます。
- 誤って始動しないようにする: ツールを接続する前に、スイッチがオフの位置になっていることを確認してください。
- 行き過ぎない: 常に適切な足場とバランスを維持してください。
- 電源を切る: Always disconnect the tool from the power source before changing accessories or performing maintenance.
- 正しいアクセサリを使用する: Only use accessories designed for this tool and ensure they are properly installed.
- ツールとアクセサリの検査: 使用する前に、破損した部品、ずれ、または動作に影響を与える可能性のある状態がないか確認してください。
- 安全に保管: Store the tool out of reach of children and untrained persons.
製品終了view
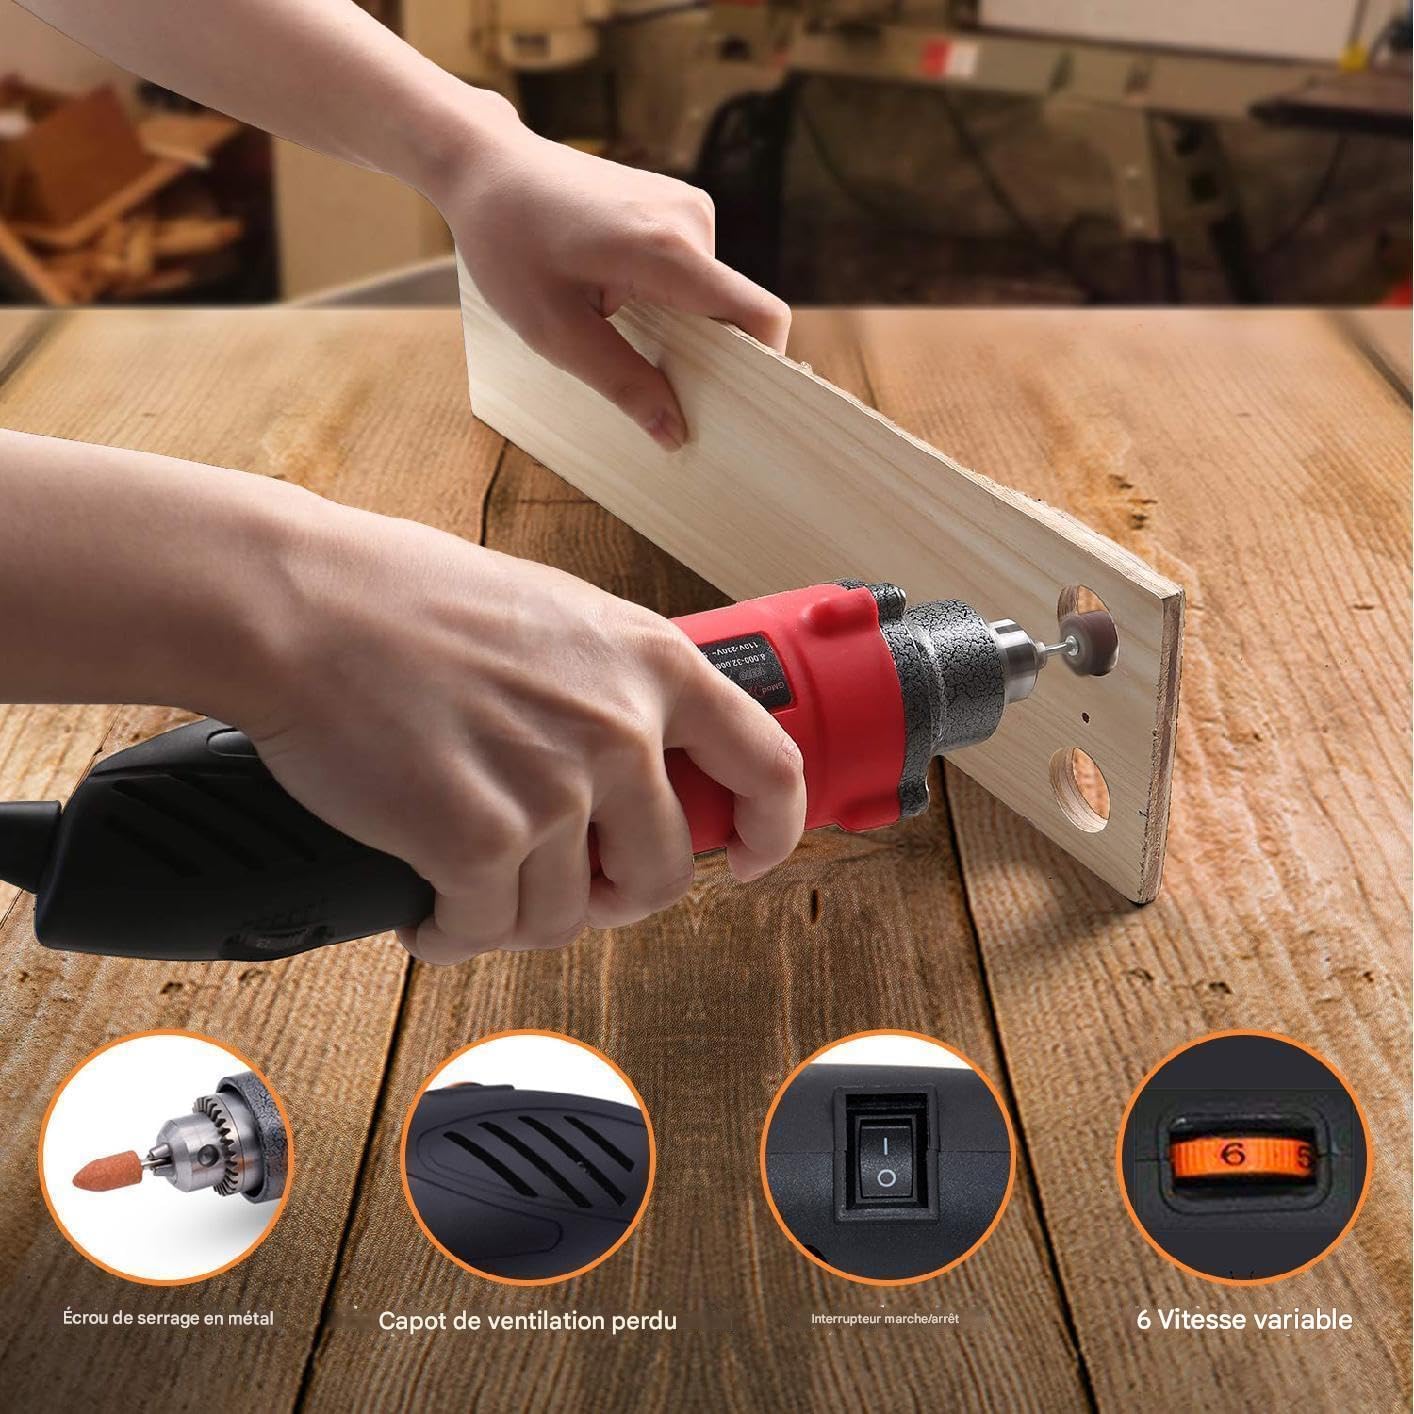
The GOXAWEE 240W Rotary Tool is a versatile electric multi-tool designed for various applications including grinding, polishing, cutting, engraving, and drilling. It features a powerful 240W motor and a 6-step variable speed control.

主な特徴:
- 強力なモーター: 240W for demanding tasks.
- 可変速度制御: 6 steps, ranging from 8000 to 32000 RPM, for optimal control across different materials and applications.
- Wide Collet Range: 0.5-6mm metallic chuck for compatibility with a variety of accessories.
- 耐久性のある構造: 長寿命と一貫したパフォーマンスを実現するように設計されています。
- 効率的な冷却: Large thermal fan for rapid heat dissipation, extending tool life.
設定
開梱と検査:
Carefully remove the tool and all accessories from the packaging. Inspect for any damage that may have occurred during shipping. Ensure all components listed in the "Included Components" section are present.
付属品の取り付け:
Proper accessory installation is crucial for safe and effective operation. Ensure the accessory shank is inserted into the chuck for at least 3/4 of its length.

- ステップ1: Press the chuck nut and turn the chuck to open the jaws.
- ステップ2: Insert the desired accessory into the chuck. Ensure the accessory shank is inserted deeply enough for a secure grip. Press the chuck nut and use the provided small key to firmly tighten the chuck.
- Step 3 (For smaller collets): If using a smaller collet, remove the existing shaft core and insert the appropriate collet.
- Step 4 (For smaller collets): Tighten the shaft cap securely.
Always ensure the accessory is centered and securely fastened before starting the tool.
操作手順
電源接続:
Ensure the tool's ON/OFF switch is in the 'OFF' position before plugging the power cord into a suitable 220-240V electrical outlet.
速度の調整:

The tool features a 6-step variable speed selector (Figure 3) located on the top of the housing. Rotate the dial to select the desired speed setting, ranging from 8000 RPM (setting 1) to 32000 RPM (setting 6). Always select a speed appropriate for the material and accessory being used.
開始と停止:
- To start the tool, slide the ON/OFF switch to the 'ON' position.
- To stop the tool, slide the ON/OFF switch to the 'OFF' position.
- ワークピースに接触する前に、ツールが最高速度に達するまで待ちます。
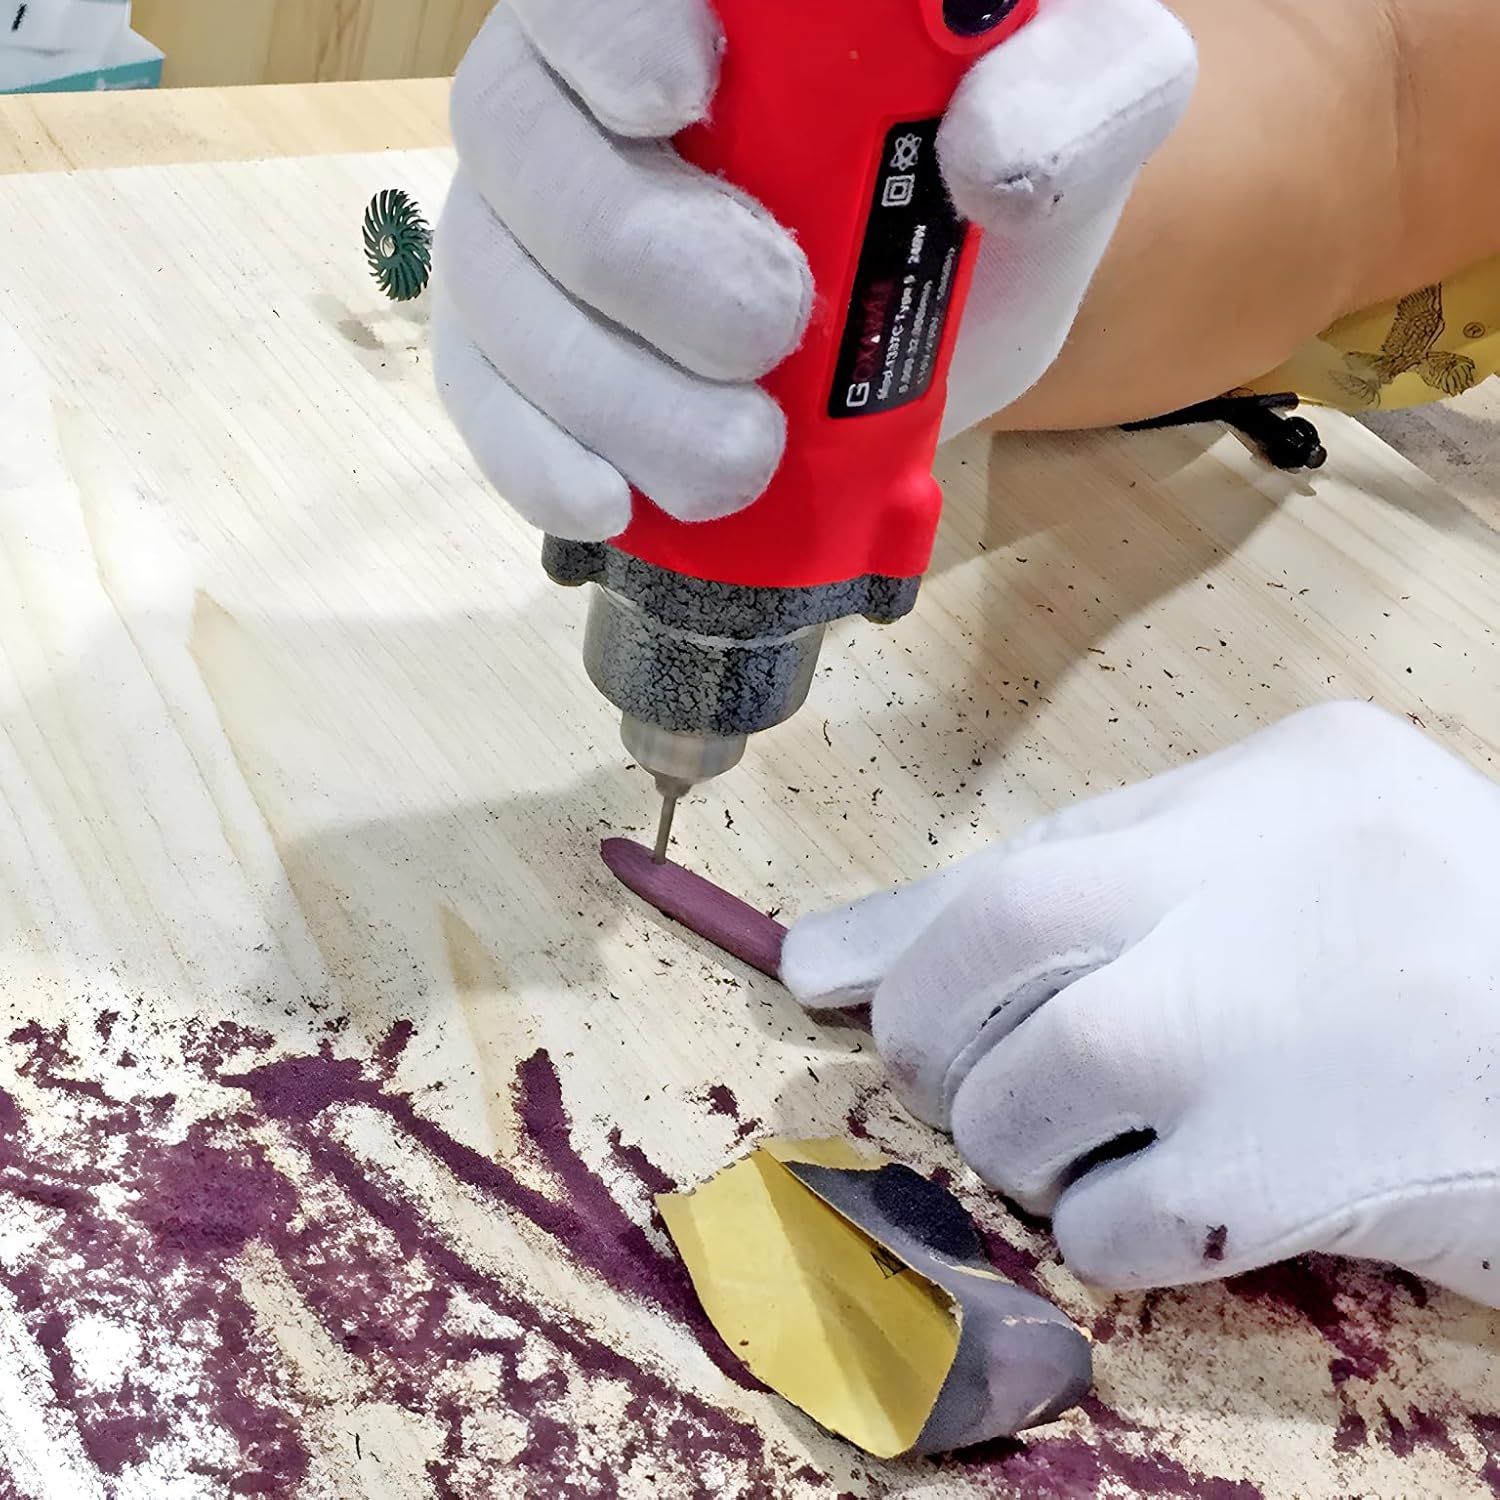
一般的な使用上のヒント:
- Apply light, consistent pressure. Excessive pressure can cause the tool to bog down, overheat, or damage the accessory/workpiece.
- Move the tool smoothly and continuously across the workpiece to prevent gouging or uneven results.
- For delicate work, start with lower speeds and gradually increase as needed.
- 最終的なプロジェクトに取り組む前に、必ず材料の切れ端でテストしてください。
アプリケーション例ampレ:


メンテナンス
Regular maintenance ensures the longevity and optimal performance of your rotary tool. Always disconnect the tool from the power source before performing any maintenance.
クリーニング:
- 使用後は毎回、ツールハウジングを柔らかくて清潔な布で拭いてください。amp 布で拭いてください。強力な化学薬品や研磨剤入りの洗剤は使用しないでください。
- Use compressed air to clear dust and debris from the ventilation openings.
- Clean the chuck jaws regularly to ensure proper gripping of accessories.
カーボンブラシの交換:
The carbon brushes are wear items and will need replacement over time. The tool includes two spare carbon brushes.

- Locate the external carbon brush caps on the tool housing (refer to Figure 1).
- Unscrew the caps using a flathead screwdriver or coin.
- 古いカーボンブラシを慎重に取り外します。
- 新しいカーボンブラシを正しい向きで挿入します。
- カーボンブラシキャップを元に戻し、締めます。
Replace both brushes at the same time to ensure even wear and performance.
トラブルシューティング
| 問題 | 考えられる原因 | 解決 |
|---|---|---|
| ツールが起動しない。 | 電源がありません。 ON/OFF switch not engaged. 摩耗したカーボンブラシ。 | Check power outlet and cord. スイッチが「オン」の位置にあることを確認してください。 カーボンブラシを交換します。 |
| ツールの電源が切れたり、断続的に動作したりします。 | 電源接続の緩み。 摩耗したカーボンブラシ。 過熱。 | 電源コードの接続を確認してください。 カーボンブラシを交換します。 Allow tool to cool down; ensure ventilation is clear. |
| 過度の振動またはノイズ。 | アクセサリが正しく取り付けられていないか、破損しています。 Bent accessory shank. 内部コンポーネントの問題。 | Re-install or replace accessory. Ensure it is centered. Replace bent accessories. 問題が解決しない場合は、カスタマー サポートにお問い合わせください。 |
| ツールがすぐに過熱します。 | 換気がブロックされています。 Excessive load/pressure. Continuous prolonged use. | 通気口を清掃してください。 Reduce pressure; use appropriate speed. Allow tool to rest periodically. |
If you encounter problems not listed here or if solutions do not resolve the issue, please contact GOXAWEE customer support.
仕様
| ブランド | ゴクサウィー |
| モデル番号 | 1337C-IT |
| 定格入力電力 | 240W |
| 巻tage | 220-240V |
| 頻度 | 50/60Hz |
| 無負荷速度 | 8000-32000 RPM (6-step variable) |
| コレット容量 | 0.5~6mm |
| 製品重量 | 1.18キロ |
| 寸法(長さ×幅×高さ) | 約30 x 10 x 8 cm |
| 電源 | コード式電気 |
保証とサポート
GOXAWEE products are manufactured to high-quality standards. For warranty information, please refer to the warranty card included with your purchase or visit the official GOXAWEE website. For technical support, replacement parts, or service inquiries, please contact GOXAWEE customer service through their official channels.
連絡先: Please refer to the contact details provided on the GOXAWEE official webサイトまたは購入書類をご覧ください。
Ask a question about this manual
Ask about setup, troubleshooting, compatibility, parts, safety, or missing instructions. Manuals+ will review the question and use this page’s manual context to help answer it.