1. はじめに
This manual provides essential information for the safe and efficient use of your Alienware AW3418DW 34.1-inch Curved Gaming Monitor. This monitor features a WQHD (3440x1440) resolution, a 120Hz refresh rate (overclocked), and NVIDIA G-SYNC technology for an immersive gaming experience. Please read this manual thoroughly before operating the device.
2. 安全情報
- Always disconnect the power cable from the wall outlet before cleaning the monitor.
- 火災や感電の危険を避けるため、モニターを雨や湿気にさらさないでください。
- モニターを開けないでくださいasing. 内部にはユーザーが修理可能な部品はありません。修理はすべて資格のあるサービス担当者にご依頼ください。
- モニターが落ちないように、安定した平らな面に置いてください。
- モニター周囲の換気が適切であることを確認してください。通気口を塞がないでください。
- モニターに付属の電源アダプターとケーブルのみを使用してください。
3. パッケージ内容
パッケージにすべてのコンポーネントが含まれていることを確認します。
- Alienware AW3418DW モニター
- モニタースタンド(ベースとライザー)
- 電源ケーブル
- DisplayPortケーブル
- HDMIケーブル
- USB 3.0アップストリームケーブル
- ドキュメント(クイックセットアップガイド、安全情報)
4. セットアップ
4.1 物理的なセットアップ
Carefully remove the monitor and its components from the packaging. Place the monitor face down on a soft cloth or cushion to prevent scratches.
スタンドの取り付け
- Attach the stand riser to the monitor panel until it clicks into place.
- Attach the stand base to the stand riser and tighten the captive screw.

図4.1: 前面 view of the Alienware AW3418DW monitor with its stand attached.

図4.2:側面 view of the Alienware AW3418DW monitor with its stand.
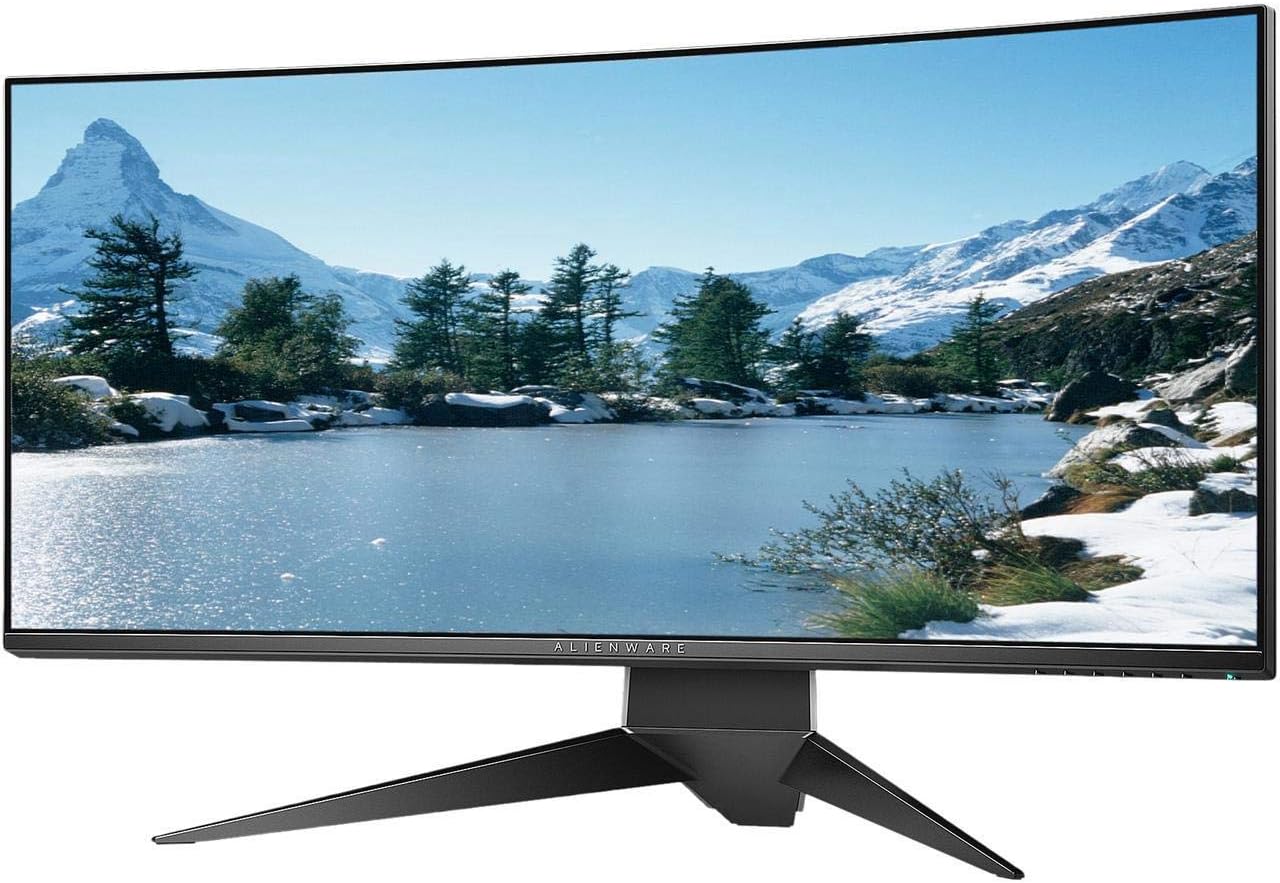
図4.3:背面 view of the Alienware AW3418DW monitor showing the stand and AlienFX lighting.
VESAマウント
The monitor supports VESA mounting (100 x 100 mm). Remove the stand riser by pressing the release button and then attach the VESA-compatible mount to the monitor using appropriate screws. Ensure the mount can support the monitor's weight of 26.1 pounds (without stand).

Figure 4.4: Monitor dimensions for VESA mount compatibility.
4.2接続ケーブル
必要なケーブルをモニターとコンピューターに接続します。
- 電力ケーブル: 電源ケーブルをモニターの電源ポートに接続し、次に壁のコンセントに接続します。
- ビデオケーブル: Connect either the DisplayPort cable or the HDMI cable from your computer's graphics card to the corresponding port on the monitor. For optimal performance, especially for 120Hz refresh rate and G-SYNC, use the DisplayPort connection.
- USBアップストリームケーブル: Connect the USB 3.0 upstream cable from your computer to the monitor's upstream USB port to enable the monitor's USB hub functionality.
- USB ダウンストリーム ポート: Connect your USB devices (e.g., keyboard, mouse, webcam) to the four USB 3.0 downstream ports on the monitor.
5. 操作手順
5.1 電源オン/オフ
モニターの電源ボタンを押すと、電源のオン/オフを切り替えることができます。電源LEDがモニターの状態を示します。
5.2 オンスクリーンディスプレイ(OSD)ナビゲーション
The On-Screen Display (OSD) menu allows you to adjust various monitor settings. Use the control buttons, typically located on the bottom right or rear of the monitor, to navigate the OSD.
- コントロール ボタンを押して OSD メニューをアクティブにします。
- Use the navigation buttons (up/down/left/right) to move through menu options.
- 選択ボタンを押して選択を確定するか、サブメニューに入ります。
- 前のメニューに戻るか、OSD を終了するには、戻る/終了ボタンを使用します。
5.3 表示設定
ディスプレイ設定を調整して最適化する viewing and gaming performance.
- 解決: Set your computer's display resolution to 3440x1440 for the native WQHD experience.
- リフレッシュレート: The monitor supports up to 120Hz refresh rate (overclocked). Ensure your graphics card drivers are updated and the refresh rate is set in your operating system's display settings or graphics control panel.
- NVIDIA G-SYNC: For tear-free and smooth gameplay, enable G-SYNC in your NVIDIA Control Panel. This feature synchronizes the monitor's refresh rate with your GPU's frame rate.
- 輝度コントラスト: Adjust these settings in the OSD menu to suit your environment and preference.
5.4 AlienFX Lighting
Customize the AlienFX lighting zones on your monitor through the OSD menu or Alienware Command Center software (if installed on your PC). You can select colors, effects, and synchronize lighting with other Alienware devices.
5.5 USBハブの使用
The monitor acts as a USB 3.0 hub, providing convenient access to four downstream USB ports for connecting peripherals. Ensure the USB upstream cable is connected to your computer for this feature to function.
6. メンテナンス
6.1 モニターの掃除
- 清掃する前に必ずモニターの電源プラグをコンセントから抜いてください。
- 柔らかく糸くずの出ない布を軽く拭いてください。amp水または非研磨性のスクリーンクリーナーで拭いてください。
- クリーナーを画面に直接スプレーしないでください。
- 画面を軽く拭いてほこりや汚れを取り除きます。
- 外側を掃除するasin柔らかく乾いた布で拭いてください。
6.2 ストレージ
If storing the monitor for an extended period, disconnect all cables, carefully disassemble the stand (if applicable), and store it in its original packaging in a cool, dry place.
7。 トラブルシューティング
モニターに問題が発生した場合は、次の一般的なトラブルシューティング手順を参照してください。
- 表示なし: Ensure all power and video cables are securely connected. Check if the monitor is powered on and the correct input source is selected in the OSD.
- ちらつき/途切れ: Verify that your graphics drivers are up to date. Ensure G-SYNC is properly configured in the NVIDIA Control Panel. Check for interference from other electronic devices.
- 解像度/リフレッシュ レートが正しくありません: Adjust the display settings in your operating system or graphics control panel to the native resolution (3440x1440) and desired refresh rate (up to 120Hz).
- デッドピクセル: The Alienware AW3418DW comes with a Premium Panel Guarantee. Refer to the warranty information for details on pixel policy.
- USB ポートが機能しない: USB 3.0 アップストリーム ケーブルがモニターからコンピューターに接続されていることを確認します。
8. 仕様
| 特徴 | 仕様 |
|---|---|
| ブランド | エイリアンウェア |
| モデル番号 | AW3418DW |
| 画面サイズ | 34.1インチ |
| 解決 | WQHD(3440 x 1440ピクセル) |
| アスペクト比 | 21:9 |
| リフレッシュレート | 120 Hz(オーバークロック) |
| 応答時間 | 4ミリ秒 |
| アダプティブシンクテクノロジー | NVIDIA G-SYNC |
| 表示タイプ | LED IPS |
| 曲率 | 1900R |
| 輝度 | 300 cd/m² |
| コントラスト比 | 1000:1 |
| View角度 | 178度 |
| 接続性 | 1x DisplayPort (1.2), 1x HDMI (1.4), 4x USB 3.0 Downstream, 1x USB 3.0 Upstream |
| アイテム重量 | 26.1ポンド(スタンドなし) |
| 取り付けタイプ | VESA Compatible (100 x 100 mm) |
9. 保証とサポート
Your Alienware AW3418DW monitor is covered by a 3 Years Limited Hardware Warranty そして 3 Years Advance Exchange Service、を含む Premium Panel Guarantee. The Premium Panel Guarantee ensures a free panel replacement during the limited hardware warranty period even if only one bright pixel is found.
For technical support, warranty claims, or additional information, please visit the official Alienware or Dell support website. You may also find updated drivers and firmware there.
オンラインサポート: www.dell.com/support