Gingko GK08W13
Gingko Cube LED クリッククロック ユーザーマニュアル
Model: GK08W13 | Brand: Gingko
1. はじめに
ご購入ありがとうございますasing the Gingko Cube LED Click Clock. This innovative alarm clock combines elegant design with smart functionality, displaying time, date, and temperature. Its unique sound-activated display ensures a dark room at night, illuminating only when needed. Please read this manual carefully to ensure proper setup and operation of your device.
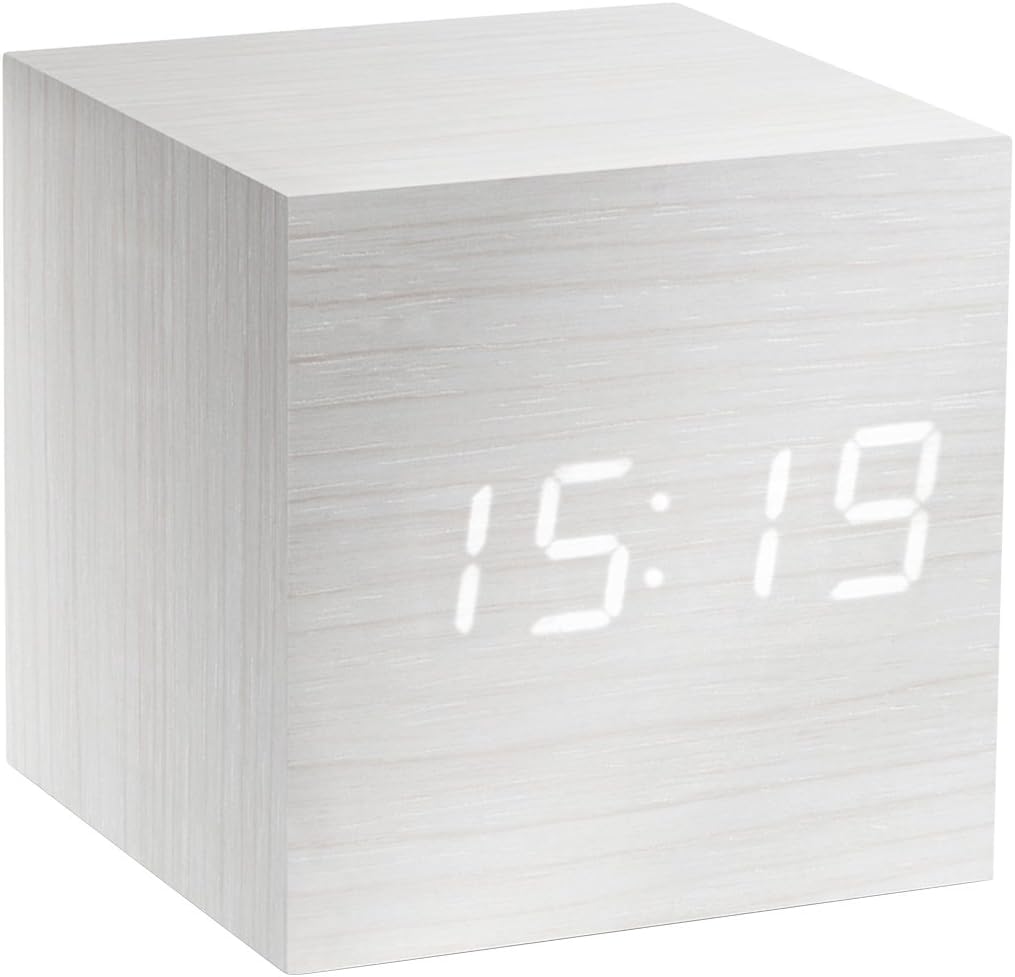
Figure 1: The Gingko Cube LED Click Clock displaying the time 15:19. The clock features a minimalist cube design with a white wood-grain finish and bright white LED digits.
2. 安全情報
- デバイスを水や過度の湿気にさらさないでください。
- 極端な温度、直射日光、熱源を避けてください。
- 本製品を分解または改造しないでください。保証が無効になります。
- Use only the provided USB adapter or compatible power sources.
- お子様の手の届かない場所に保管してください。
- 電池は地域の規制に従って責任を持って廃棄してください。
3. パッケージ内容
以下の項目のボックスにチェックを入れてください。
- Gingko Cube LED Click Clock (Model GK08W13)
- USB電源アダプタ
- USBケーブル
- 取扱説明書(本書)
4.製品オーバーview
The Gingko Cube LED Click Clock is designed for simplicity and functionality. Its main features include a hidden LED display that appears through the wood-grain finish, and control buttons located on the back panel.

図2:背面 view of the Gingko Cube LED Click Clock. This image shows the battery compartment cover removed, revealing slots for three AAA batteries. Above the battery compartment, five small control buttons are visible: SET, UP, DOWN, V/S, and RESET.
4.1つの制御ボタン
- セット: Enters setting mode for time, date, and alarms. Confirms selections.
- UP: 設定中に値が増加します。
- ダウン: 設定中に値を減らします。
- V/S (Voice/Sound): Toggles between sound-activated display mode and permanent display mode.
- リセット: 時計を工場出荷時の設定にリセットします。
4.2電源入力
The clock can be powered via the included USB cable and adapter, or by 3 x AAA batteries (not included). An internal battery is included to retain settings during power outages。
5. セットアップ
5.1電源オン
- USB電源の使用: Connect the small end of the USB cable to the DC5V port on the back of the clock. Plug the larger end into the USB power adapter, then plug the adapter into a wall outlet.
- 電池の使用: Open the battery compartment cover on the back of the clock. Insert 3 x AAA batteries, ensuring correct polarity (+/-). Close the battery compartment cover securely.
ディスプレイが点灯し、時計の電源がオンになっていることを示します。
5.2 Initial Settings (Time, Date, Temperature Format)
を押し続けます セット button for 3 seconds to enter setting mode. The display will flash, indicating the current setting is ready for adjustment. Use the UP そして 下 buttons to change values. Press セット 確認して次の設定に移動します。
- 年設定: Adjust the year (e.g., 2024). Press セット.
- 月設定: Adjust the month. Press セット.
- 日付設定: Adjust the day. Press セット.
- 12/24時間形式: Select "12H" or "24H". Press セット.
- 時間設定: Adjust the hour. Press セット.
- 分の設定: Adjust the minute. Press セット.
- 温度単位: Select "°C" (Celsius) or "°F" (Fahrenheit). Press セット.
The clock will exit setting mode automatically after a few seconds of inactivity or after the last setting is confirmed.
6. 操作手順
6.1 Display Modes (Time, Date, Temperature)
The clock can cycle through displaying time, date, and temperature. By default, it will alternate between these displays.

Figure 3: The clock displaying the time 11:43, positioned on a dark desk next to a laptop. This illustrates the clock's compact size and clear LED display in a typical environment.
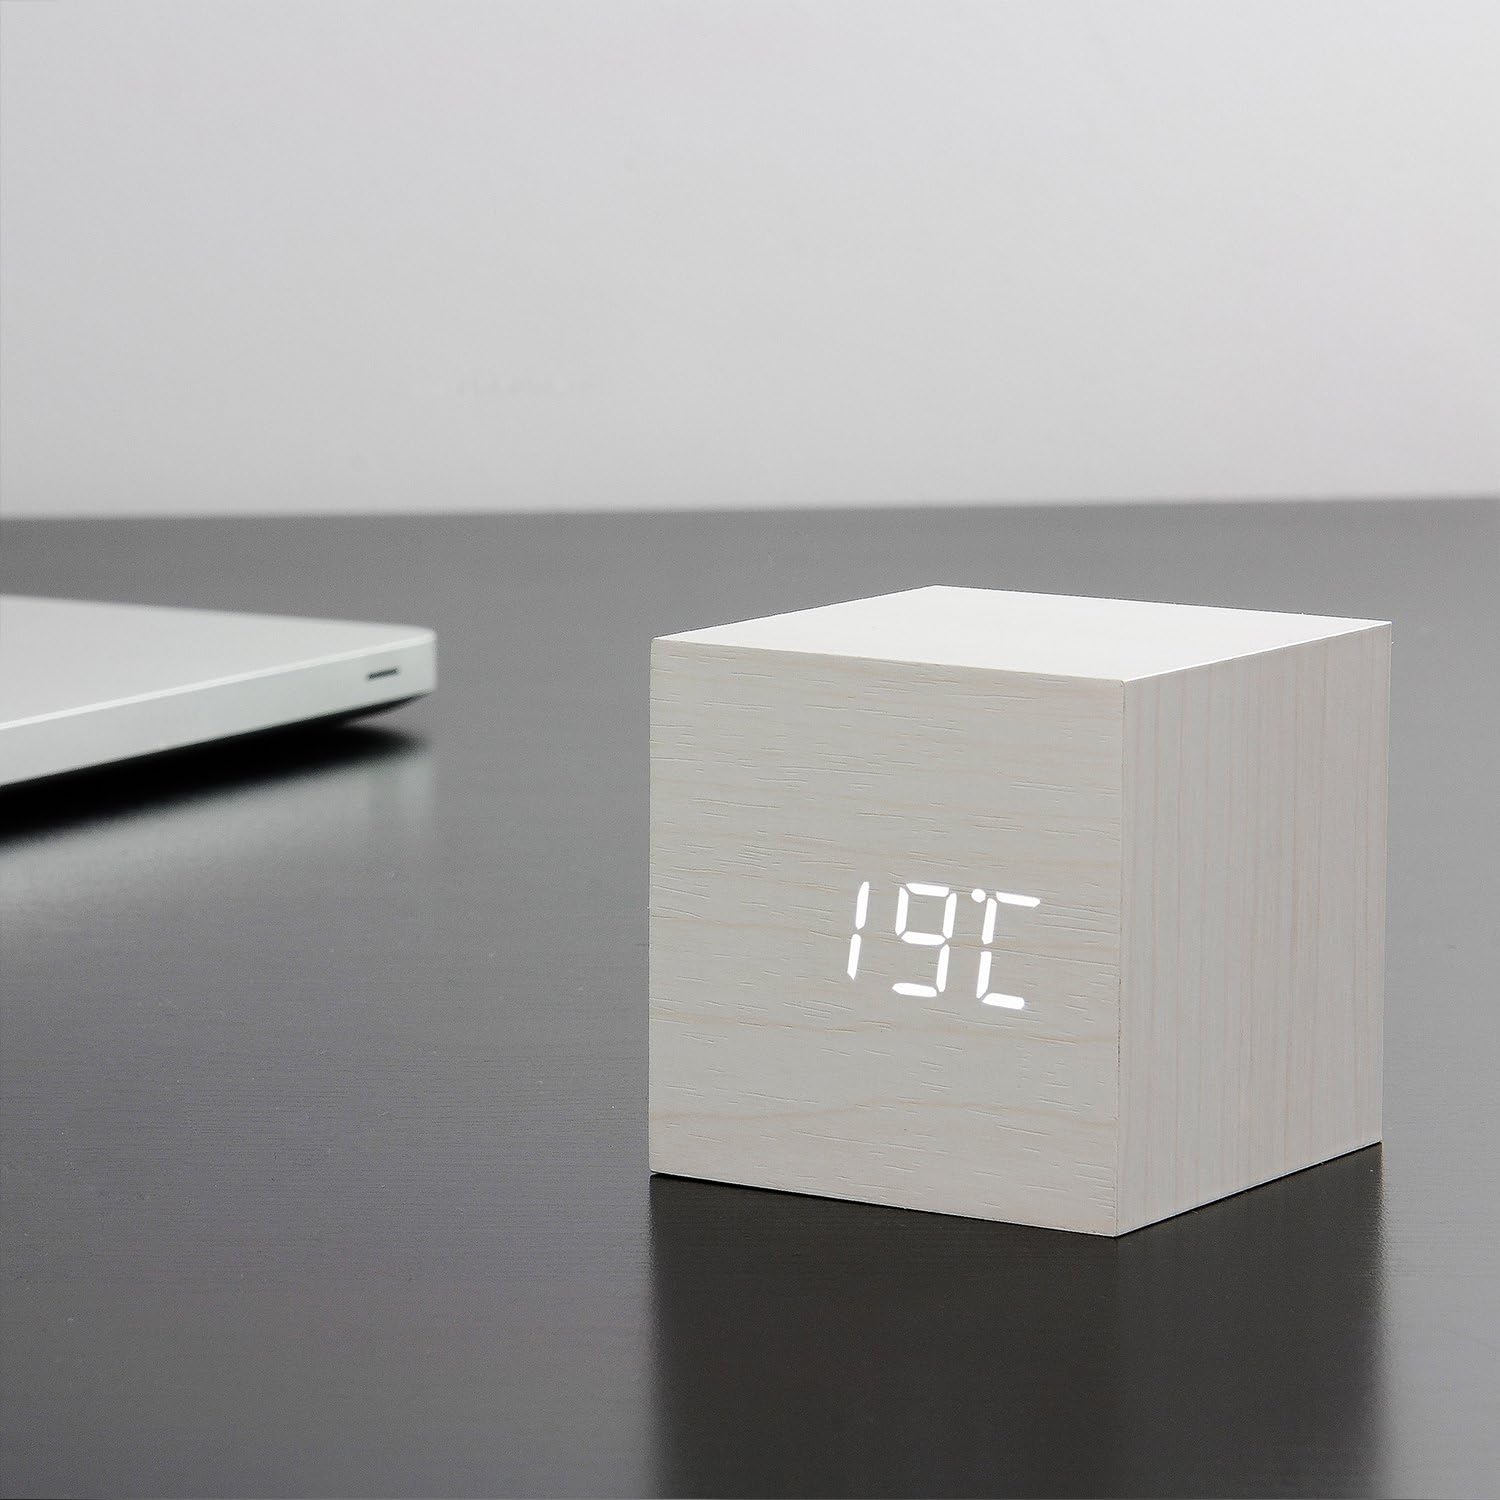
Figure 4: The clock displaying the temperature 19°C, also on a dark desk next to a laptop. This shows the clock's ability to display environmental temperature in addition to time and date.
6.2 Sound Activation (V/S Mode)
The clock features a sound-activated display mode, which conserves power and keeps your room dark. In this mode, the display turns off when the room is quiet and illuminates when a sound (like a clap or tap) is detected.
- を押す V / S button to toggle between sound-activated display (display turns off after a few seconds of silence) and permanent display (display remains on).
- When in sound-activated mode, a sound above 60dB (e.g., a clap, finger snap, or gentle tap on the clock/surface) will activate the display for approximately 10 seconds.
6.3 アラーム設定
The clock supports up to three different alarm settings (AL1, AL2, AL3).
- From the normal display mode, short press the セット button repeatedly until "AL1", "AL2", or "AL3" appears.
- To set an alarm, press and hold the セット button for 3 seconds when the desired alarm (e.g., "AL1") is displayed. The hour digits will flash.
- 使用 UP そして 下 アラームの時間を設定するには、 セット.
- 使用 UP そして 下 アラームの分を設定するには、 セット.
- The display will show "ON:AL" or "OFF:AL". Use UP or 下 to toggle the alarm ON or OFF. Press セット 確認します。
- 必要に応じて、AL2 と AL3 についても繰り返します。
When an alarm sounds, it will last for 1 minute. To stop the alarm, press any button. The alarm will automatically turn off after 1 minute if no button is pressed.
6.4 調光機能
The clock features an automatic dimmer function. The display brightness will automatically adjust between brighter (7:00 AM - 6:59 PM) and dimmer (7:00 PM - 6:59 AM) modes to suit ambient light conditions.
7. メンテナンス
- 時計の表面は柔らかく乾いた布で拭いてください。研磨剤入りの洗剤や溶剤は使用しないでください。
- If using batteries, replace them when the display becomes dim or erratic. Remove batteries if the clock will not be used for an extended period.
8。 トラブルシューティング
| 問題 | 考えられる原因 | 解決 |
|---|---|---|
| ディスプレイがオフまたは暗い。 | Sound-activated mode is on; low batteries; no power. | Tap the clock or make a sound to activate. Press V/S to switch to permanent display. Replace batteries or ensure USB power is connected. |
| Clock not responding to buttons. | 一時的なソフトウェアの不具合。 | Press the RESET button on the back of the clock. Re-enter settings if necessary. |
| アラームは鳴りません。 | Alarm is set to OFF; incorrect alarm time. | Check alarm settings (AL1/AL2/AL3) to ensure it is set to ON and the time is correct. |
| Incorrect time/date/temperature. | Settings not correctly configured. | Re-enter setting mode (Section 5.2) and adjust values. |
9. 仕様
| 特徴 | 詳細 |
|---|---|
| モデル番号 | GK08W13 |
| 寸法(長さ×幅×高さ) | 68 x 68 x 68 mm (2.68 x 2.68 x 2.68 インチ) |
| 重さ | 120 グラム (0.26 ポンド) |
| 材料 | プラスチック |
| 色 | White / White LED |
| 表示タイプ | デジタルLED |
| 電源 | USB Cable (DC5V) or 3 x AAA Batteries |
| 特徴 | Time, Date, Temperature Display, Sound Activation, 3 Alarm Settings, Dimmer Function, Internal Battery for Settings Retention |
10. 保証とサポート
Gingko products are designed and manufactured to the highest standards. For warranty information or technical support, please refer to the official Gingko website or contact your retailer. Please have your model number (GK08W13) and purchase details ready when seeking support.
詳細については、以下をご覧ください。 www.gingkodesign.com