1. はじめに
This manual provides instructions for the setup, operation, and maintenance of your Gingko Brick Click Clock, model GK15R16. This digital alarm clock is designed to display time, date, and temperature, offering both sound-activated and permanent display modes. It features an integrated rechargeable battery for portability and an automatic dimmer function for optimal visibility.
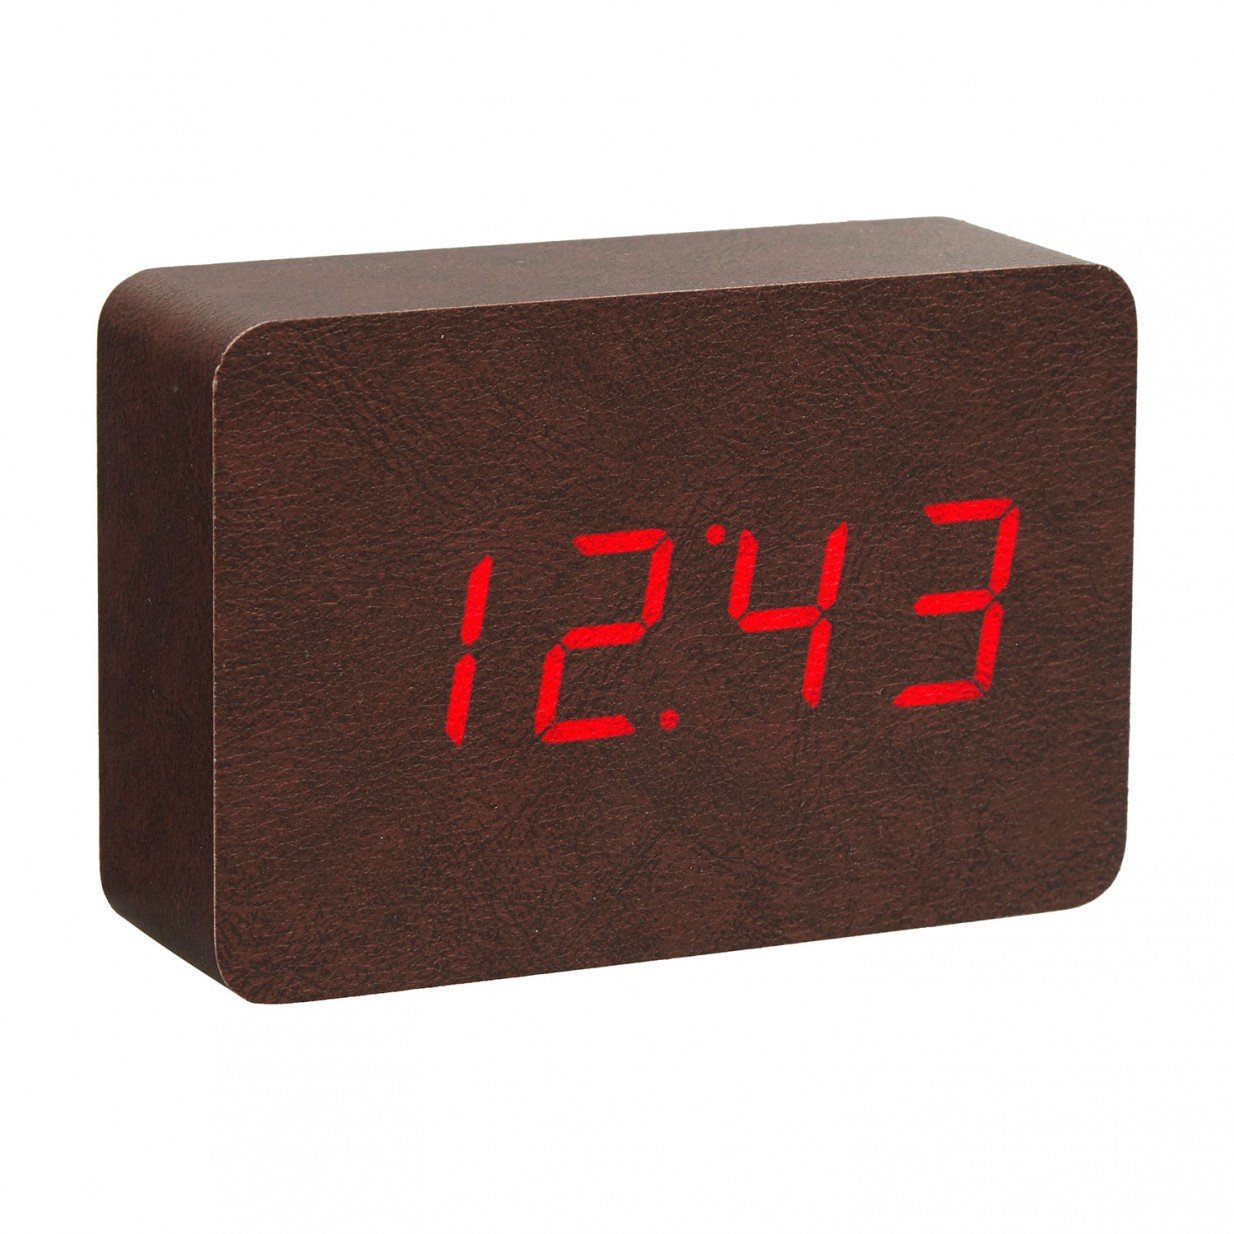
Image: The Gingko Brick Click Clock, featuring a brown leatherette exterior and a red LED display. The clock is shown displaying the time, indicating its digital interface and compact design.
2 製品の特徴
- Displays Time, Date, and Temperature alternately.
- Sound-activated display mode or permanent display setting.
- Automatic dimmer function for adjustable brightness.
- Integrated rechargeable lithium battery for portable use.
- Compact dimensions: 8 inches (height) x 6 inches (width).
3. パッケージ内容
パッケージに以下の項目が含まれているか確認してください。
- Gingko Brick Click Clock (GK15R16)
- USB充電ケーブル
- ユーザーマニュアル(このドキュメント)
Note: A USB power adapter is typically not included and must be supplied by the user.
4. セットアップ
4.1 初期充電
- Connect the small end of the provided USB charging cable to the charging port on the back or side of the clock.
- Connect the larger end of the USB cable to a compatible USB power adapter (e.g., smartphone charger) or a computer USB port.
- Allow the clock to charge fully before first use. A charging indicator (if present) will typically change color or turn off when charging is complete.
4.2電源オン
Once charged, the clock should power on automatically. If not, locate the power button (if available) or ensure it is connected to a power source.
5. 操作手順
The Gingko Brick Click Clock typically features control buttons on the back or bottom, often labeled 'SET', 'UP', and 'DOWN' (or similar icons).
5.1 時間の設定
- Press and hold the 'SET' button until the time display starts flashing.
- Use the 'UP' and 'DOWN' buttons to adjust the hour. Press 'SET' to confirm.
- Use the 'UP' and 'DOWN' buttons to adjust the minute. Press 'SET' to confirm and exit time setting mode.
5.2 日付の設定
- From the normal display, press 'SET' repeatedly until the date display starts flashing (e.g., YYYY, MM, DD).
- Use 'UP' and 'DOWN' to adjust the year, then press 'SET'.
- Adjust the month, then press 'SET'.
- Adjust the day, then press 'SET' to confirm and exit date setting mode.
5.3 アラームの設定
- Press 'SET' repeatedly until the alarm setting mode is displayed (often indicated by 'AL' or an alarm icon).
- Press and hold 'SET' until the alarm time starts flashing.
- Use 'UP' and 'DOWN' to set the alarm hour, then press 'SET'.
- Use 'UP' and 'DOWN' to set the alarm minute, then press 'SET'.
- To activate/deactivate the alarm, press 'UP' or 'DOWN' while in alarm setting mode until 'ON' or 'OFF' is displayed. Press 'SET' to confirm.
5.4 Display Modes (Sound Activated / Permanent)
The clock offers two main display modes:
- サウンド起動モード: The display turns off and activates when a sound (like a clap or tap) is detected. This conserves battery life.
- Permanent Display Mode: The display remains on continuously.
To switch between modes, locate a dedicated button (e.g., 'VOICE' or 'DISPLAY') or cycle through options using the 'SET' button until the desired mode is selected (e.g., 'ON:SD' for sound-activated, 'ON:DP' for permanent display).
5.5 Automatic Dimmer Function
The clock features an automatic dimmer that adjusts the display brightness based on ambient light conditions. This function operates automatically and does not typically require manual adjustment.
6. メンテナンス
6.1 クリーニング
時計を掃除するには、表面を柔らかく乾いた布、または軽く乾いた布で優しく拭いてください。amp cloth. Avoid using abrasive cleaners, solvents, or excessive moisture, as these can damage the finish and internal components.
6.2バッテリーケア
- For optimal battery life, avoid fully discharging the clock frequently.
- If storing the clock for an extended period, ensure it is partially charged (around 50%) and recharge it every few months.
- Do not expose the clock to extreme temperatures, as this can affect battery performance and lifespan.
7。 トラブルシューティング
| 問題 | 考えられる原因 | 解決 |
|---|---|---|
| 時計の表示がオフになっているか、応答しません。 | Low battery; Sound-activated mode active; Power issue. | Charge the clock. Tap or clap near the clock to activate display. Ensure USB cable is securely connected. |
| 時刻/日付が正しくありません。 | Not set correctly; Battery drained. | Follow instructions in Section 5.1 and 5.2 to reset time/date. Ensure clock is charged. |
| アラームは鳴りません。 | アラームが作動していない。音量が低すぎる(調整可能な場合)。アラーム時刻が間違っている。 | Verify alarm is set to 'ON' (Section 5.3). Check alarm time. (Note: This model may not have adjustable volume). |
| ディスプレイが暗すぎるか明るすぎます。 | Automatic dimmer adjusting; Ambient light conditions. | The automatic dimmer adjusts based on light. Ensure the light sensor (if visible) is not obstructed. No manual brightness adjustment is typically available. |
| ボタンが反応しません。 | 一時的なソフトウェアの不具合、バッテリー残量が少ない。 | Try charging the clock. If possible, perform a soft reset by disconnecting power and allowing battery to drain, then recharge. |
8. 仕様
| 特徴 | 詳細 |
|---|---|
| ブランド | イチョウ |
| モデル番号 | GK15R16 |
| 色 | Brown Leatherette |
| 表示タイプ | デジタル(赤色LED) |
| 特集 | Alarm, Temperature Display, Sound Activated Display, Automatic Dimmer |
| 製品寸法 | 幅6インチ x 高さ8インチ |
| 電源 | Rechargeable Battery; can also be powered via USB |
| 取り付けタイプ | テーブルトップ |
| フレーム素材 | 木材 |
| アイテム重量 | 1.14ポンド |
| 欧州連合 | 700900316934 |
| ASIN | B01N186QJ2 |
9. 保証とサポート
Warranty information for the Gingko Brick Click Clock GK15R16 is typically provided with the product packaging or available on the official Gingko website. Please refer to these sources for details regarding warranty coverage, terms, and conditions.
For technical support or further assistance, please contact Gingko customer service through their official webサイトまたは製品ドキュメントに記載されている連絡先情報を参照してください。