
1. はじめに
Thank you for choosing the Lenco PDR-030 DAB+/FM Portable Digital Radio. This manual provides essential information for setting up, operating, and maintaining your device. The PDR-030 offers high-quality digital radio reception (DAB+) and traditional FM radio, along with features such as an integrated rechargeable battery for portability, an RDS display, station memory, and an alarm clock function.
含まれるコンポーネント:
- Lenco PDR-030 Digital Radio
- AC Power Adapter (220 Volt)
- ユーザーマニュアル
2. 重要な安全情報
- 火災や感電を防ぐため、装置を雨や湿気にさらさないでください。
- 電源アダプターの電圧を確認してくださいtage はお住まいの地域の電源に適合します。
- cを開けないでくださいasing. すべての修理は資格を持った担当者に依頼してください。
- ユニットを熱源の近くや直射日光の当たる場所に置かないでください。
- Handle the integrated battery with care. Do not attempt to replace it yourself.
- デバイスを強い磁場から遠ざけてください。
3.製品オーバーview
Familiarize yourself with the main components and controls of your Lenco PDR-030 radio.
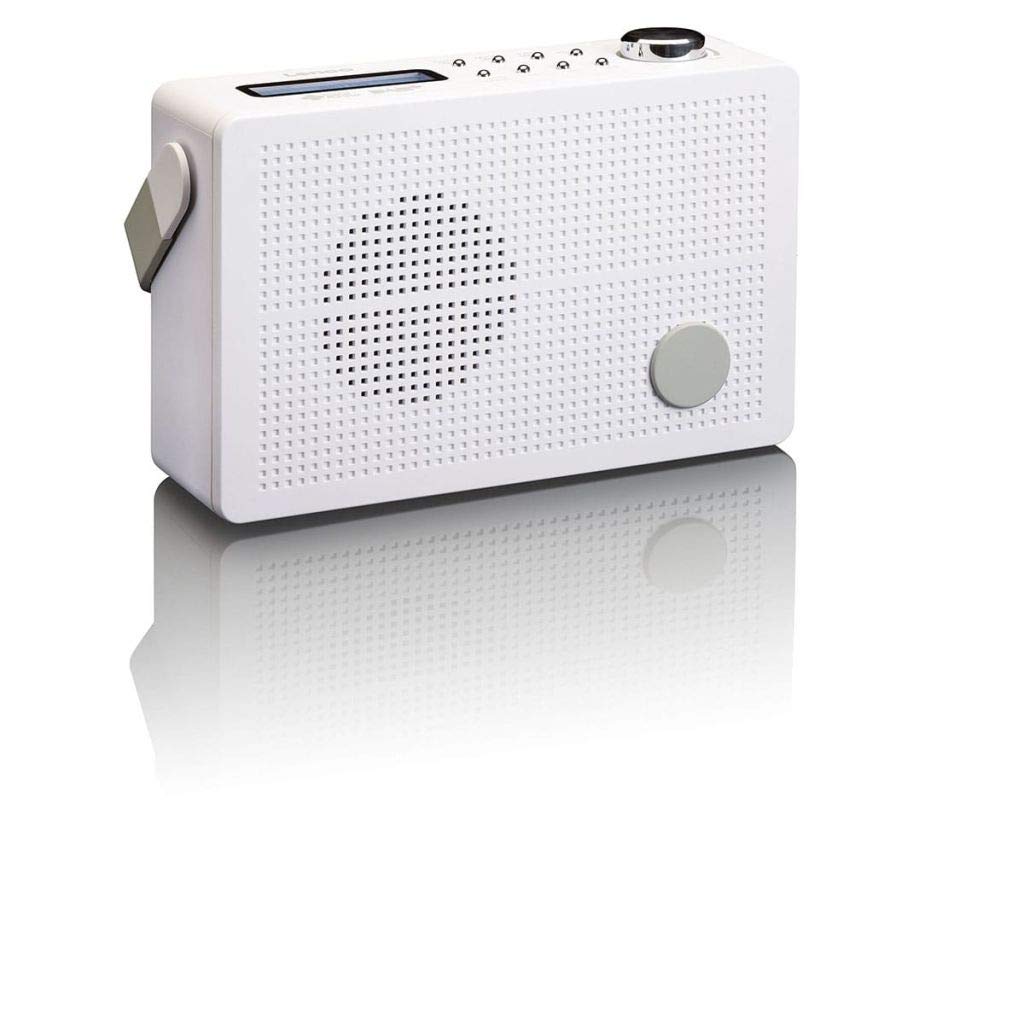
図3.1: Front Panel of Lenco PDR-030 Radio. Features include a blue backlit LCD display, power/source button, alarm, sleep, info/menu, preset buttons, select/snooze, scan, previous, next buttons, and a rotary volume knob.
主なコントロールと機能:
- 画面: Two-line illuminated LCD for time, date, station name, and information.
- 電源/ソースボタン: Turns the radio on/off and switches between DAB+ and FM modes.
- ボリュームノブ: 音声出力レベルを調整します。
- 伸縮アンテナ: 最適な無線信号受信を実現します。
- ヘッドホンジャック(3.5mm): プライベートリスニング用。
- Alarm/Sleep/Info/Menu/Preset Buttons: For various functions including setting alarms, sleep timer, accessing information, menu navigation, and managing station presets.
- Select/Snooze/Scan/Prev/Next Buttons: For station tuning, menu selection, and snooze function.
4. セットアップ
4.1 ラジオの電源供給
The PDR-030 can be powered by the included AC adapter or its integrated rechargeable battery.
- AC電源: Connect the supplied 220V AC power adapter to the DC input jack on the radio and then to a wall outlet. The radio will automatically begin charging the internal battery.
- バッテリー電源: The integrated Lithium-ion battery allows for portable use. Ensure the battery is sufficiently charged before use without the AC adapter.
4.2 アンテナのセットアップ
Extend the telescopic antenna fully for optimal reception of both DAB+ and FM signals. Adjust its position for the best signal quality.
4.3 Initial Power On and Station Scan
- を押す 電源 ラジオをオンにするボタン。
- Upon first use, the radio will automatically enter DAB+ mode and perform a full scan for available digital radio stations. This may take a few minutes.
- スキャンが完了すると、ラジオは最初に利用可能な放送局にチューニングされます。
5. 操作手順
5.1 電源オン/オフ
を押す 電源 ラジオのオン/オフを切り替えるボタン。
5.2 モード選択(DAB+/FM)
を押す ソース button repeatedly to switch between DAB+ and FM radio modes.
5.3 チューニングステーション
- DAB+ Mode:
- After the initial scan, use the 前へ そして 次 buttons to navigate through the list of available DAB+ stations.
- To perform a new full scan, press the メニュー button, navigate to "Full Scan" using 前へ/次へを押して 選択.
- FMモード:
- を押す スキャン button to automatically scan for the next available FM station.
- 手動で調整するには、 前へ or 次 周波数を微調整するためのボタン。
5.4 Saving and Recalling Preset Stations
ラジオでは、最大 10 の DAB+ および 10 の FM プリセット局を保存できます。
- プリセットを保存するには:
- 希望の放送局にチューニングします。
- を押し続けます プリセット ディスプレイに「Preset Store」が表示されるまでボタンを押します。
- 使用 前へ/次へ ボタンを押してプリセット番号(1~10)を選択します。
- プレス 選択 ステーションを確認して保存します。
- プリセットを呼び出すには:
- を押す プリセット ボタンを短く押します。
- 使用 前へ/次へ ボタンを押して希望のプリセット番号を選択します。
- プレス 選択 to tune to the preset station.
5.5 ボリュームコントロール
回転する ボリュームノブ 時計回りに回すと音量が上がり、反時計回りに回すと音量が下がります。
5.6 RDS Functionality (FM Mode)
In FM mode, the RDS (Radio Data System) function displays information such as station name, program type, and other broadcast data on the two-line LCD display.
5.7 目覚まし時計機能
The PDR-030 can be used as an alarm clock with two separate alarm times.
- アラームを設定する:
- を押す アラーム ボタン。
- 使用 前へ/次へ アラーム1またはアラーム2を選択し、 選択.
- Follow the on-screen prompts to set the alarm time, duration, source (Buzzer or Radio), frequency (Daily, Once, Weekdays, Weekends), and volume.
- Ensure the alarm is set to "On" and press 選択 保存します。
- スヌーズ機能: アラームが鳴ったら、を押します スヌーズ ボタンを押すと、一定時間一時的に無音になります。
- 目覚まし時計: を押す 寝る button repeatedly to set a sleep timer (e.g., 15, 30, 45, 60 minutes) after which the radio will automatically turn off.
5.8 ヘッドホン接続
Connect 3.5mm stereo headphones to the headphone jack for private listening. The internal speaker will be muted automatically.
6. メンテナンス
6.1 クリーニング
Wipe the radio's exterior with a soft, dry cloth. Do not use abrasive cleaners, waxes, or solvents as they may damage the finish. Ensure no liquids enter the device.
6.2バッテリーケア
The integrated Lithium-ion battery is designed for long life. To maximize battery lifespan:
- バッテリーを頻繁に完全に放電することは避けてください。
- ラジオを長期間保管する場合は、バッテリーを約 50% まで充電し、涼しく乾燥した場所に保管してください。
- ご自身でバッテリーを交換しようとしないでください。バッテリーに問題が発生した場合は、資格のあるサービス担当者にご連絡ください。
7。 トラブルシューティング
| 問題 | 考えられる原因 | 解決 |
|---|---|---|
| 電源なし | AC adapter not connected or faulty; battery discharged. | Check AC adapter connection. Charge the battery. |
| DAB+/FMの受信状態が悪い | アンテナが伸びていない、信号が弱いエリアがある、干渉がある。 | Fully extend and adjust the telescopic antenna. Move the radio to a location with better signal. Avoid placing near other electronic devices. |
| 音が出ない | 音量が低すぎます。ヘッドフォンが接続されています。ミュートが有効になっています。 | Increase volume. Disconnect headphones. Check if mute is active (if applicable). |
| アラームが鳴らない | Alarm not activated; alarm volume too low; incorrect time setting. | Ensure alarm is set to "On". Check alarm volume. Verify current time and alarm time settings. |
8. 仕様
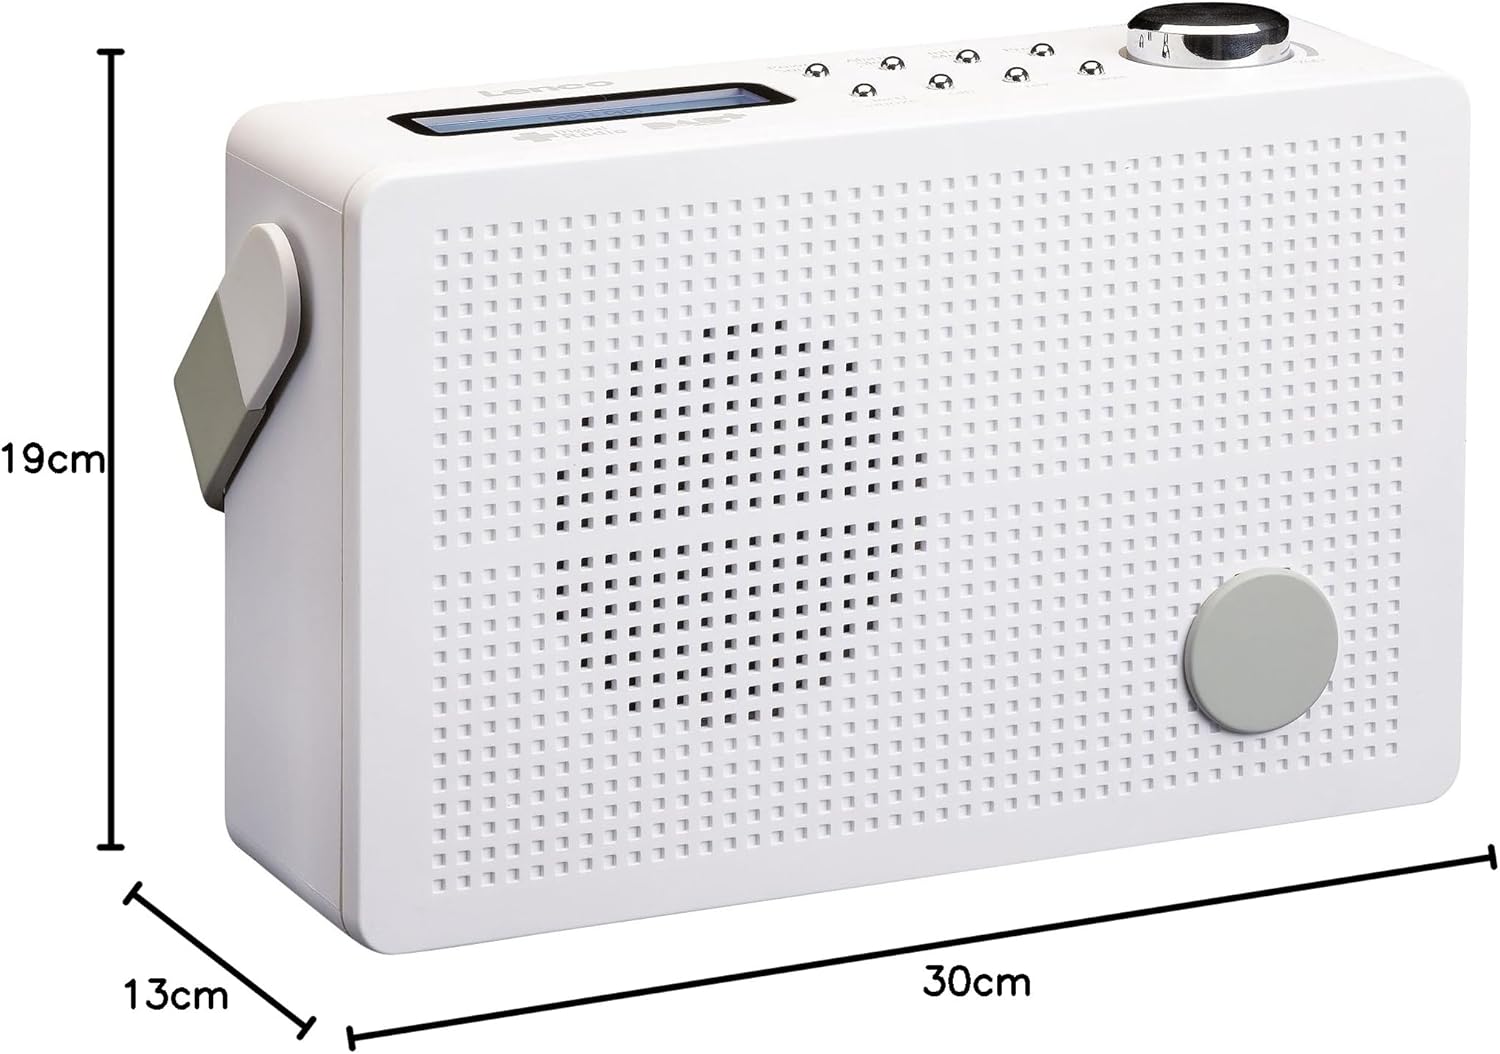
図8.1: Lenco PDR-030 Dimensions.
| 特徴 | 詳細 |
|---|---|
| モデル番号 | PDR-030 |
| チューナーテクノロジー | DAB+, FM (Ukw) |
| 電源 | Battery-Powered (Integrated Lithium-ion), AC Adapter |
| ACVol。tage | 220ボルト |
| 製品の寸法(W x D x H) | 21.4 x 6.5 x 13.8 cm (approx. 22.5 x 8.5 x 15 cm as per another spec) |
| アイテム重量 | 9 g (Note: This seems incorrect, likely 670g from description) |
| 材質タイプ | プラスチック |
| ハードウェアインターフェイス | 3.5 mm Audio (Headphone Jack) |
| 特集 | Portable, RDS Display, Alarm Clock, Station Memory (10 DAB+, 10 FM) |
Note: Some dimensions and weight specifications provided by the manufacturer may vary slightly. The description states 670 grams for weight, while specifications list 9g. Please refer to the product packaging for the most accurate information.
9. 保証とサポート
Lenco products are designed for reliability and performance. This product typically comes with a 24-month manufacturer's warranty from the date of purchase, covering defects in materials and workmanship. Please retain your proof of purchase for warranty claims.
For technical support, service, or warranty inquiries, please refer to the contact information provided on the Lenco official website or your local retailer. Do not attempt to repair the device yourself.
詳細については、 Lenco Store on Amazon.