1. はじめに
This manual provides detailed instructions for the setup, operation, and maintenance of your ELECROW 7 Inch 1024x600 IPS Capacitive Touchscreen Monitor. This display is designed for broad compatibility with devices such as Raspberry Pi (5/4/3B+/3B/2B+), BB Black, Banana Pi, Jetson Nano, and Windows 11/10/8/7 systems.
主な特徴:
- HDビジュアル: 7-inch IPS screen with 1024x600 resolution and 170° wide viewing angle for consistent colors and clear viewing。
- 静電容量式タッチ: Supports up to 5-point touch functionality without requiring driver installation for most compatible systems.
- プラグアンドプレイ: Simple connectivity via HD (HDMI) and Micro USB ports for immediate use.
- 多用途アプリケーション: Suitable for use as a Raspberry Pi display, mini PC monitor, gaming console screen, or a computer temperature monitor.
2. 箱の中身
インストールを続行する前に、すべてのコンポーネントが揃っていることを確認してください。
- 7 Inch Capacitive Display x 1
- HDケーブル×1
- USBケーブル×1
- Micro HD Adapter x 1
- Copper Screws Pack (4pcs) x 1
- DVD x 1 (Contains drivers and documentation)
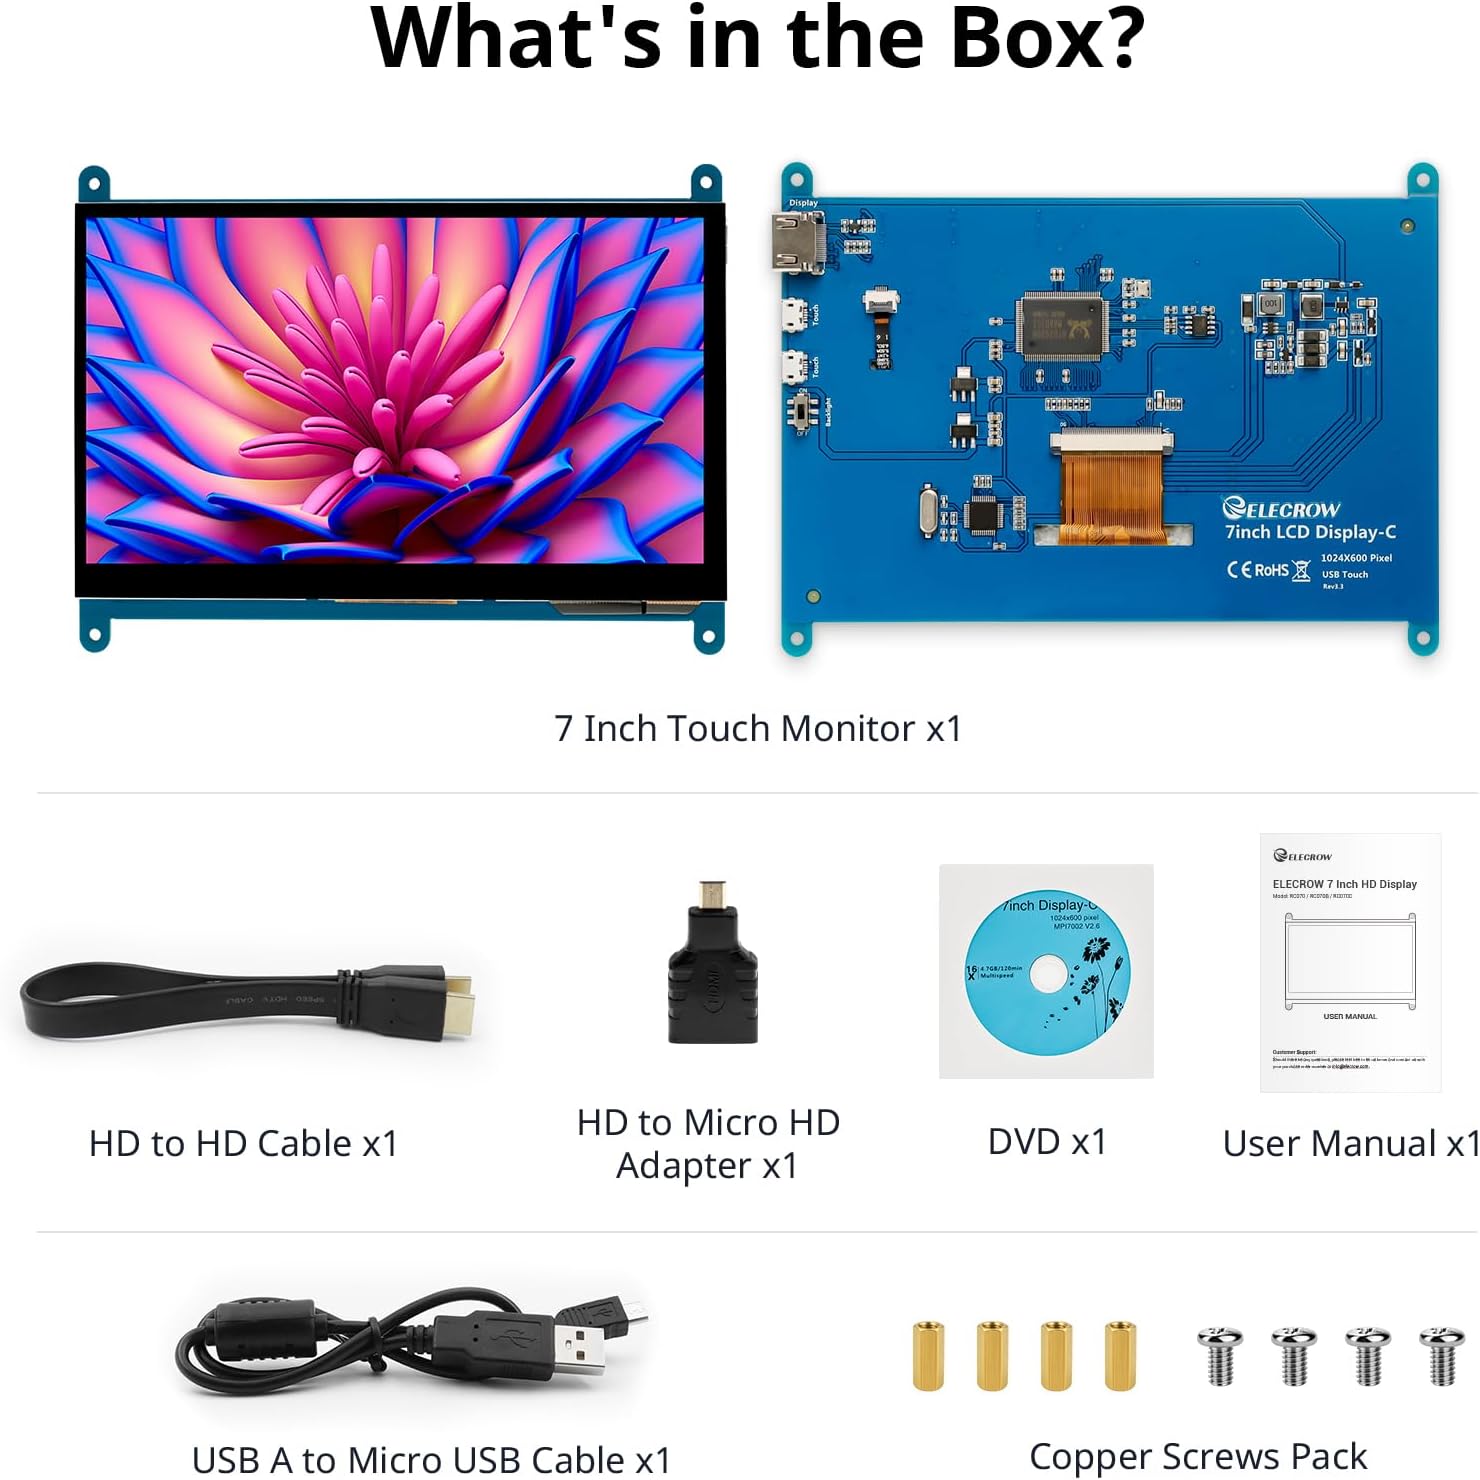
画像: 製品パッケージに含まれるすべてのコンポーネント。
3. セットアップと接続
Follow these steps to connect your ELECROW 7 Inch Touchscreen Monitor to your device.
3.1 ハードウェア終了view

画像: 背面 view of the monitor highlighting the Standard HD Port, Micro USB Port for touch and power, and Backlight switch.
- Standard HD Port: For video data transfer.
- マイクロUSBポート: タッチ機能と電源供給用。
- バックライトスイッチ: To turn the display backlight on or off.
3.2 Raspberry Piへの接続
To connect the monitor to a Raspberry Pi, you will need both the HD cable for video and the USB cable for touch and power.
- Connect one end of the HD cable to the Standard HD Port on the monitor and the other end to the HDMI port on your Raspberry Pi. Use the Micro HD adapter if necessary for your Raspberry Pi model.
- Connect the Micro USB cable to the Micro USB Port on the monitor. Connect the other end of the USB cable to a USB port on your Raspberry Pi for power and touch data.
- Ensure the backlight switch on the monitor is in the 'On' position.
- Power on your Raspberry Pi. The display should automatically detect and show the output.
For touch functionality with Raspberry Pi, power can be supplied via the Raspberry Pi's USB port. If using an external power source for the Raspberry Pi, ensure it is sufficient. For optimal performance, especially with older Raspberry Pi models, an external power supply for the monitor might be beneficial if the Pi cannot provide enough current.
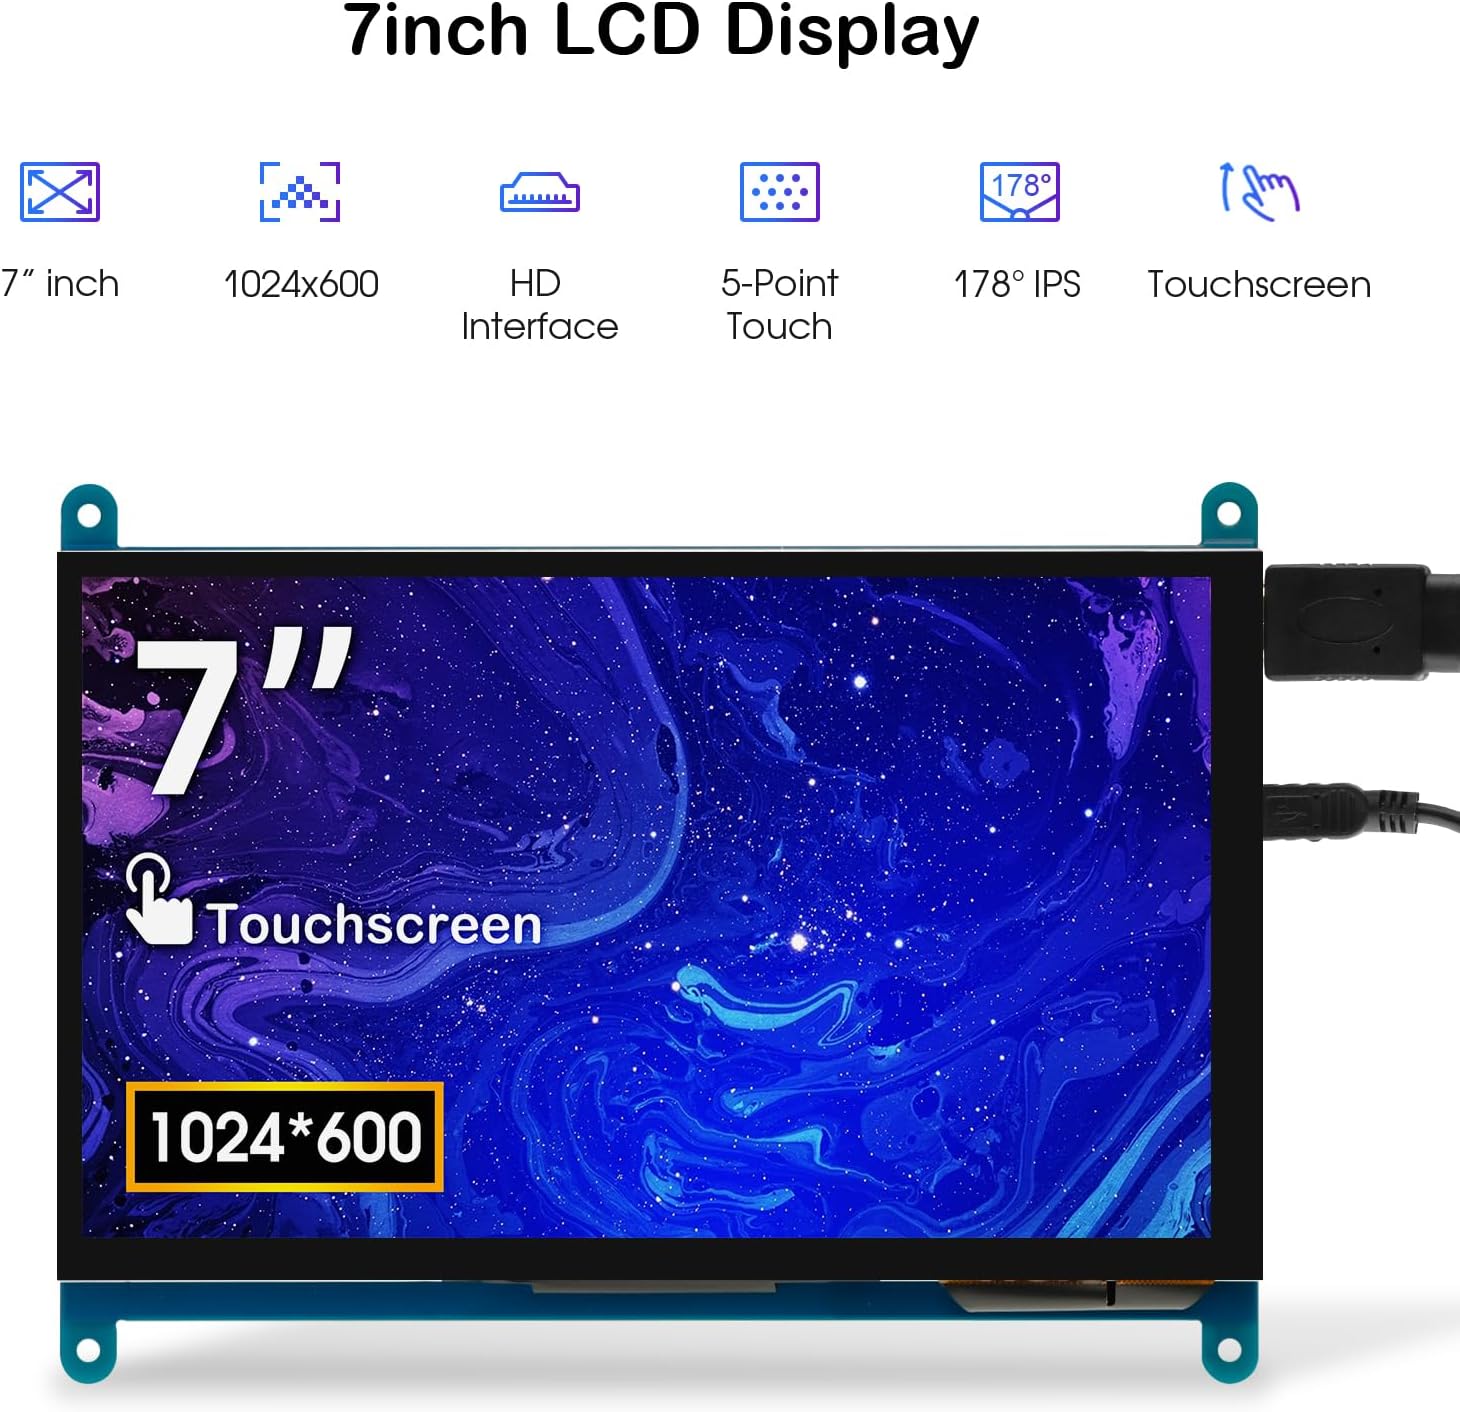
Image: The 7-inch touchscreen connected to a Raspberry Pi board, displaying a graphical user interface.
3.3 Connecting to Windows PC/Laptop
For Windows systems, the monitor functions as a plug-and-play display and touchscreen.
- Connect the HD cable from the monitor's Standard HD Port to an HDMI port on your PC or laptop.
- Connect the Micro USB cable from the monitor's Micro USB Port to a USB-A port on your PC or laptop. This provides power and enables touch functionality.
- Ensure the backlight switch is 'On'.
- Your Windows system should automatically detect the display and touchscreen. No additional drivers are typically required for Windows 7/8/10/11 for basic display and 5-point touch.

Image: The 7-inch touchscreen connected to a laptop, demonstrating seamless connectivity with various operating systems including Windows.
4. 操作手順
4.1 タッチ機能
The monitor supports 5-point capacitive touch, allowing for various gestures.
- タップ: 選択またはアクティブ化を 1 回タッチします。
- プレス: Sustained touch for context menus or drag operations.
- ズームイン/ズームアウト: 2 本の指でピンチするジェスチャです。
- マウスクリック: A single tap typically registers as a left-click.
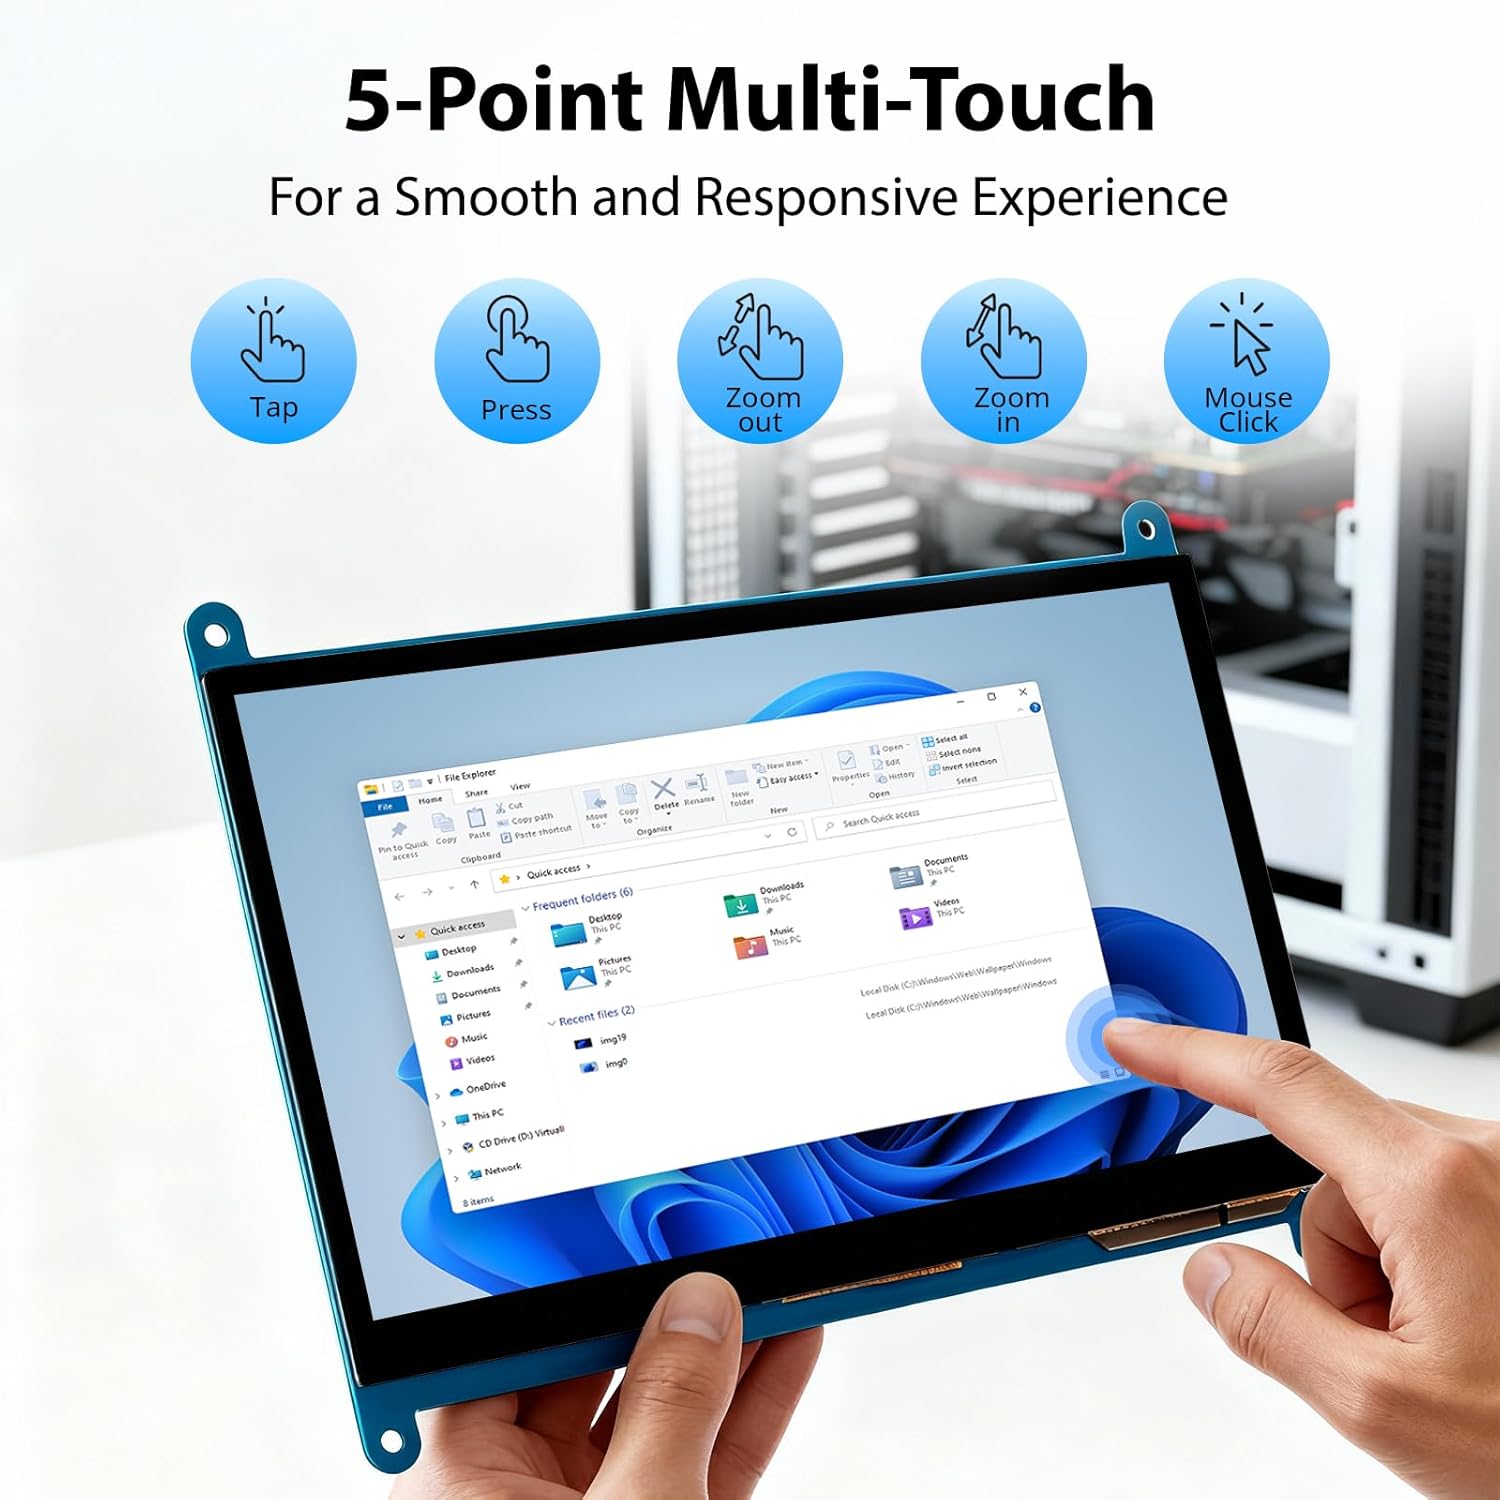
Image: Visual guide to the 5-point multi-touch capabilities of the screen, showing common gestures.
4.2表示モード
When connected to a computer, the monitor can operate in several display modes:
- 複製モード: モニターはプライマリディスプレイのコンテンツをミラーリングします。
- 拡張モード: The monitor acts as an extension of your primary display, providing additional screen space.
- セカンドスクリーンモード: プライマリ ディスプレイがオフになっているため、モニターは唯一のディスプレイとして機能します。
These modes can typically be configured through your operating system's display settings.

Image: Illustrations demonstrating the three display modes: Duplicate, Extend, and Second Screen, showing how the monitor can be used with a laptop.
4.3 バックライトコントロール
The monitor features a physical switch to control the backlight. This allows you to turn the display illumination on or off without disconnecting power. Note that there is no granular brightness control; it is an on/off function only.
Video: This video demonstrates the backlight control switch on the ELECROW 7 Inch Touchscreen, showing how to turn the display illumination on and off.
5. メンテナンス
適切なメンテナンスを行うことで、モニターの寿命が長くなり、最適なパフォーマンスが確保されます。
- 画面の掃除: 柔らかく糸くずの出ない布で軽く拭き取ってください。ampened with water or a screen-cleaning solution. Avoid harsh chemicals or abrasive materials that could damage the screen surface.
- 一般的なケア: Keep the monitor in a clean, dry environment. Avoid exposing it to extreme temperatures, direct sunlight, or high humidity.
- 取り扱い: Handle the monitor by its edges. Avoid applying excessive pressure to the screen.
6。 トラブルシューティング
モニターに問題が発生した場合は、次の一般的な問題と解決策を参照してください。
| 問題 | 考えられる原因 | 解決 |
|---|---|---|
| 画面が表示されない/黒い画面 |
|
|
| タッチスクリーンが反応しない |
|
|
| Display resolution incorrect |
|
|
| 明るさ調節なし | The monitor only has an on/off switch for the backlight, not adjustable brightness. | This is expected behavior. The monitor does not support adjustable brightness. |
7. 仕様
Detailed technical specifications for the ELECROW 7 Inch Touchscreen Monitor.
| 特徴 | 詳細 |
|---|---|
| ブランド | エレクトロクロウ |
| モデル名 | RC070 |
| 画面サイズ | 7インチ |
| ディスプレイ解像度最大 | 1024×600 |
| ネイティブ解像度 | 1024x600 |
| 表示タイプ | 液晶 |
| ディスプレイ技術 | IPS |
| アスペクト比 | 1.71:1 |
| リフレッシュレート | 60Hz |
| 応答時間 | 8ミリ秒 |
| コントラスト比 | 800:1 |
| 輝度 | 300ルーメン |
| View角度 | 170度 |
| スクリーン表面の説明 | 光沢のある |
| 接続技術 | HDMI |
| ハードウェアの接続 | HDMI、USB |
| HDMIポートの総数 | 1 |
| USBポート合計 | 2 (Micro USB for power/touch, USB-A for power/touch) |
| 消費電力 | 12.5ワット |
| 巻tage | 5ボルト |
| 商品の寸法(奥行き x 幅 x 高さ) | 奥行き0.3インチ x 幅6.1インチ x 高さ4.8インチ |
| アイテム重量 | 7.36オンス |
| 対応デバイス | Raspberry Pi, BB Black, Banana Pi, Jetson Nano, Computers, Laptops, Gaming Consoles |
8. 保証とサポート
Your ELECROW 7 Inch Touchscreen Monitor comes with a manufacturer's warranty.
- 保証の種類: 1年間のメーカー保証
- 保証の説明: 1年メーカー
For technical support or warranty claims, please contact ELECROW customer service through their official web製品を購入したサイトまたはプラットフォーム。