フルアンス RT81
Fluance RT81 Elite ハイファイビニールターンテーブルレコードプレーヤー ユーザーマニュアル
Model: RT81 | Brand: Fluance
導入
This manual provides detailed instructions for the setup, operation, maintenance, and troubleshooting of your Fluance RT81 Elite High Fidelity Vinyl Turntable. Please read this manual thoroughly before using your turntable to ensure proper function and longevity.
The Fluance RT81 is designed to deliver a pure analog listening experience with premium components, including an Audio Technica AT95E cartridge, a belt-drive system, and a high-mass MDF wood plinth for superior vibration isolation.
含まれるもの
パッケージ内にすべてのコンポーネントが揃っていることを確認します。
- RT81 Turntable Unit
- ダストカバー
- 45 アダプタ
- ラバープラッターマット
- 3ft RCA Cable with Ground Wire
- 100V - 240V (50/60Hz) AC Power Adapter
- クイックスタートガイド
- Audio Technica AT95E Cartridge (pre-installed on headshell)
- カウンターウェイト
- Hinges (x2)
- ゴムベルト

Image: All components included with the Fluance RT81 turntable, including the plinth, aluminum platter, platter mat, headshell & AT95E cartridge, dust cover, hinges, RCA cable, 45 adapter, counterweight, 5ft power adapter, and rubber belt.
設定
1. 開梱と設置
すべての部品をパッケージから慎重に取り出します。ターンテーブルは、直射日光、熱源、過度の振動を避け、安定した平らな場所に置いてください。
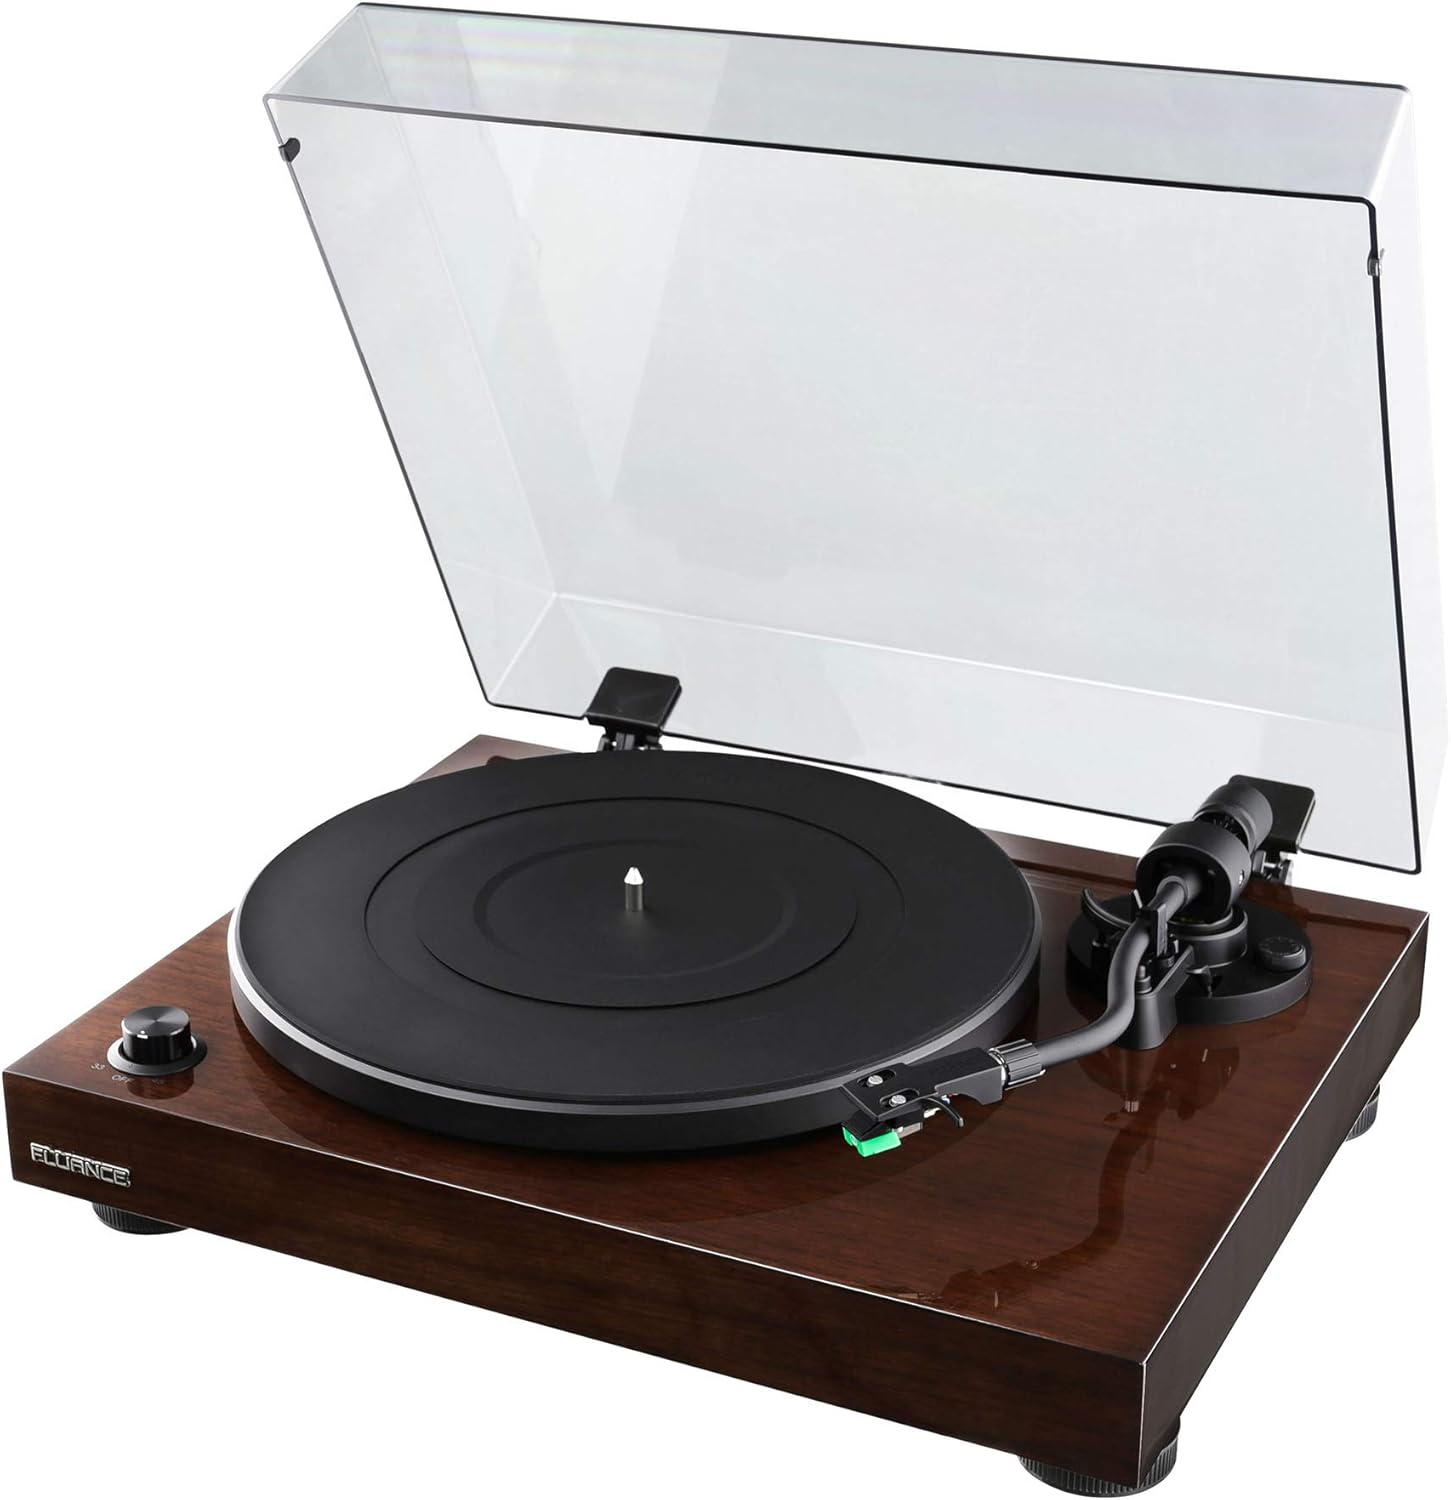
Image: The Fluance RT81 turntable in its walnut finish, with the clear dust cover open, showcasinプラッターとトーンアーム。
2. プラッターとベルトの取り付け
- Place the aluminum platter onto the spindle.
- Carefully loop the rubber belt around the motor pulley and the inner rim of the platter. Ensure the belt is not twisted.
- Place the rubber platter mat on top of the aluminum platter.

画像: クローズアップ view of the Fluance RT81 turntable's tonearm, highlighting the Audio Technica AT95E cartridge with its green stylus.
3. トーンアームのセットアップ
The Audio Technica AT95E cartridge is pre-installed on the headshell. You will need to balance the tonearm and set the tracking force.
- トーンアームの背面にカウンターウェイトを取り付けます。
- トーンアームのバランスが取れて水平に浮くまでカウンターウェイトを調整します。
- Set the tracking force to the recommended 2.0 grams by rotating the counterweight.
- Set the anti-skating control to '2' to match the tracking force.
4. オーディオシステムへの接続
The RT81 features a built-in Texas Instruments preamp, offering flexibility in connection options.
- Using Built-in Preamp: Set the PHONO/LINE switch on the back of the turntable to ライン. Connect the RCA cables from the turntable's AUDIO OUTPUT to any available line-level input (e.g., AUX, CD) on your amplifier or powered speakers. The ground wire is not needed in this configuration.
- Using External Preamp: Set the PHONO/LINE switch on the back of the turntable to フォノ. Connect the RCA cables from the turntable's AUDIO OUTPUT to the PHONO input on your external preamp or receiver. Connect the ground wire from the turntable's ground post to the ground terminal on your external preamp/レシーバー。

Image: Rear panel of the Fluance RT81 turntable, displaying the RCA audio output jacks, ground terminal, PHONO/LINE switch, AUTO STOP switch, and DC 12V power input.
5. 電源接続
Connect the AC power adapter to the DC 12V input on the back of the turntable, then plug it into a wall outlet.
操作手順
1. レコードの再生
- Place a record on the platter mat. For 7-inch singles, use the included 45 adapter.
- Select the appropriate speed (33 or 45 RPM) using the selector dial on the front left.
- キューイングレバーを使用してトーンアームを持ち上げます。
- トーンアームをレコードの希望する開始溝の上に手動で配置します。
- キューイングレバーを使ってトーンアームをゆっくり下げます。レコードの再生が始まります。
2. Auto Stop Function
The RT81 features an auto-stop function. When enabled (AUTO STOP switch set to ON), the platter will automatically stop spinning once the tonearm reaches the end of the record. If disabled (AUTO STOP switch set to OFF), the platter will continue to spin until manually stopped.
Video: A demonstration of the Fluance RT81 turntable in operation, showcasing the automatic stop feature at the end of a record. This video is provided by Shoptronics, a seller of the product.
3. 再生を停止する
- キューイングレバーを使用してトーンアームを持ち上げます。
- トーンアームを元の位置に戻します。
- Turn the speed selector dial to "OFF" to stop the platter.
メンテナンス
1. ターンテーブルのクリーニング
Regular cleaning will help maintain the performance and appearance of your RT81.
- Use a soft, dry cloth to wipe the plinth and dust cover. Avoid abrasive cleaners.
- Gently brush the stylus with a soft brush in a back-to-front motion to remove dust.
- Clean records regularly with a carbon fiber brush or record cleaning solution to prevent dust buildup and improve sound quality.
2. ベルトの交換
The drive belt may need replacement over time due to wear. Refer to the "What's Included" section for the location of the belt and instructions for re-installation.
トラブルシューティング
| 問題 | 考えられる原因 | 解決 |
|---|---|---|
| 音が出ない | Incorrect PHONO/LINE switch setting; loose RCA connections; amplifier/speaker issues. | Ensure PHONO/LINE switch is set correctly (LINE for built-in preamp, PHONO for external). Check all cable connections. Verify ampスピーカー/コントローラの電源がオンになっており、正しい入力に設定されています。 |
| 歪んだ音 | Incorrect tracking force; dirty stylus; damaged record. | Re-balance tonearm and set tracking force to 2.0g. Clean the stylus. Inspect record for damage. |
| プラッターが回転しない | Power not connected; belt dislodged; AUTO STOP engaged and tonearm not moved. | Check power connection. Re-seat the drive belt. Move tonearm over platter or disable AUTO STOP. |
| ハミングノイズ | Ground wire not connected (if using external preamp); interference. | Ensure ground wire is securely connected (if PHONO mode). Move turntable away from other electronic devices. |
仕様
- モデル: RT81 Elite
- ブランド: フルアンス
- 寸法(長さ×幅×高さ): 13.75 x 16.5 x 5.5インチ
- 商品の重量: 14.1ポンド
- 台座材質: MDFウッド
- プラッター: アルミニウム
- カートリッジ: Audio Technica AT95E (Elliptical Stylus)
- 駆動システム: ベルト駆動
- 速度: 33 1 / 3、45 RPM
- 前amp: Built-in Texas Instruments Preamp (switchable PHONO/LINE)
- 接続性: Wired RCA Output with Ground Terminal
- 自動停止: Yes (switchable ON/OFF)
- 色: クルミ

画像: オーバーヘッド view of the Fluance RT81 turntable with a record spinning, demonstrating its operational state.
保証とサポート
Fluance RT81ターンテーブルには、 2年間のメーカー保証. For warranty claims or technical support, please contact Fluance customer service directly.
生涯カスタマーサポート is also provided by Fluance to assist with any questions or issues you may encounter with your turntable.
For additional resources, including detailed setup videos and FAQs, please visit the official Fluance website or refer to the included Quick Start Guide.

Image: The Fluance company logo, "FLUANCE. Serious Performance."
Ask a question about this manual
Ask about setup, troubleshooting, compatibility, parts, safety, or missing instructions. Manuals+ will review the question and use this page’s manual context to help answer it.