
1. はじめに
Thank you for choosing the EXCELVAN WH1281 Wireless Digital Weather Station. This device provides accurate indoor and outdoor temperature and humidity readings, along with a weather forecast display. Please read this manual carefully before use to ensure proper operation and to maximize the lifespan of your product.
2.製品コンポーネント
The EXCELVAN WH1281 Weather Station consists of two main parts:
- メインディスプレイユニット: Displays indoor/outdoor temperature, humidity, time, and weather forecast.
- ワイヤレス屋外センサー: Measures outdoor temperature and transmits data to the main unit. This sensor is waterproof.
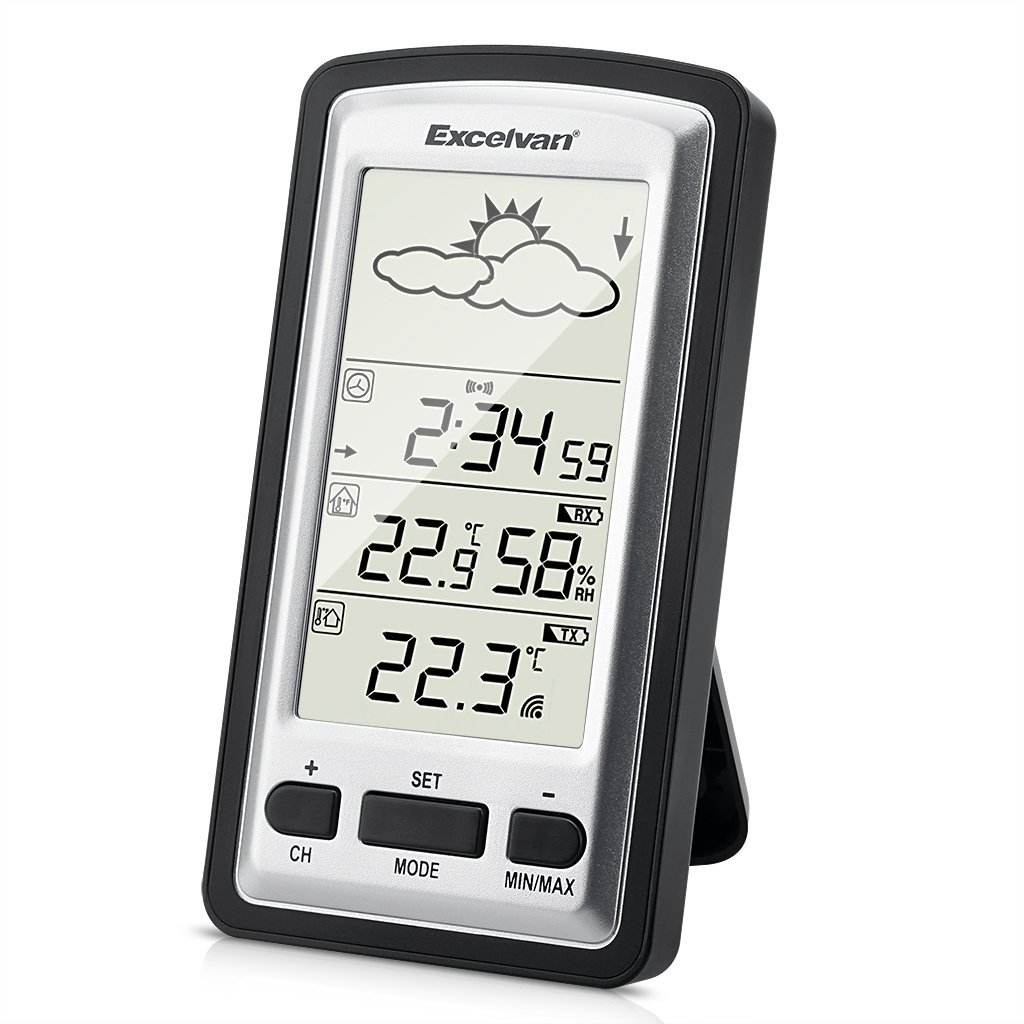
Image 1: Main Display Unit and Wireless Outdoor Sensor. The effective transmission distance between the sensor and the main unit is up to 100 meters in open areas.

Image 2: Separate view of the main display unit and the wireless outdoor temperature sensor.
3.セットアップガイド
3.1 バッテリーの取り付け
Batteries are not included and must be purchased separately. Both the main unit and the outdoor sensor require batteries for operation.
- 屋外センサー:
- 屋外センサーの背面にある電池ケースのカバーを開きます。
- 正しい極性 (+/-) を確認して、1.5V AAA 電池 2 本を挿入します。
- 電池カバーをしっかりと閉じてください。
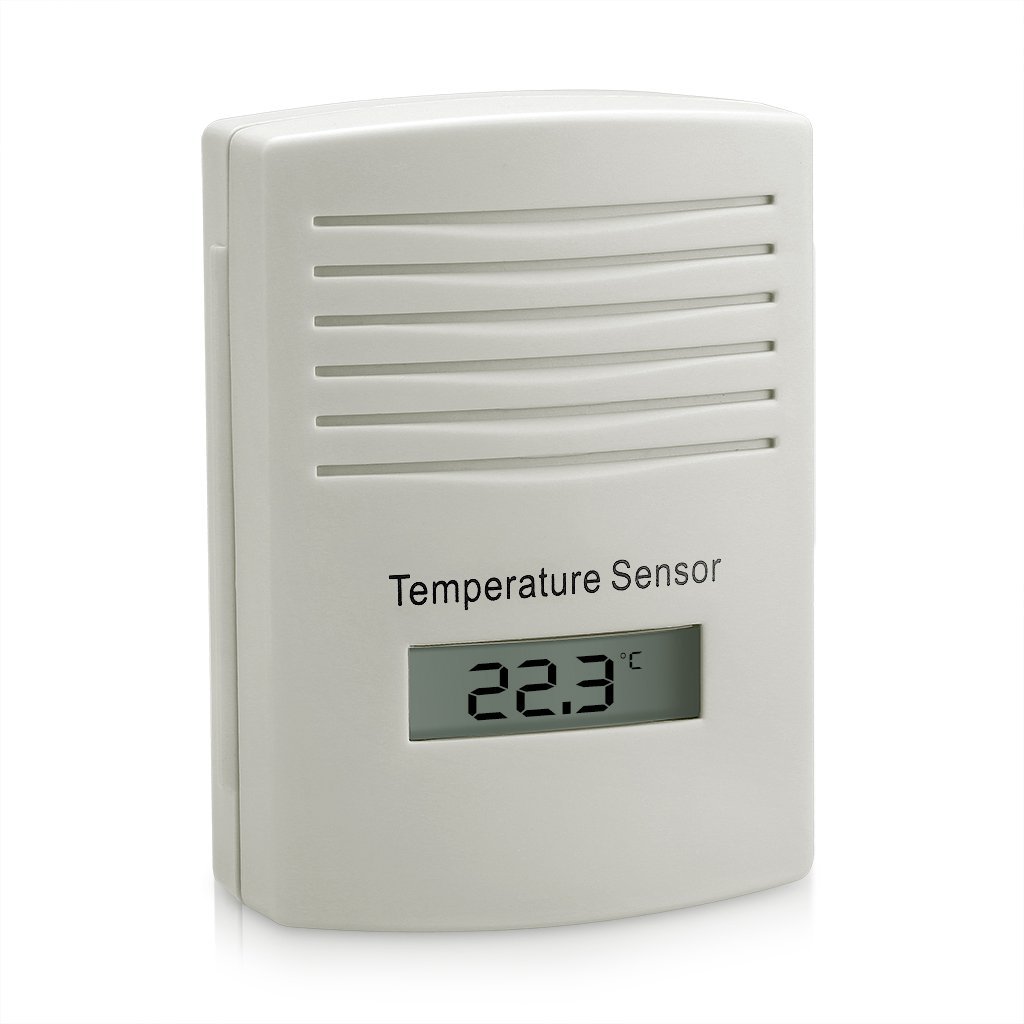
画像3:リア view of the outdoor sensor, indicating the battery compartment and power requirements (2x1.5V AAA batteries).
- メインディスプレイユニット:
- 本体背面の電池カバーを開けます。
- Insert batteries (typically AAA or AA, refer to the unit's markings for exact type and quantity), ensuring correct polarity (+/-).
- 電池カバーをしっかりと閉じてください。
3.2 Sensor Pairing and Initial Synchronization
For optimal performance, always insert batteries into the outdoor sensor first, then into the main display unit. This ensures proper synchronization.
- After inserting batteries into both units, the main display unit will automatically search for the outdoor sensor. This process may take a few minutes.
- Once connected, the outdoor temperature and humidity will appear on the main display. If the connection is not established, try pressing the "CH" button on the main unit to manually search for the sensor, or remove and reinsert batteries in both units.
3.3 Placement of the Outdoor Sensor
To ensure accurate readings and prolong the sensor's life:
- Place the sensor in a shaded area, away from direct sunlight, which can cause artificially high temperature readings.
- Protect the sensor from direct rain and snow, even though it is designed to be waterproof. An overhang or protective cover is recommended.
- Ensure the sensor is within the effective transmission range (up to 100 meters in open air) of the main unit. Walls and other obstructions can reduce this range.
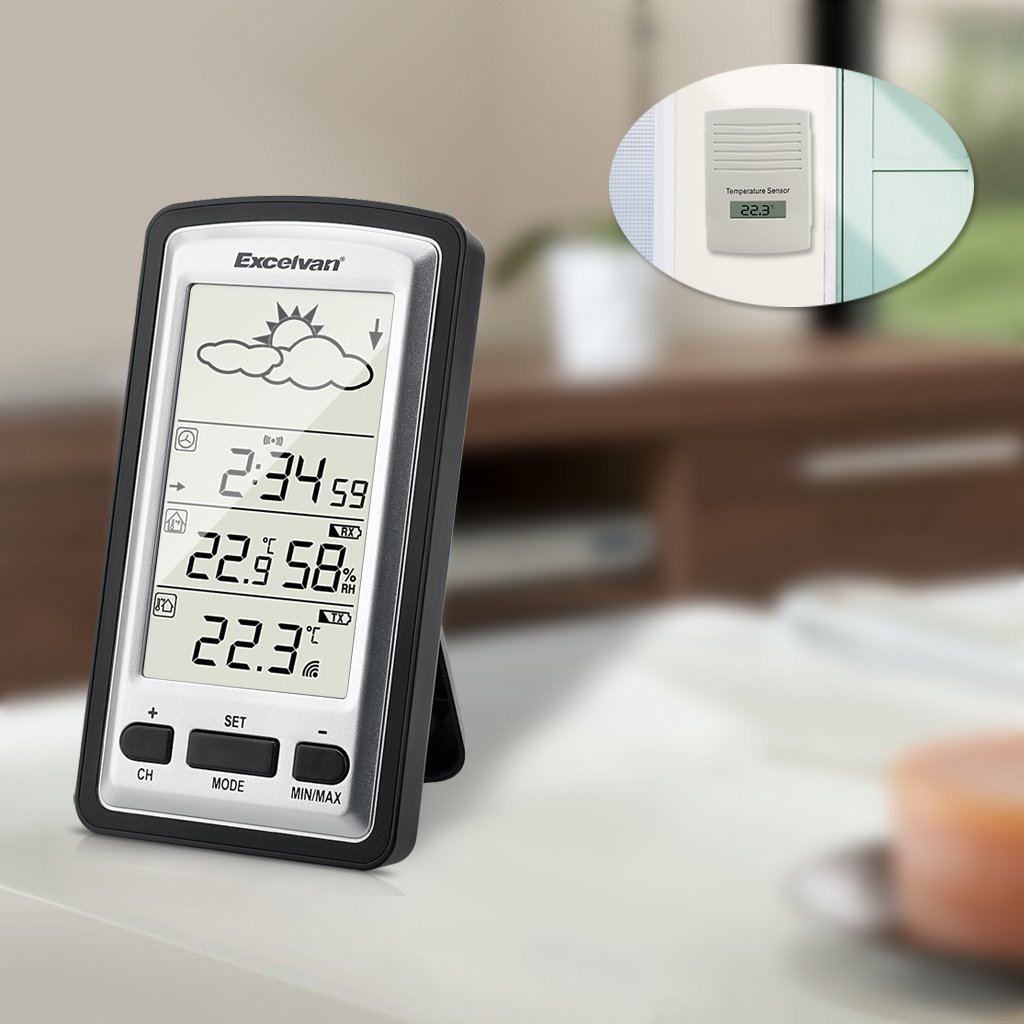
図4: 例ample placement of the outdoor sensor, visible through a window, while the main unit is indoors.
4. 操作手順
4.1 メインディスプレイ終了view
The main display unit features a clear LED screen showing various environmental data and time information.

Image 5: Main display unit with active green backlight, showing current time, indoor temperature and humidity, outdoor temperature, and weather forecast icons.
主な表示要素は次のとおりです。
- 天気予報アイコン: Sun, clouds, rain, etc., indicating predicted weather trends.
- 時間表示: Current time in HH:MM format.
- 室内温度と湿度: Current indoor conditions.
- 屋外温度: ワイヤレス センサーからの現在の温度。
- シグナルインジケーター: Shows connection status with the outdoor sensor.
4.2 ボタンの機能
The main unit has several buttons for configuration and data viewing:
- CH(チャンネル): Used to switch between multiple outdoor sensors (if supported and additional sensors are purchased) or to manually search for the sensor.
- セット: Enters settings mode for time, date, and other parameters. Also confirms settings.
- モード: Switches between different display modes (e.g., time, alarm).
- 最小/最大: Displays the minimum and maximum recorded indoor/outdoor temperatures and humidity since the last reset. Press again to cycle through values. Long press to reset MIN/MAX records.
- + /-: Used to adjust values during settings mode or to switch between Celsius (°C) and Fahrenheit (°F) temperature units (often by pressing one of these buttons outside of settings mode).
4.3 時刻と日付の設定
- Press and hold the "SET" button until the time display starts flashing.
- 「+」または「-」ボタンを使用して時間を調整します。
- Press "SET" to confirm the hour and move to the minute setting.
- 分、年、月、日についてもこのプロセスを繰り返します。
- Press "SET" again to exit the settings mode.
4.4 温度単位の選択(°C/°F)
Outside of settings mode, press the "+" or "-" button (depending on model, usually "+") to toggle between Celsius (°C) and Fahrenheit (°F) temperature display.
5. メンテナンス
- バッテリー交換: Replace batteries in both the main unit and the outdoor sensor when the low battery indicator appears on the display. It is recommended to replace all batteries at the same time. For the outdoor sensor, users have reported batteries lasting approximately one year.
- クリーニング: ユニットを柔らかくて乾いた布で拭いてください。amp 布で拭いてください。研磨剤や溶剤は使用しないでください。
- センサー保護: While the outdoor sensor is waterproof, placing it under an eave or protective cover can extend its lifespan and prevent direct exposure to extreme weather conditions.
6。 トラブルシューティング
| 問題 | 考えられる原因 | 解決 |
|---|---|---|
| 本体に何も表示されません。 | 電池が切れているか、正しく取り付けられていない。 | 電池の極性を確認し、新しい電池と交換してください。 |
| 屋外温度が表示されない、または点滅します。 | No connection to outdoor sensor; sensor batteries low/dead; sensor out of range. |
|
| 温度の測定値が不正確です。 | Outdoor sensor exposed to direct sunlight or heat sources; units not stabilized. |
|
| 時計が遅れています。 | Non-radio controlled clock mechanism. | The WH1281 model is not radio-controlled. Manual time adjustment may be required periodically (e.g., monthly). |
7. 仕様
| 特徴 | 詳細 |
|---|---|
| モデル | WH1281 |
| ブランド | エクセルバン |
| 外形寸法図(本体) | Approximately 143 x 81 x 27 mm (L x H x W) |
| 重さ | 約199.58グラム |
| 電源(本体) | Battery powered (type not specified, typically AAA or AA) |
| 電源(屋外センサー) | 2V AAA電池1.5本 |
| 表示タイプ | 導かれた |
| 特集 | 防水屋外センサー |
| 無線周波数 | 433.9 MHz |
| 有効範囲 | 最大100メートル(屋外) |
| 欧州連合 | 708624290486 |
8. 保証とサポート
For warranty information, please refer to the documentation provided with your purchase or contact the retailer. For technical support or further inquiries, please reach out to EXCELVAN customer service or your point of purchase.