
neXtime 3148
neXtime 3148 ストライプスクエア ラジオコントロール壁掛け時計 ユーザーマニュアル
導入
Thank you for choosing the neXtime 3148 Stripe Square Radio Controlled Wall Clock. This manual provides essential information for the proper setup, operation, and maintenance of your new timepiece. Please read these instructions carefully before use and retain them for future reference.
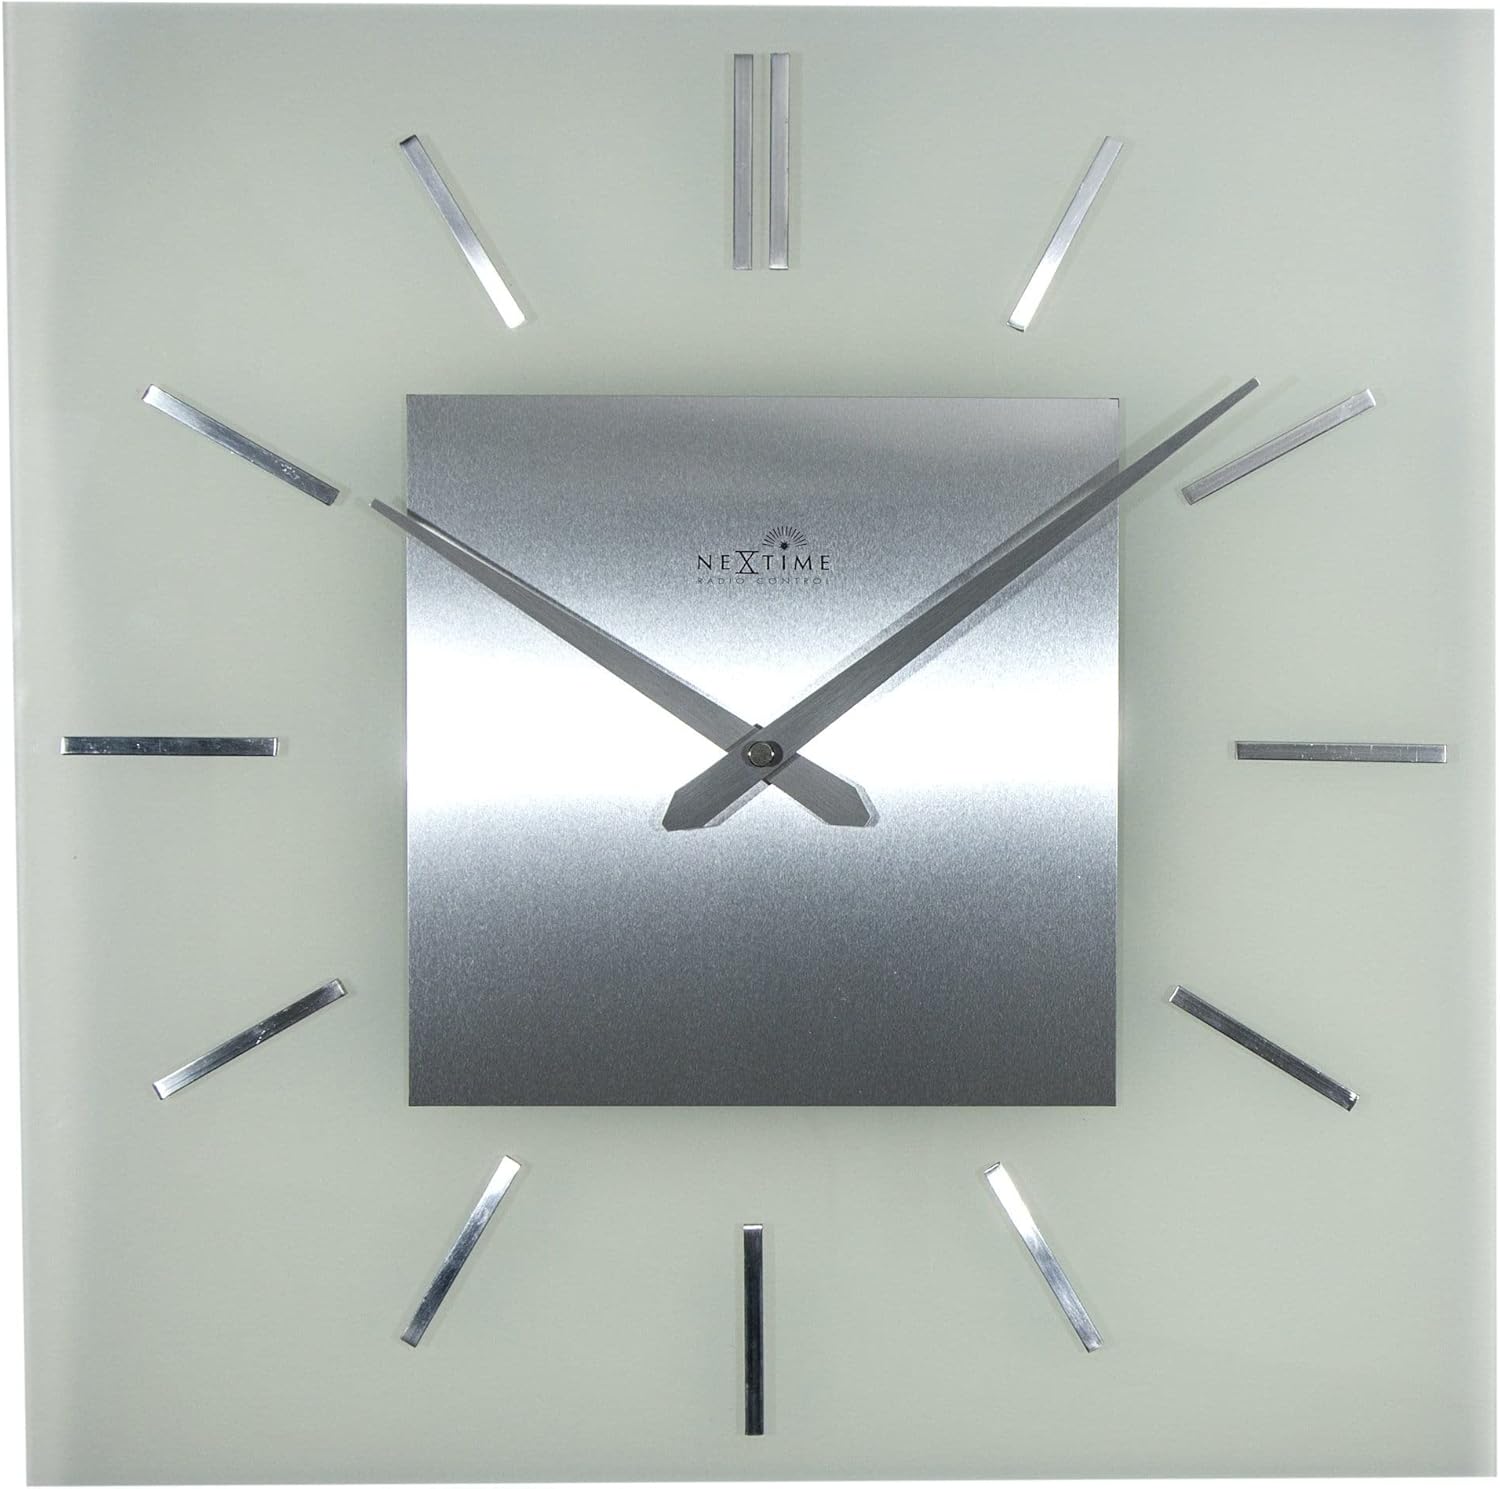
This clock features a classic and timeless design with frosted glass and metal elements, offering automatic time adjustment for precise timekeeping.
製品終了view
主な特徴:
- Radio Controlled: Automatically adjusts time for accuracy.
- デザイン: Classic and timeless aesthetic with frosted glass and metal.
- 寸法: Approximately 40 x 40 cm (15.75 x 15.75 inches).
コンポーネント:
The neXtime 3148 clock consists of a square glass face, a central metal dial with hour and minute hands, and twelve metallic stripe markers for hours. The back of the clock houses the movement mechanism and battery compartment.

セットアップ手順
1. バッテリーの取り付け:
- 時計のムーブメントの裏側にある電池ボックスを見つけます。
- Insert one (1) AA battery, ensuring the polarity (+/-) matches the indicators inside the compartment.
- 電池カバーをしっかりと閉じてください。

2. Initial Signal Reception:
After battery installation, the clock will automatically attempt to receive the radio signal (DCF77 in Europe or WWVB in North America, depending on region). This process may take several minutes to several hours, depending on your location and environmental conditions.
- 信号を最適に受信するには、時計を窓の近くに設置してください。
- 干渉を引き起こす可能性のある電子機器の近くに時計を置かないでください。
- The hands will typically move to the 12 o'clock position and then begin searching for the signal. Once the signal is received, the clock will automatically set itself to the correct time.
3. 時計の取り付け:
The clock is designed for wall mounting. Use a suitable screw or hook (not included) in your desired location. Ensure the mounting point is secure enough to support the clock's weight (approximately 2.1 kg).
- Locate the hanging slot on the back of the clock movement.
- Hang the clock securely on the wall.
操作手順
自動時刻設定:
Your neXtime 3148 clock is radio-controlled, meaning it automatically synchronizes with an atomic clock signal. This ensures precise timekeeping and automatic adjustment for Daylight Saving Time (DST).
- The clock will periodically search for the radio signal to maintain accuracy.
- If the clock loses signal, it will attempt to re-synchronize. During this process, the hands may move to 12:00 and then reset to the correct time once the signal is re-established.
Manual Time Adjustment (if necessary):
While the clock is primarily radio-controlled, some models may offer a manual override or time zone adjustment. Refer to the specific buttons or switches on the back of your clock's movement. Typically, a small button might be present to initiate a signal search or manually advance the time if the signal is consistently weak or unavailable.

メンテナンス
クリーニング:
- To clean the clock, gently wipe the glass and metal surfaces with a soft, dry, lint-free cloth.
- 研磨剤入りの洗剤、溶剤、化学スプレーは仕上げを傷める恐れがあるので使用しないでください。
バッテリー交換:
時計の針が止まったり、時間が不正確になったりしたら、電池を交換する時期かもしれません。
- Replace the AA battery as described in the "Battery Installation" section.
- Always use a fresh, high-quality AA alkaline battery for optimal performance.
- 使用済みバッテリーは地域の規制に従って責任を持って廃棄してください。
トラブルシューティング
| 問題 | 考えられる原因 | 解決 |
|---|---|---|
| 時計が自動的に時間を設定しません。 | Weak or no radio signal. Incorrect battery installation. | Ensure the battery is correctly installed. Move the clock to a location with better signal reception (e.g., near a window, away from electronics). Allow several hours for signal acquisition. |
| 時計の針が動かなくなったり、動かなくなったりします。 | Depleted battery. Obstruction to hands. | Replace the battery with a fresh AA alkaline battery. Check if anything is physically blocking the hands. |
| 初期設定後の時刻が正しくありません。 | Incomplete signal reception. Incorrect time zone (if manual adjustment is available). | Allow more time for the clock to receive and process the radio signal. If your model has a time zone setting, ensure it is correctly configured. |
| Clock stops and restarts intermittently. | Low battery power. Intermittent signal interference. | Replace the battery. Try relocating the clock to a different position to avoid interference. |
仕様
- ブランド: neXtime
- モデル番号: 3148
- 寸法(長さ×幅×高さ): 40 x 3.81 x 40 cm(15.75 x 1.5 x 15.75インチ)
- 重さ: 約2.1キログラム(4.63ポンド)
- 材料: ガラス、金属
- 電源: 単三電池1本(別売)
- 特集: ラジコン
- 表示タイプ: アナログ
- 形: 四角
- 色: ガラス(すりガラス)

保証とサポート
neXtime products are manufactured to high-quality standards. For specific warranty information, please refer to the warranty card included with your purchase or visit the official neXtime website. If you encounter any issues not covered in this troubleshooting guide, please contact neXtime customer support for assistance.
メーカー: neXtime
Ask a question about this manual
Ask about setup, troubleshooting, compatibility, parts, safety, or missing instructions. Manuals+ will review the question and use this page’s manual context to help answer it.