
1. はじめに
ご購入ありがとうございますasing the Excelvan LK-T091 Digital LED Alarm Clock Radio. This manual provides detailed instructions for the proper setup, operation, and maintenance of your device. Please read this manual thoroughly before use and retain it for future reference.
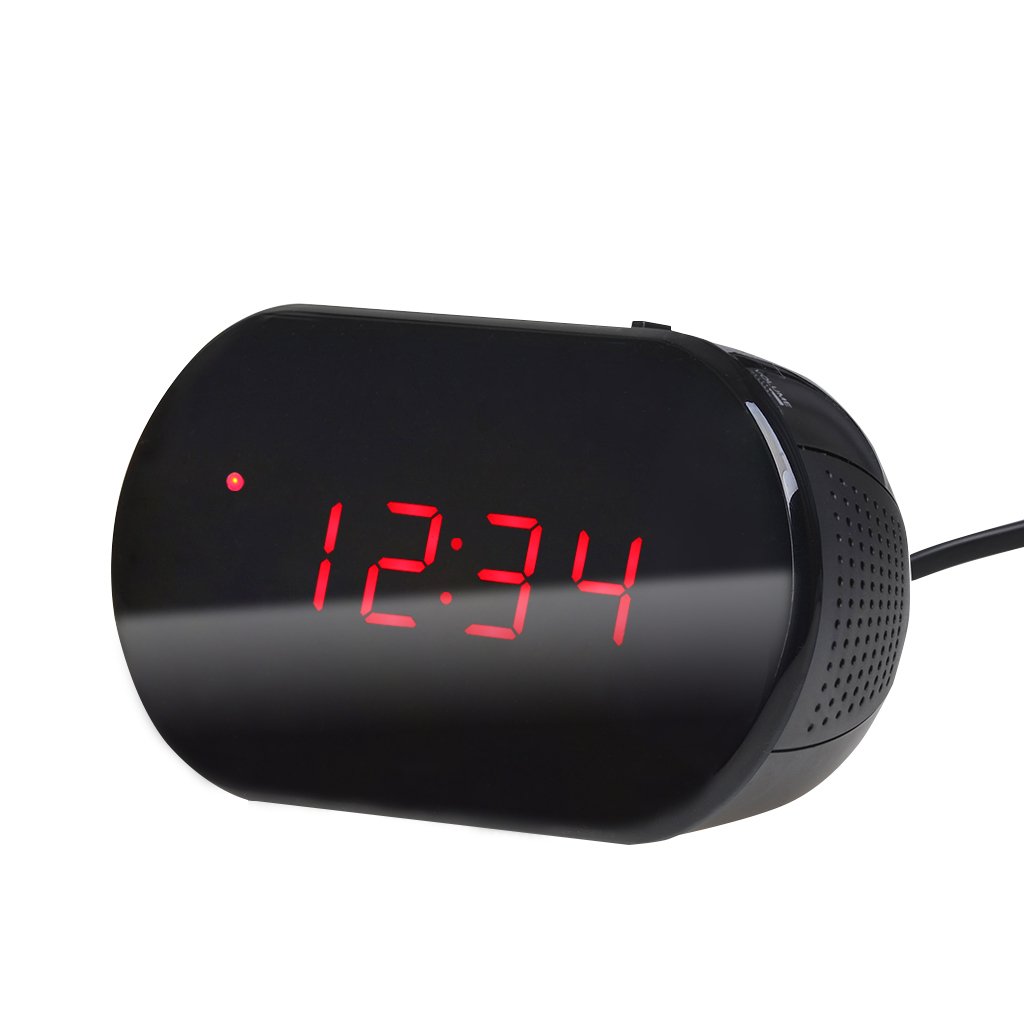
図1: 前面 view of the Excelvan LK-T091 Digital LED Alarm Clock Radio.
パッケージ内容:
- 1 x Excelvan Digital LED Alarm Clock Radio (Model LK-T091)
- ユーザーマニュアル x 1
2. 重要な安全情報
- 充電式電池は使用しないでください for the backup power. Alkaline or lithium batteries are recommended for optimal performance and longevity.
- Ensure the power adapter is compatible with your local power supply (AC230V ~ 50Hz).
- デバイスを水、湿気、または極端な温度にさらさないでください。
- デバイスを熱源の近くや直射日光の当たる場所に置かないでください。
- ご自身でユニットを分解したり修理したりしないでください。すべての修理は資格のある専門家にご依頼ください。
- お子様の手の届かない場所に保管してください。
3.製品オーバーview
コントロールとディスプレイ:

Figure 2: Top panel controls of the Excelvan LK-T091.
- LEDディスプレイ: 時間、アラームステータス、無線周波数を表示します。
- スヌーズボタン: アラームを一時的に消音します。
- SET / PRESET Button: Used to set time/alarm and save radio presets.
- ALARM / MEM Button: Activates alarm setting mode and recalls radio presets.
- リセットボタン: ユニットをリセットします。
- Tuning Buttons (▲ / ▼): Adjust time, alarm, and radio frequency.
- RADIO / SLEEP Button: Turns radio on/off and activates sleep timer.
- ALARM OFF / BUZZER / RADIO Switch: Selects alarm sound source (off, buzzer, or radio).
- ボリュームノブ: Adjusts radio volume.

図3:背面 view showing the battery compartment for backup power.
4. セットアップ
4.1電源接続
- Connect the AC power cord to the power input jack on the back of the clock radio.
- Plug the other end of the power cord into a standard AC230V ~ 50Hz wall outlet.
- LED ディスプレイが点灯し、ユニットの電源がオンになっていることを示します。
4.2 バッテリバックアップのインストール
The clock radio uses one 9V (6F22 type) battery (not included) for backup power. This battery maintains time settings during a power outage.
- 本体下部の電池ボックスの位置を確認します。
- 電池ボックスのカバーを開きます。
- Insert one 9V (6F22 type) alkaline or lithium battery, ensuring correct polarity (+ and -).
- 電池カバーをしっかりと閉じてください。
- Note: The battery backup only maintains time settings; the display will not be visible during a power outage. Do not use rechargeable batteries.
4.3時間の設定
- を押し続けます セット 時間の数字が点滅し始めるまでボタンを押します。
- 使用 ▲ or ▼ (Tuning) buttons to adjust the hour.
- を押す セット もう一度ボタンを押すと、分の数字が点滅します。
- 使用 ▲ or ▼ (Tuning) buttons to adjust the minutes.
- を押す セット button once more to confirm and exit time setting mode. The time is displayed in 24-hour format.
5. 操作手順
5.1アラームの設定
The alarm can be set to wake you with a buzzer or your favorite FM radio station.
- を押し続けます アラーム アラームの時間の数字が点滅し始めるまでボタンを押します。
- 使用 ▲ or ▼ (Tuning) buttons to adjust the alarm hour.
- を押す アラーム button again; the alarm minute digits will flash.
- 使用 ▲ or ▼ (Tuning) buttons to adjust the alarm minutes.
- を押す アラーム もう一度ボタンを押して確定し、アラーム設定モードを終了します。
- アラームを鳴らすには、 ALARM OFF / BUZZER / RADIO どちらかに切り替える BUZZER or 無線. An alarm indicator will appear on the display.
- To turn off the alarm, slide the switch to アラームオフ.

Figure 4: Choose to wake up to a buzzer sound or your preferred radio station.
5.2スヌーズ機能
アラームが鳴ったら、大きな スヌーズ button to temporarily silence the alarm for approximately 9 minutes. The alarm will sound again after this period. To cancel snooze and turn off the alarm, slide the ALARM OFF / BUZZER / RADIO 切り替える アラームオフ.

Figure 5: The snooze function allows for a short delay before the alarm sounds again.
5.3 FMラジオの操作
5.3.1 ラジオのチューニング
- を押す 無線 ボタンを押してFMラジオをオンにします。
- 使用 ▲ or ▼ (Tuning) buttons to manually tune to your desired FM frequency (87.5 – 108 MHz).
- 次の利用可能な放送局を自動的にスキャンするには、 ▲ or ▼ (Tuning) buttons for a few seconds until the frequency starts scanning.
- を使用して音量を調整します 音量 ノブ。
- を押す 無線 ラジオをオフにするには、もう一度ボタンを押します。
5.3.2 プリセットの保存と呼び出し
The clock radio can store up to 10 FM radio station presets.
- Tune to your desired station using the tuning method described above.
- を押し続けます SET / PRESET ディスプレイに「P01」(または次の使用可能なプリセット番号)が点滅するまでボタンを押します。
- 使用 ▲ or ▼ (Tuning) buttons to select the desired preset number (P01-P10).
- を押す SET / PRESET ボタンをもう一度押すと、選択したプリセットにステーションが保存されます。
- To recall a saved preset, press the ALARM / MEM button repeatedly to cycle through the saved stations.

Figure 6: Digital FM tuning allows for precise station selection and saving presets.
5.4 スリープタイマー機能
スリープ タイマーを使用すると、ラジオは設定された時間再生された後、自動的にオフになります。
- ラジオの再生中に、 寝る button repeatedly to cycle through the available sleep timer durations: 90, 75, 60, 45, 30, 15, 00 minutes.
- The selected duration will be displayed briefly. The radio will automatically turn off after the set time.
- スリープタイマーをキャンセルするには、 寝る button until "00" is displayed, or turn off the radio manually.
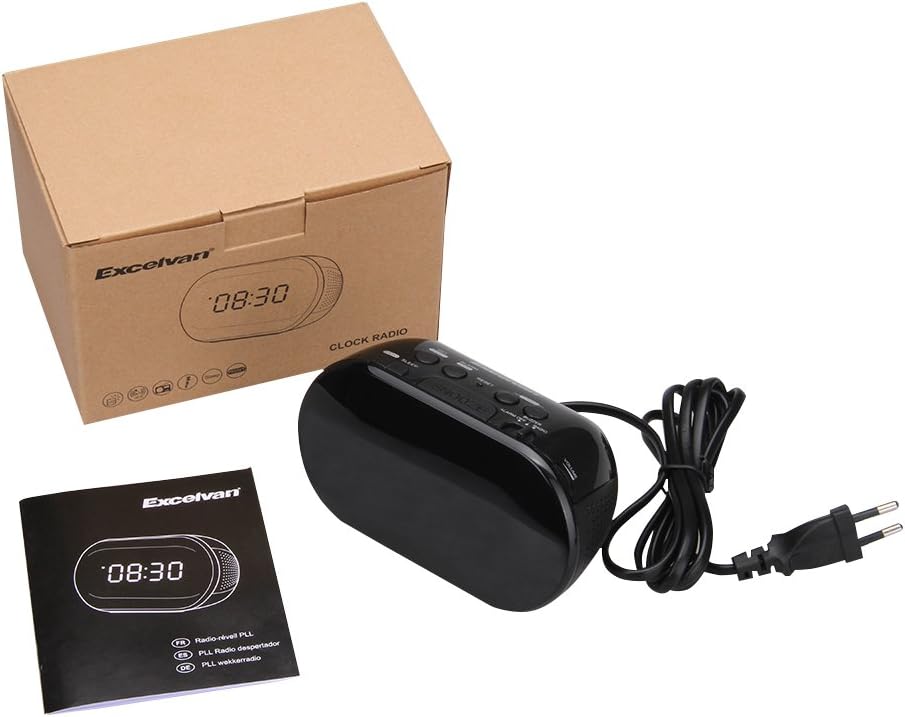
Figure 7: The sleep timer allows you to fall asleep to music, which then automatically turns off.
6. メンテナンス
6.1 クリーニング
- 本体の外側は、乾いた柔らかい布で拭いてください。
- 仕上げを傷める恐れがあるため、研磨剤入りの洗剤、ワックス、溶剤は使用しないでください。
- 清掃する前に、ユニットが電源コンセントから抜かれていることを確認してください。
6.2 電池の交換
If the time settings are lost during a power outage, the 9V backup battery may need to be replaced. Follow the instructions in Section 4.2 for battery installation.
7。 トラブルシューティング
| 問題 | 考えられる原因 | 解決 |
|---|---|---|
| No display / Unit not turning on | 電源コードが接続されていないか、電源コンセントがアクティブではありません。 | 電源コードがユニットと機能している壁のコンセントにしっかりと差し込まれていることを確認します。 |
| 電源を切ると時間/アラーム設定が失われるtage | バックアップバッテリーが切れているか、取り付けられていません。 | Install a new 9V alkaline or lithium battery in the battery compartment. |
| FM ラジオの受信状態が悪い | アンテナが拡張されていないか、信号エリアが弱い。 | Extend the FM wire antenna fully. Try repositioning the unit for better reception. |
| アラームが鳴らない | Alarm not set or alarm switch is in "OFF" position. | Verify alarm time is set correctly. Ensure the ALARM OFF / BUZZER / RADIO スイッチはに設定されています BUZZER or 無線. |
| ディスプレイが明るすぎる/暗すぎる | No brightness adjustment feature on this model. | The display brightness is fixed. |
8. 仕様
- モデル: LK-T091
- 画面: LED, 24-hour format
- アラームの種類: Single alarm (Buzzer or FM Radio)
- FM周波数範囲: 87.5 – 108 MHz
- 目覚まし時計: 00、15、30、45、60、75、90分
- 電源入力: AC 230V〜50Hz
- バックアップバッテリー: 1 x 9V (6F22 type) battery (not included)
- 製品寸法(長さ x 高さ x 奥行き): 約14.15 cm x 7.14 cm x 0.89 cm
- 重さ: 約380g
- 材料: AC (Plastic)
- 色: 黒
9. 保証とサポート
Excelvan products are designed to provide reliable performance. For specific warranty information, please refer to the warranty card included with your purchase or contact your retailer. If you encounter any issues or require technical assistance, please contact Excelvan customer support through their official webサイトまたは製品に付属の連絡先情報を参照してください。
Please have your model number (LK-T091) and purchase details ready when contacting support.