1. はじめに
The Clarisonic Mia 2 Sonic Facial Cleansing Brush System utilizes patented micro-massage oscillation technology to cleanse the skin. This device is designed to gently remove impurities, preparing the skin for better absorption of creams, serums, and moisturizers. It offers two different speeds and a one-minute pulsing T-timer for customized cleansing.
Regular use can help improve skin texture, tone, and contribute to healthier-looking skin. This manual provides instructions for the proper setup, operation, and maintenance of your Clarisonic Mia 2 device.
2. パッケージ内容
Verify that all items are present in your Clarisonic Mia 2 package:
- Mia 2 Cleansing Device
- 充電器
- Radiance Cleansing Brush Head
- Refreshing Trial Size Gel Cleanser, 1 fl. oz.


3. 安全情報
Please read and understand all safety precautions before using the Clarisonic Mia 2 device.
- Always remove eye makeup by hand before using the device.
- 傷ついたり炎症を起こした皮膚には本製品を使用しないでください。
- デバイスを子供の手の届かない場所に保管してください。
- 操作中は目に入らないようにしてください。
- Do not use the device with harsh chemicals or abrasive cleansers.
- Allow the device to dry completely after each use.
- 使用していないときはデバイスを乾燥した場所に保管してください。
4. セットアップ
4.1 初期充電
Before first use, fully charge your Clarisonic Mia 2 device. A full charge typically takes approximately 18 hours. A fully charged device provides approximately 80-100 minutes of use, depending on the selected speed setting.
- 充電器を電源コンセントに接続します。
- Place the bottom of the Mia 2 device onto the magnetic charging cradle. Ensure the device is securely seated and the charging indicator light (if present) illuminates.
- 推奨される期間、デバイスを充電します。
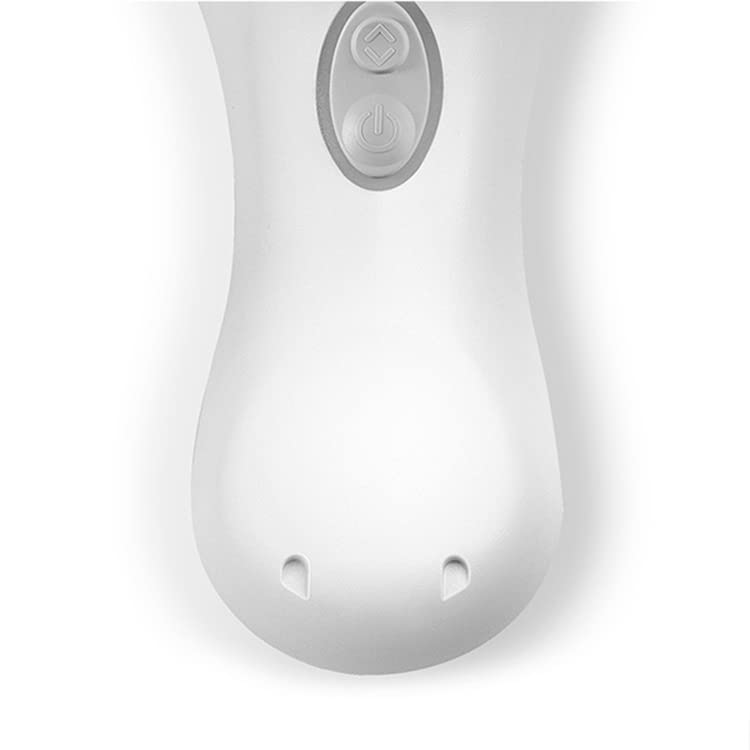
4.2 ブラシヘッドの取り付け
To attach a brush head, align the three tabs on the back of the brush head with the three slots on the device handle. Push down and twist clockwise until it locks into place. To remove, twist counter-clockwise and pull up.
5. 操作手順
Follow these steps for effective facial cleansing with your Clarisonic Mia 2:
- スキンの準備: If you wear makeup, remove eye makeup by hand before using the device.
- Wet Skin and Brush Head: Wet your skin and the brush head with warm water.
- クレンザーを塗布します。 Apply your preferred cleanser directly to your skin or to the wet brush head.
- Power On and Cleanse: Turn your Clarisonic Mia 2 on. Gently move the brush using a small circular motion across your face. The device features a T-timer that prompts you to move to different areas of your face:
- 額に20秒
- 20 seconds on the nose/chin area
- 各頬に10秒
- 連絡を維持する: Ensure the brush head remains flush against your skin. The outer bristles are designed to contain any residual mist from the brush oscillation.
- 自動遮断: The Mia 2 will automatically shut off after one minute, indicating the completion of a full cleansing cycle.
5.1速度設定
The Clarisonic Mia 2 offers two speed settings for personalized cleansing. Press the power button to cycle through the available speeds. The device will remember your last used speed setting for the next use.

6. メンテナンス
6.1デバイスのクリーニング
After each use, rinse the brush head and the device handle with warm water. Ensure no cleanser residue remains. Allow the device to air dry completely before storing.
6.2 ブラシヘッドの交換
For optimal performance and hygiene, it is recommended to replace your Clarisonic brush head every three months. To replace, twist the old brush head counter-clockwise and pull it off. Align the new brush head with the device and twist clockwise until it locks into place.
7。 トラブルシューティング
If you encounter issues with your Clarisonic Mia 2, refer to the following common solutions:
- デバイスの電源が入らない: Ensure the device is fully charged. Connect it to the charger for at least 18 hours for a complete charge.
- デバイスが充電されない: Verify that the charger is properly connected to a power outlet and that the device is correctly seated on the magnetic charging cradle. Check for any debris on the charging contacts of both the device and the charger.
- Reduced Performance/Vibration: This may indicate a low battery. Recharge the device. If the issue persists, the brush head might be worn out and require replacement.
- 水漏れ: While the device is designed to be water-resistant, ensure the brush head is securely attached. Avoid submerging the entire device in water for extended periods. If water ingress is suspected, discontinue use and contact customer support.
For further assistance, please contact Clarisonic customer support.
8. 仕様
| モデル名 | Clarisonic Mia 2 |
| 商品型番 | S2651800 |
| ブランド | クラリソニック |
| 電源 | 電池駆動 |
| 寸法 | 3 x 2.5 x 8インチ |
| 重さ | 1ポンド |
| 材料 | シリコーン |
9. 保証とサポート
For information regarding product warranty, please refer to the documentation included with your purchase or visit the official Clarisonic website. For technical support, replacement parts, or any other inquiries, please contact Clarisonic customer service.
詳しい情報やサポートリソースについては、 Clarisonic Brand Store.
10. Authenticity Verification
To ensure you have a genuine Clarisonic product, check for the anti-fake label on the seals of the packaging. A genuine product will have an intact anti-fake label. If the label is scrapped off, the product may be used. If there is no label, the product may be counterfeit.
