
1. はじめに
Thank you for choosing the TFA Dostmann BINGO Radio-Controlled Alarm Clock, Model 60.2528.01. This device offers precise timekeeping through radio control, dual alarm functions, an automatic backlight, and a temperature display. Please read this manual carefully to ensure proper setup and operation.
2. 安全情報
- この取扱説明書は将来の参照用に保管してください。
- デバイスを極端な温度、振動、または衝撃にさらさないでください。
- 直射日光を避けてください。
- デバイスを水に浸さないでください。
- 指定された電池のみを使用してください。極性が正しいことを確認してください。
- 電池はお子様の手の届かないところに保管してください。
3. パッケージ内容
- TFA Dostmann BINGO Radio-Controlled Alarm Clock (Model 60.2528.01)
- 単三電池2本
- 取扱説明書
4.製品オーバーview
4.1フロント View

画像1:正面 view of the alarm clock. The display shows time, date, day of the week, and indoor temperature. Below the display are the 'SET 1', '-', '+', and 'SET 2' buttons. The top features a large 'SNOOZE & LIGHT' button.
- 画面: 時刻、日付、曜日、室内温度、アラームの状態を表示します。
- SET 1 Button: Used to set Alarm 1.
- - ボタン: 設定中に値を減らします。
- +ボタン: 設定中に値が増加します。
- SET 2 Button: Used to set Alarm 2.
- SNOOZE & LIGHT Button: Activates snooze function or temporary backlight.
4.2 サイド View (左)
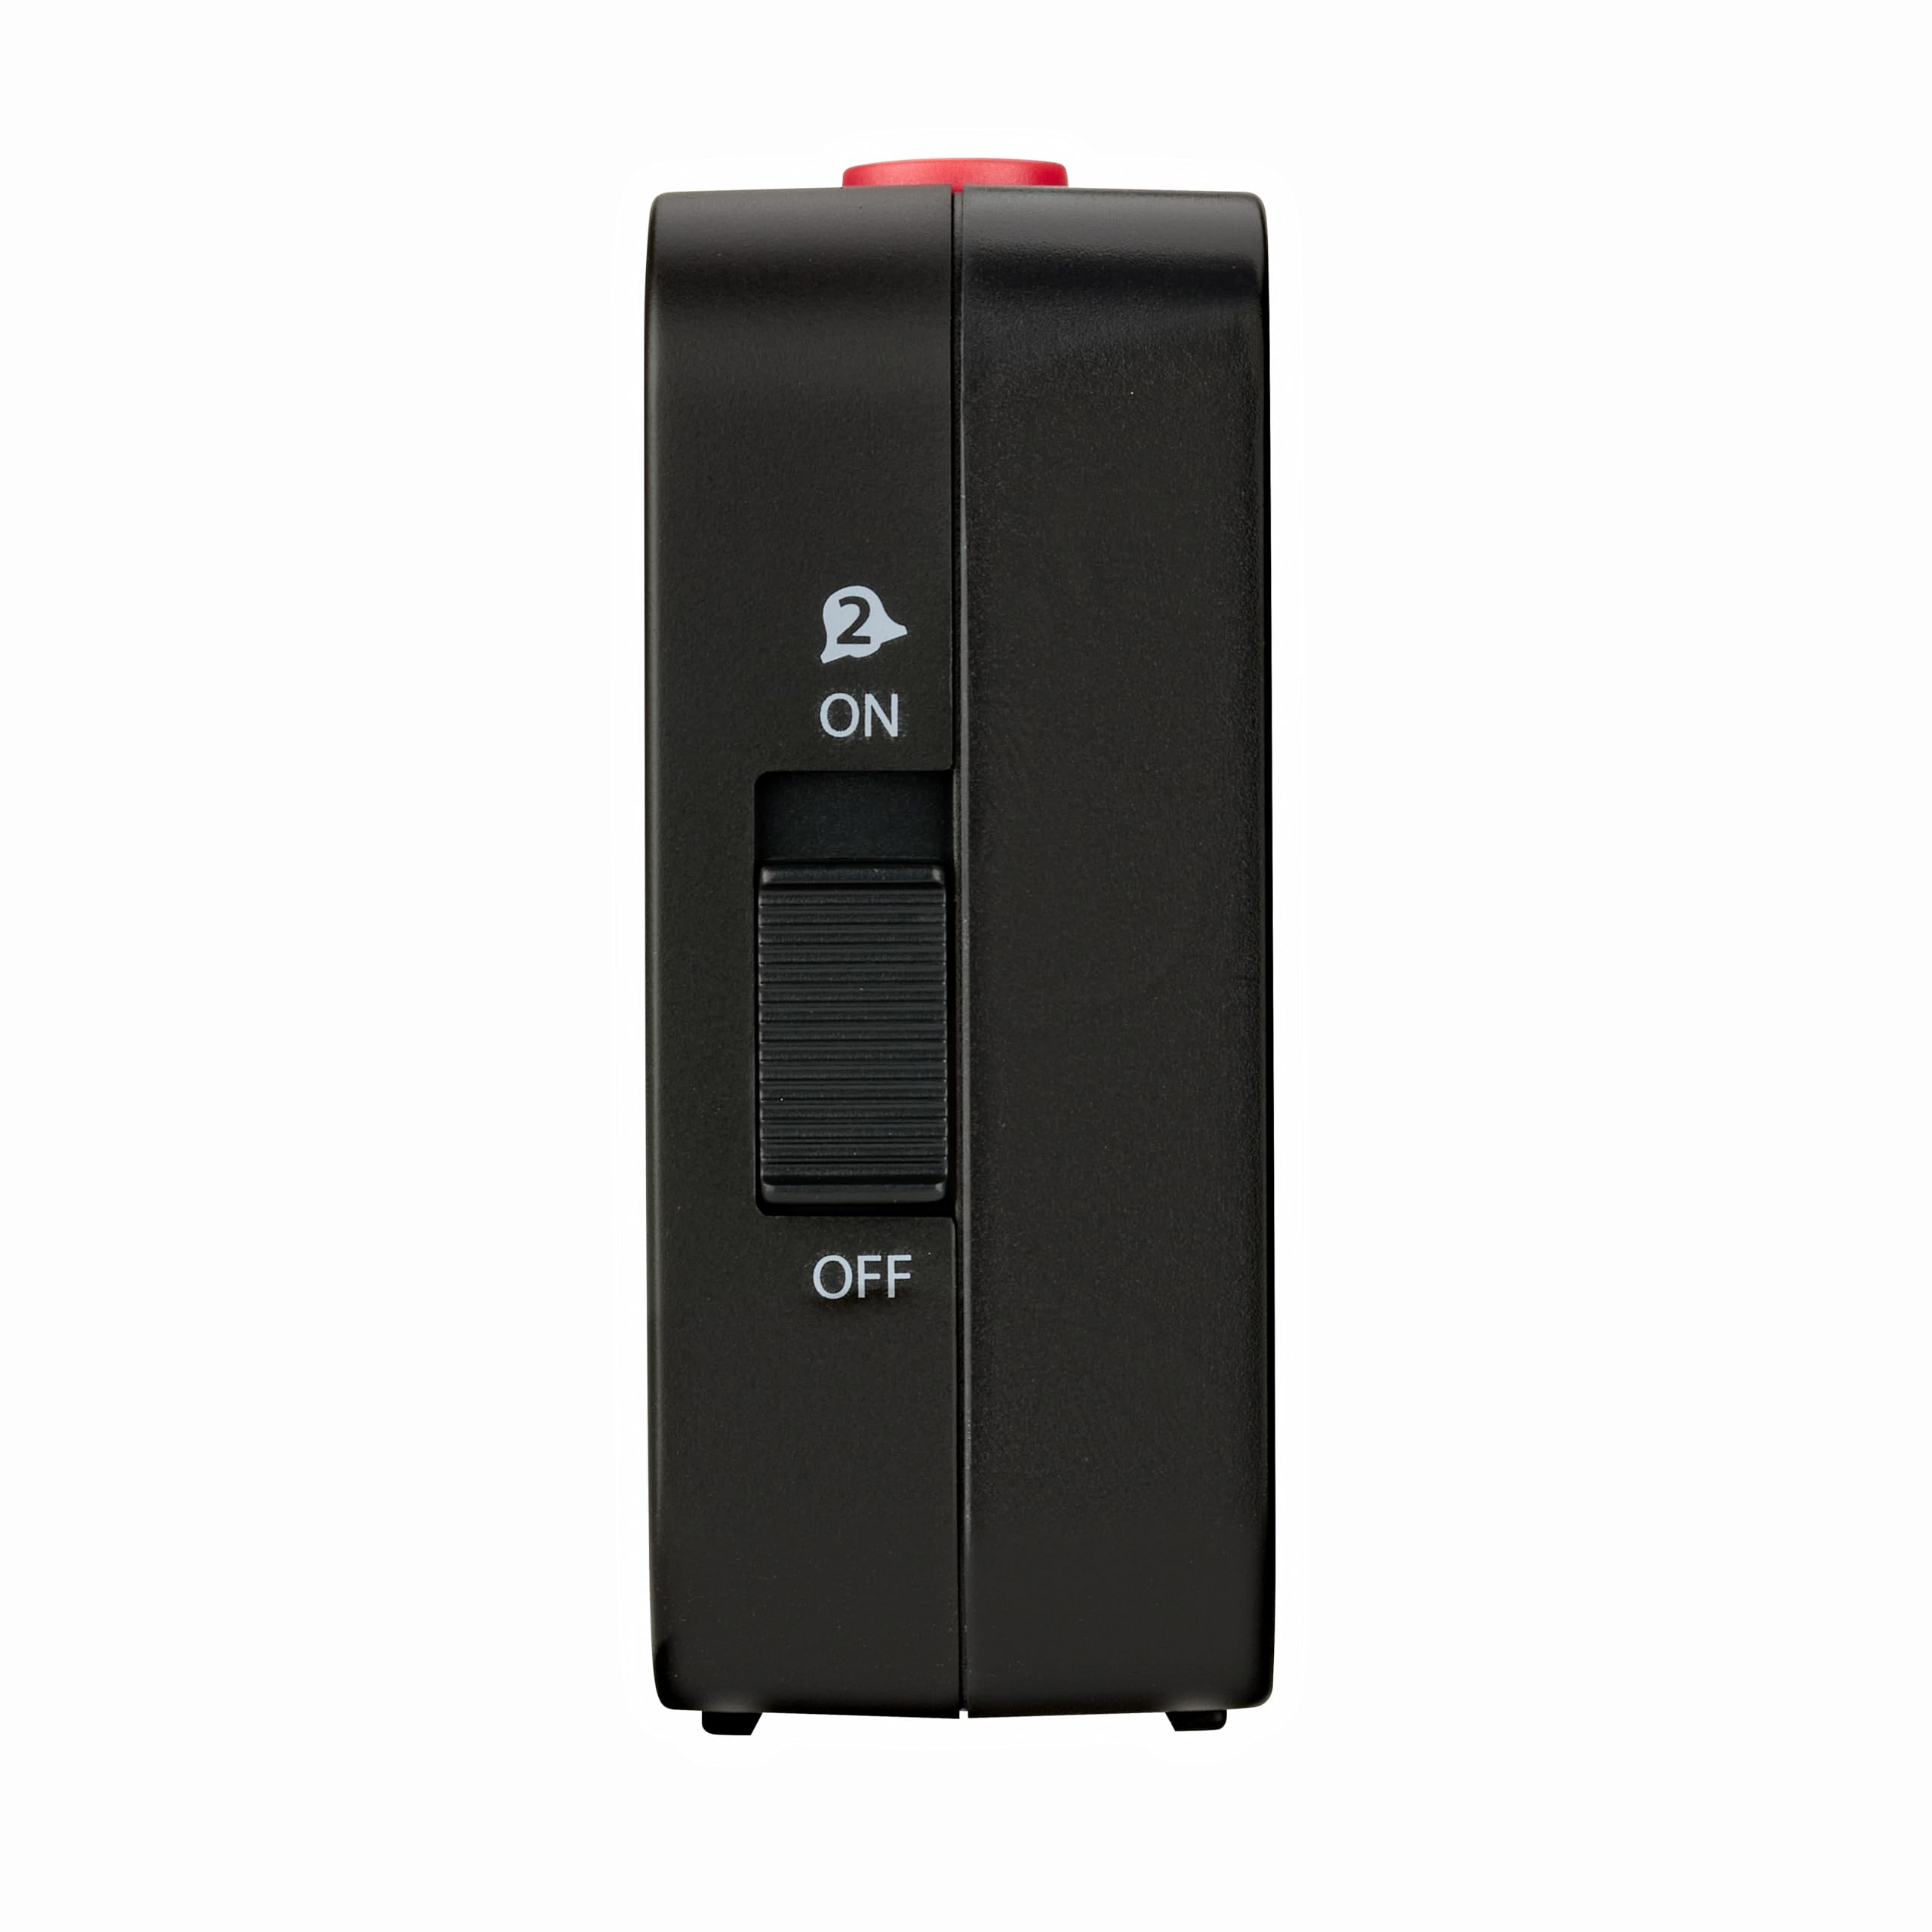
Image 2: Left side of the alarm clock. A slider switch labeled 'ON' and 'OFF' with an alarm bell icon (2) controls Alarm 2 activation.
- Alarm 1 ON/OFF Slider: (Located on the right side, not pictured but functionally similar to Alarm 2 slider) Activates or deactivates Alarm 1.
- Alarm 2 ON/OFF Slider: (Pictured) Activates or deactivates Alarm 2.
4.3 戻る View

画像3: 背面 view of the alarm clock. Features include the battery compartment cover, an 'OFF / AUTO LIGHT' slider switch, and a 'SET' button.
- バッテリーコンパートメント: 単三電池2本を収納します。
- オートライトスイッチ: Toggles the automatic backlight sensor.
- SETボタン: Used for manual time and date settings.
5. セットアップ
5.1 バッテリーの取り付け
- デバイスの背面にある電池ボックスのカバーを開きます。
- Insert the 2 x AA batteries, ensuring correct polarity (+/-).
- 電池ボックスのカバーを閉じます。
The device will power on and begin searching for the radio-controlled time signal.
5.2 Radio-Controlled Time Reception
Upon battery insertion, the clock automatically attempts to receive the DCF radio signal. This process can take several minutes. Once the signal is successfully received, the time, date, and day of the week will be set automatically. A radio tower icon will appear on the display, indicating successful reception.
For optimal reception, place the clock away from potential interference sources such as electronic devices, metal structures, or concrete walls. The ideal distance from such sources is typically at least 1.5 meters (5 feet).
5.3 手動時刻設定(無線信号が利用できない場合)
If the radio signal cannot be received, or if you are outside the reception range, you can set the time manually.
- を押し続けます セット button on the back of the clock for approximately 3 seconds. The time digits will start flashing.
- 使用 + そして - buttons on the front to adjust the hour.
- プレス セット もう一度押して時間を確定し、分に進みます。分を調整します。 + そして -.
- 押し続ける セット to cycle through and adjust year, month, date, and day of the week.
- すべてのパラメータを設定したら、 セット 最後にもう一度押して設定モードを終了します。
6. 操作手順
6.1 アラームの設定(アラーム1とアラーム2)
時計には 2 つの独立したアラーム機能が付いています。
- を押す セット1 ボタン(アラーム1の場合)または セット2 button (for Alarm 2) on the front of the clock. The alarm time will flash.
- 使用 + そして - ボタンを押して希望のアラーム時間を調整します。
- それぞれの セット button again to confirm the hour and move to minutes. Adjust minutes using + そして -.
- を押す セット button one last time to save the alarm time and exit setting mode.
6.2 アラームの有効化/無効化
Use the slider switches on the sides of the clock to activate or deactivate each alarm. Slide the switch to ON to enable the alarm, and to オフ to disable it. A color mark on the slider indicates if the alarm is active.
6.3スヌーズ機能
アラームが鳴ったら、大きな SNOOZE & LIGHT button on top of the clock. The alarm will pause for approximately 5 minutes and then sound again. This can be repeated multiple times.
6.4 アラームの停止
To stop the alarm completely, slide the corresponding alarm switch (Alarm 1 or Alarm 2) to the オフ 位置。
6.5 自動バックライト
The clock features an automatic backlight that activates in low-light conditions. To enable this feature, slide the オートライト 時計の裏側のスイッチを ON position. The display will emit a soft, economical LED backlight, making it readable in the dark.
To temporarily illuminate the display, press the SNOOZE & LIGHT button on top. The backlight will stay on for a few seconds.
6.6 温度表示
The integrated thermometer measures the ambient room temperature and displays it on the screen. The temperature range is typically -10°C to +50°C (14°F to 122°F).
7. メンテナンス
柔らかくて乾いた布でデバイスを清掃してください。amp cloth. Do not use abrasive cleaners or solvents. Avoid getting moisture into the device.
8。 トラブルシューティング
- 表示されない、またはかすかに表示される場合: 正しい極性を確認して、新しい電池と交換してください。
- Incorrect time or no radio signal icon:
- Ensure the clock is placed in an area with good radio signal reception, away from electronic interference.
- Initiate manual reception: Press and hold the - button for three seconds. The DCF icon will flash. To stop reception, hold the - button for three seconds again.
- If reception remains unsuccessful, set the time manually as described in Section 5.3.
- アラームが鳴らない: Check if the alarm is activated using the side slider switch (ON position). Verify the alarm time is set correctly.
9. 仕様
- モデル: 60.2528.01
- ブランド: TFAドストマン
- 寸法(長さ×幅×高さ): 8.4 x 3.4 x 8.8 cm(約3.3 x 1.3 x 3.5インチ)
- 重さ: 210グラム(約7.4オンス)
- 材料: プラスチック
- 電源: 単三電池2本(付属)
- 表示タイプ: デジタル
- 温度測定範囲: -10°Cから+ 50°C(14°Fから122°F)
- 特別な機能: Radio-controlled time, Dual alarms, Snooze function, Automatic backlight (light sensor), Temperature display, Date and day of week display.
- 原産国: 中国
10. 保証とサポート
This product comes with a 1-year availability for spare parts. For further support or warranty claims, please contact your retailer or the manufacturer directly. Keep your proof of purchase for warranty purposes.