1. はじめに
The Holzmann MEL2 Planer Blade Setting Gauge is a precision tool designed to simplify and enhance the accuracy of setting planer blades. This manual provides essential information for the safe and effective use of your MEL2 gauge, ensuring optimal performance and consistent results in your woodworking tasks.
2.製品オーバーview
The MEL2 gauge is a robust and durable tool, typically constructed from plastic and aluminum components. It features strong magnetic bases that securely attach to the planer cutter head, providing a stable platform for precise blade height adjustment. The gauge is designed for universal compatibility, suitable for various knife shaft diameters.
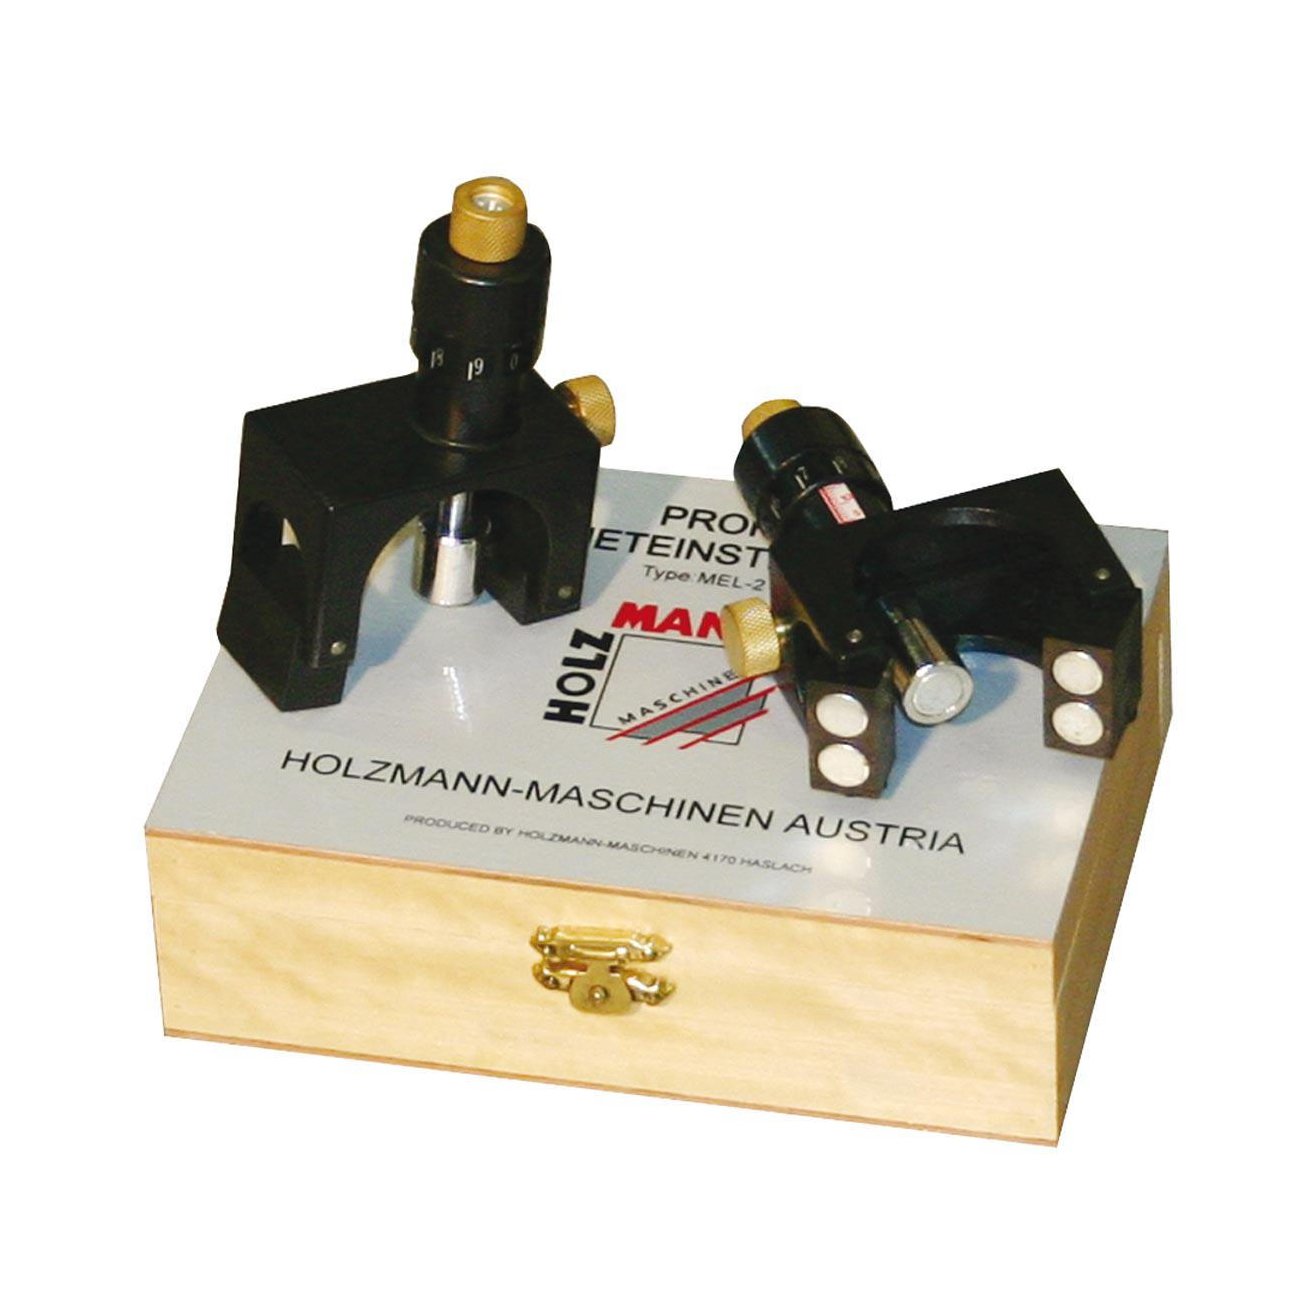
Image 1: The Holzmann MEL2 Planer Blade Setting Gauge. This image shows the compact design of the gauge, highlighting its magnetic base and adjustment indicators, ready for use in setting planer blades.
3. セットアップ
Proper setup is crucial for accurate blade adjustment. Always ensure safety precautions are followed before beginning.
- 安全第一: Before handling planer blades or the cutter head, ensure your planer is completely unplugged from the power source to prevent accidental startup.
- 清潔さ: Thoroughly clean the planer cutter head and the planer blades to remove any sawdust, resin, or debris. A clean surface ensures the magnetic base of the gauge adheres properly and provides accurate readings.
- Positioning the Gauge: Place the MEL2 gauge onto the planer cutter head. The magnetic base will securely hold it in position. Ensure the gauge is stable and does not wobble.
- Aligning with Blade: Position the gauge so that its indicator mechanism is directly over the planer blade you intend to adjust. The gauge is designed to accommodate various knife shaft diameters.
4. 操作手順
Follow these steps to precisely set your planer blades using the Holzmann MEL2 gauge:
- Loosen Blade Screws: With the MEL2 gauge securely in place on the cutter head, use the appropriate tool to slightly loosen the screws that hold the planer blade in its slot. The blade should be able to move freely but not fall out.
- ブレードの高さを調整します: Carefully adjust the planer blade's height. The MEL2 gauge provides a visual indicator that will guide you to the correct blade projection. Adjust the blade until the gauge indicates the desired, precise height.
- ブレードネジを締めます: Once the blade is at the correct height, firmly tighten the blade retaining screws. It is crucial to tighten them evenly and securely to prevent the blade from shifting during operation. Ensure the blade remains at the set height while tightening.
- すべてのブレードに対して繰り返します。 Repeat steps 1-3 for all other blades in the cutter head to ensure they are all set to a uniform height. This is essential for a smooth, consistent cut and to prevent uneven wear on the blades.
- 最終チェック: Before reconnecting power to the planer, perform a final visual and tactile check of all blades to confirm they are securely fastened and correctly aligned.
5. メンテナンス
To ensure the longevity and continued accuracy of your Holzmann MEL2 Planer Blade Setting Gauge, follow these simple maintenance guidelines:
- クリーニング: After each use, wipe the gauge clean with a dry, soft cloth. Remove any sawdust, metal shavings, or debris that may have accumulated, especially on the magnetic base and indicator mechanism.
- ストレージ: Store the gauge in a clean, dry environment, away from excessive moisture or extreme temperatures. Proper storage prevents corrosion and damage to the magnetic components and plastic body.
- 取り扱い: Avoid dropping the gauge or subjecting it to harsh impacts. Such incidents can affect its calibration and accuracy.
6。 トラブルシューティング
If you encounter issues with blade setting accuracy or the gauge's performance, consider the following:
- 一貫性のない測定値: If the gauge provides inconsistent readings, ensure that both the planer cutter head and the magnetic base of the gauge are perfectly clean. Even small particles of debris can prevent proper seating and affect accuracy.
- Gauge Not Holding Firmly: Check the magnetic base for any obstructions, such as metal shavings or dried resin. Clean the base thoroughly to ensure the magnets make full and secure contact with the cutter head.
- Blades Not Adjusting Smoothly: Ensure that the blade retaining screws are sufficiently loosened before attempting to adjust the blade height. Blades should move with minimal resistance.
7. 仕様
| モデル番号 | メル2 |
| 寸法(長さ×幅×高さ) | 17 x 12 x 28 cm |
| 重さ | 9.07グラム |
| 材料 | Plastic (body), Aluminium (base) |
| 色 | 黒 |
| 電源 | マニュアル |
| 互換性 | Suitable for all knife shaft diameters |
8. 保証とサポート
Holzmann provides a 1-year availability for spare parts within the EU for the MEL2 Planer Blade Setting Gauge. For technical support, inquiries regarding product operation, or spare parts, please contact your authorized Holzmann dealer or visit the official Holzmann webさらにサポートが必要な場合は、サイトをご覧ください。