1. はじめに
This manual provides detailed instructions for the installation, operation, and maintenance of your Geberit PushControl Bathtub Drain and Overflow Unit, Model 151.603. This unit is designed for bathtubs with depths ranging from 17 to 24 inches and features a 27-inch stainless steel cable for reliable operation. Please read this manual thoroughly before installation and use to ensure proper function and safety.
The Geberit PushControl system offers a convenient push-button mechanism for opening and closing the bathtub drain, providing a clean and modern aesthetic for your bathroom.
2. 安全情報
警告: Failure to follow these safety instructions could result in property damage, personal injury, or death.
- 配管作業を始める前に必ず給水を停止してください。
- 取り付け中は、安全メガネや手袋などの適切な個人用保護具を着用してください。
- 漏れを防ぐために、すべての接続が安全かつ防水であることを確認してください。
- 設置手順のいずれかの部分について不明な点がある場合は、資格のある配管工に相談してください。
- 窒息の危険を防ぐため、小さな部品は子供の手の届かないところに保管してください。
3. パッケージ内容
インストールを開始する前に、すべてのコンポーネントが揃っていることを確認してください。
- Geberit PushControl Bathtub Drain and Overflow Unit (Model 151.603)
- Brass trim (Polished Chrome)
- ステンレス鋼ストレーナ
- 27" stainless steel cable (Teflon coated)
- インストールツール
- Gaskets and fasteners
4. 仕様
| モデル番号 | 151.603 |
| 材料 | Brass construction with brass trim |
| 仕上げる | ポリッシュクローム |
| 浴槽の深さの互換性 | 17インチから24インチ |
| ケーブル長さ | 27" (stainless steel, Teflon coated) |
| 配管径 | 1-1/2" tubular |
| Max. Tub Wall Thickness | 1/2インチ |
| オーバーフロー穴径 | 2インチから3.5インチ |
| 作動タイプ | PushControl |
5. インストール
Before you begin, ensure you have all necessary tools and that the water supply to the bathtub is turned off. Refer to local plumbing codes for specific requirements.
5.1 必要なツール
- 配管用パテまたはシリコンシーラント
- モンキーレンチまたはチャネルロック
- ドライバー(プラスとマイナス)
- 巻尺
- 安全メガネと手袋
5.2 ステップバイステップのインストール
- 浴槽を準備する: Ensure the bathtub drain and overflow holes are clean and free of debris. The overflow hole should be between 2" and 2-1/2" in diameter.
- Install the Drain Shoe: Apply plumber's putty or silicone sealant around the underside of the drain flange. Insert the drain flange into the bathtub drain hole from the inside of the tub. From underneath the tub, attach the drain shoe assembly, ensuring the gasket is properly seated. Tighten securely with an adjustable wrench.
- オーバーフローアセンブリをインストールします。 Position the overflow gasket on the back of the overflow plate. Insert the overflow pipe assembly into the overflow hole from the outside of the tub. Align the overflow plate with the overflow hole from the inside of the tub and secure it with the provided screw. Ensure the cable is routed correctly and not kinked.
- ケーブルを接続します。 Connect the 27" stainless steel cable to both the drain stopper mechanism and the PushControl overflow trim. Follow the specific instructions provided with the unit for proper cable attachment and adjustment. The installation tool included will assist with this step.
- Connect to Waste Pipe: Connect the 1-1/2" tubular piping of the drain and overflow unit to your existing waste pipe system. Ensure all connections are tight and sealed to prevent leaks.
- 漏れのテスト: Fill the bathtub with water and check all connections for any signs of leakage. Operate the PushControl mechanism several times to ensure the drain stopper opens and closes smoothly.
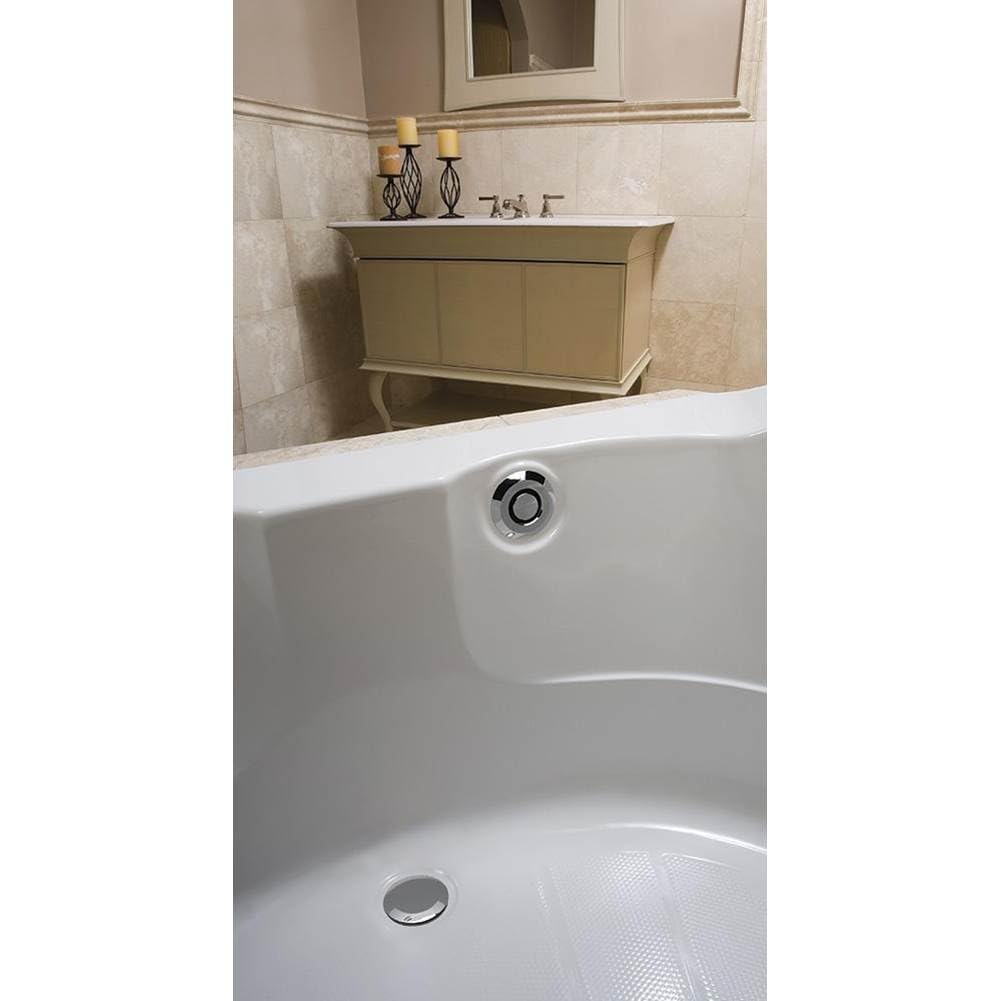
Image 1: Geberit PushControl Bathtub Drain and Overflow Unit (Model 151.603) showing the polished chrome trim and cable assembly. This image illustrates the main components of the unit.
6. 操作
The Geberit PushControl system is designed for simple and intuitive operation.
- 排水口を閉じるには: Firmly press the center of the overflow trim plate. The drain stopper will move into the closed position, allowing the tub to fill with water.
- 排水口を開けるには: Firmly press the center of the overflow trim plate again. The drain stopper will release, allowing water to drain from the tub.
Ensure the mechanism operates smoothly. If you experience resistance, refer to the Troubleshooting section.
7. メンテナンス
Regular cleaning and maintenance will ensure the longevity and proper function of your Geberit PushControl unit.
- トリムのクリーニング: Clean the polished chrome trim with a soft cloth and mild, non-abrasive cleaner. Avoid harsh chemicals, abrasive pads, or acidic cleaners, as these can damage the finish.
- 排水口の清掃: Periodically remove the drain stopper and clean any hair or debris that may have accumulated in the drain opening.
- ケーブル検査: Annually inspect the stainless steel cable for any signs of wear or damage. While the cable is Teflon coated for durability, extreme conditions or improper use can cause wear.
8。 トラブルシューティング
| 問題 | 考えられる原因 | 解決 |
|---|---|---|
| Drain stopper does not close completely. | Debris under the stopper; cable misadjusted or damaged. | Remove stopper and clean. Check cable connection and adjustment. |
| Drain stopper does not open. | Cable misadjusted or jammed; mechanism obstruction. | Check cable connection and ensure no obstructions. Re-adjust cable if necessary. |
| 排水口またはオーバーフローから水が漏れます。 | Loose connections; improperly seated gaskets; damaged seals. | Tighten all connections. Inspect and replace gaskets or seals if damaged. Reapply plumber's putty if needed. |
| PushControl button feels stiff. | Mineral buildup; cable friction. | Clean around the button and cable entry points. Ensure cable is not kinked. |
If problems persist after attempting these solutions, please contact Geberit customer support or a qualified plumber.
9. 保証とサポート
Geberit products are manufactured to the highest quality standards and come with a limited warranty. For specific warranty terms and conditions, please refer to the warranty card included with your product or visit the official Geberit webサイト。
For technical assistance, replacement parts, or further support, please contact Geberit customer service:
- Webサイト: www.geberit.com
- 顧客サービス: ゲベリットを参照 web地域の連絡先情報のサイト。
サポートにお問い合わせの際は、製品のモデル番号 (151.603) と購入日をご用意ください。