
1. はじめに
The Coby DP772 is a versatile 7-inch widescreen digital photo frame designed to display your digital memories and play audio files. It features an LED-backlit TFT LCD display, ensuring bright and clear image viewing. This device supports various memory card formats, including SD, MMC, xD, and CompactFlash, and includes a USB port for connecting to digital media drives. With integrated stereo speakers, it can play MP3 and WMA audio files, and even combine them with photo slideshows. The DP772 also offers A/V output for connection to home theater systems and comes with interchangeable black and white faceplates to match your decor. It can be used with its included stand or mounted on a wall.
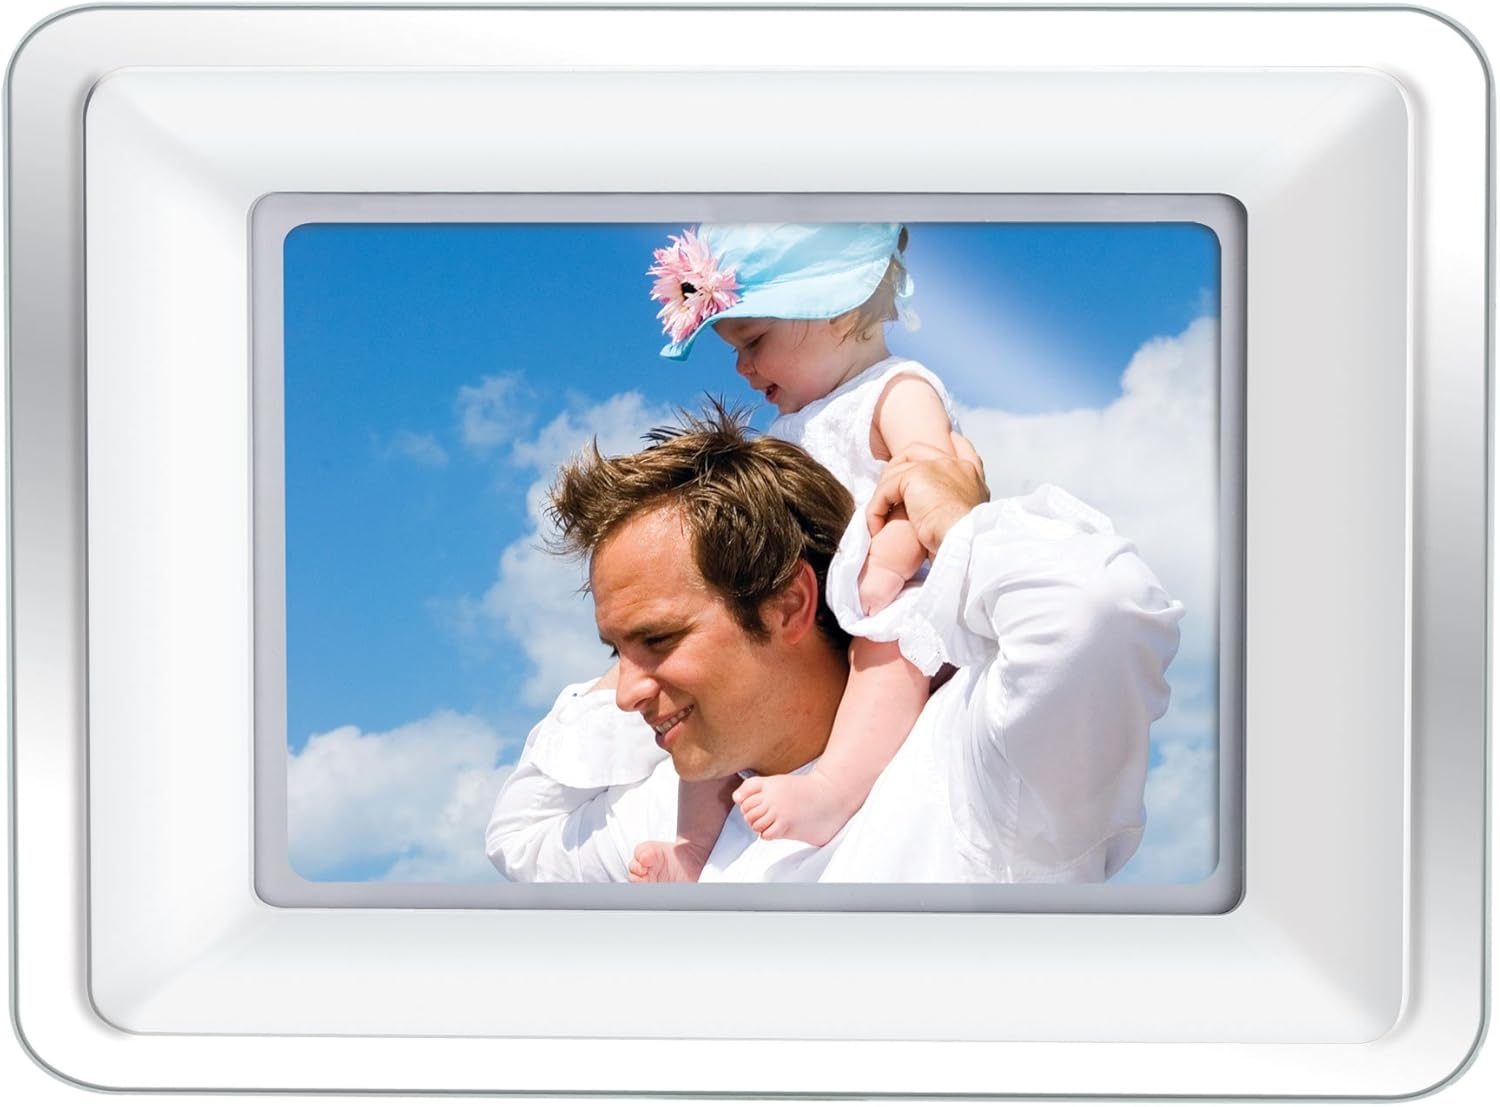
Image 1.1: The Coby DP772 Digital Photo Frame, showcasin家族の写真と一緒にディスプレイに表示します。
2. セットアップ
2.1 開梱と内容物
すべての部品をパッケージから慎重に取り出します。以下のものがすべて揃っていることを確認してください。
- Coby DP772 Digital Photo Frame
- AC電源アダプター
- リモートコントロール
- Interchangeable Faceplates (Black and White)
- テーブルスタンド
- ユーザーマニュアル(このドキュメント)
2.2電源接続
- AC 電源アダプターをフォトフレームの背面にある DC IN ポートに接続します。
- アダプタのもう一方の端を標準の電源コンセントに差し込みます。
- The frame should power on automatically or can be turned on using the power button.
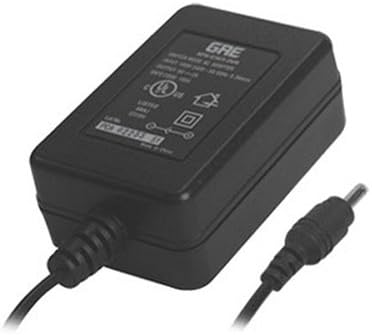
Image 2.1: The AC Power Adapter, essential for powering the device.
2.3 Inserting Memory Cards or USB Devices
The DP772 supports SD, MMC, xD, and CompactFlash memory cards, as well as USB flash drives.
- Locate the memory card slots or USB port on the side or back of the frame.
- Insert your memory card into the appropriate slot, ensuring it is oriented correctly. Do not force the card.
- For USB devices, insert the USB flash drive into the USB port.
- The frame should automatically detect the media and begin displaying content or prompt you to select a mode.
2.4 スタンドまたは壁掛け金具の取り付け
The frame can be displayed on a flat surface using the included stand or mounted on a wall.
- 卓上用: Attach the provided stand to the designated slot on the back of the frame. Ensure it is securely fastened to provide stable support. The stand allows for both landscape and portrait orientation.
- 壁取り付けの場合: Detach the stand if it is already attached. Use appropriate wall mounting hardware (not included) with the mounting holes on the back of the frame. Ensure the wall can support the weight of the frame.

Image 2.2: The detachable stand, used for tabletop display.
2.5 Changing Faceplates
The DP772 comes with interchangeable black and white faceplates.
- Gently remove the currently attached faceplate by prying it off from the edges.
- Align the desired faceplate (black or white) with the frame and press it firmly into place until it clicks securely.

Image 2.3: The interchangeable black and white faceplates, allowing customization of the frame's appearance.
2.6 リモコン電池の取り付け
The remote control requires batteries (not included) for operation.
- リモコンの背面にある電池収納部を見つけます。
- コンパートメントカバーを開きます。
- 正しい極性 (+/-) に注意して必要な電池を挿入します。
- 電池カバーをしっかりと閉じてください。

Image 2.4: The compact remote control for convenient operation of the photo frame.
3. 操作手順
3.1 基本的なナビゲーション
The frame can be operated using the buttons on the unit or the included remote control.
- 電源ボタン: ユニットの電源をオンまたはオフにします。
- メニューボタン: 設定とオプションのメイン メニューにアクセスします。
- 矢印ボタン(上/下/左/右): Navigate through menus and select files.
- Enter/Play/Pause Button: Confirms selections, plays media, or pauses playback.
- Exit/Stop Button: Returns to the previous screen or stops media playback.
3.2 写真の再生
- Insert a memory card or USB device containing JPEG or BMP image files.
- If the frame does not automatically enter photo mode, navigate to the 'Photo' option in the main menu and press Enter.
- Use the arrow buttons to browse through your photos.
- Press the Play button to start a slideshow. You can adjust slideshow intervals and transition effects in the settings menu.
3.3音楽の再生
- Ensure your memory card or USB device contains MP3 or WMA audio files.
- Navigate to the 'Music' option in the main menu and press Enter.
- Use the arrow buttons to select an audio file またはフォルダー。
- Press the Play button to begin playback. Use the remote or frame buttons to control volume, skip tracks, or pause.
3.4ビデオ再生
The DP772 supports most MP4 and AVI video files.
- Insert a memory card or USB device with compatible video files.
- Navigate to the 'Video' option in the main menu and press Enter.
- 目的のビデオを選択します file 矢印ボタンを使用します。
- Press the Play button to start the video.
3.5 Slideshow with Music
To enhance your photo slideshows, you can play background music simultaneously.
- Ensure both photo and music files are present on the inserted media.
- Start a photo slideshow as described in section 3.2.
- Access the settings menu (usually via the Menu button) and look for 'Slideshow Music' or a similar option.
- 希望の音楽を選択します file or playlist to accompany your photos.
3.6 Connecting to a TV (A/V Output)
The DP772 features an A/V output for displaying content on a larger screen, such as a television. Note: The A/V cable is not included with the product.
- Obtain a compatible A/V cable (typically a 3.5mm jack to RCA composite video and stereo audio).
- Connect one end of the A/V cable to the A/V OUT port on the photo frame.
- Connect the RCA plugs (yellow for video, red/white for audio) to the corresponding input ports on your television.
- Switch your television's input source to the correct A/V input.
- The content displayed on the photo frame will now be mirrored on your television.
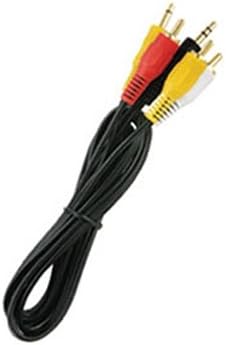
画像3.1: 元ample of the A/V cable required to connect the photo frame to a television.
4. メンテナンス
4.1 Cleaning the Frame and Screen
To maintain the appearance and functionality of your Coby DP772, follow these cleaning guidelines:
- 画面: Use a soft, lint-free cloth specifically designed for electronics screens. Gently wipe the screen to remove dust and fingerprints. For stubborn marks, slightly damp布を水または画面洗浄液で拭いてください(刺激の強い化学薬品は避けてください)。
- フレーム: Wipe the frame and casing with a soft, dry cloth. Do not use abrasive cleaners or solvents, as these can damage the finish.
- 清掃する前に必ずデバイスの電源がオフになっており、プラグが抜かれていることを確認してください。
4.2 ストレージ
If you plan to store the photo frame for an extended period:
- デバイスの電源を切り、電源からプラグを抜きます。
- Remove any memory cards or USB devices.
- Store the frame in a cool, dry place, away from direct sunlight and extreme temperatures.
- Consider storing it in its original packaging or a protective bag to prevent dust accumulation and damage.
5。 トラブルシューティング
This section addresses common issues you might encounter with your Coby DP772.
| 問題 | 考えられる原因 | 解決 |
|---|---|---|
| フレームの電源が入りません。 | 電源アダプターが接続されていないか故障しています。 | Ensure the AC adapter is securely plugged into the frame and a working electrical outlet. Try a different outlet. |
| No image or sound. | 正しくない file format; media not inserted correctly; volume too low. | Verify that image files are JPEG/BMP and audio files are MP3/WMA. Ensure the memory card/USB is fully inserted. Check volume settings. |
| Memory card/USB not recognized. | Card/USB not inserted correctly; incompatible format; corrupted media. | Re-insert the card/USB. Ensure it is a supported type (SD, MMC, xD, CF). Try formatting the card on a computer (this will erase all data). |
| リモコンが機能しない。 | 電池切れ、障害物、範囲外。 | Replace batteries in the remote. Ensure there is a clear line of sight between the remote and the frame's IR sensor. Operate within close range. |
| 画質が悪い。 | Low resolution of original photos; incorrect aspect ratio. | Use higher resolution photos. For optimal display, consider resizing photos to match the frame's native resolution (e.g., 480x234 pixels) and aspect ratio (16:9 for widescreen). |
6. 仕様
Key technical specifications for the Coby DP772 Digital Photo Frame:
- モデル番号: DP772
- 画面サイズ: 7インチ
- 表示タイプ: TFT LCD with LED Backlighting
- 解決: WXGA (480x234 pixels, 16:9 aspect ratio)
- サポートされている画像形式: JPEG、BMP
- サポートされているオーディオ形式: MP3、WMA
- サポートされているビデオ形式: Most MP4 and AVI files
- メモリカードのサポート: SD, MMC, xD, CompactFlash (CF)
- 接続性: USB port, A/V output
- 内蔵スピーカー: はい
- 製品寸法: 9 x 7 x 2インチ
- 商品の重量: 2ポンド
- 色: White/Black (interchangeable faceplates)
7. 保証とサポート
Coby products are manufactured to high-quality standards. For information regarding warranty coverage, please refer to the warranty card included with your product or visit the official Coby webサイトでご確認ください。保証請求の際は購入証明として領収書を保管してください。
For technical assistance or customer support, please visit the Coby support section on their official webメーカーのウェブサイトをご覧いただくか、カスタマーサービス部門にお問い合わせください。連絡先は通常、製品のパッケージまたはメーカーのウェブサイトに記載されています。 webサイト。